After a visit, give each photo a row and a numbered arrow on your plan. Use the exact filename, open the image to check what it shows, then trace the row back to where the camera stood and which way it faced.
What belongs in a historic building photo log?
A few days after a visit, “front door” can be hard to trace back to the right image. Start with the folder of selected photographs and the plan you used for that visit. The log gives you a repeatable way to go from a photo caption to the file or from a mark on the plan back to the photograph.
For each image, enter an ID, exact filename or relative path, capture date, plan sheet, camera position, direction faced, subject, and a short visible detail. “Brick front and entrance steps” tells a colleague what to look for when opening P01. If two folders both contain IMG_1041.jpg, record the folder with the name. If your dates span several visits, record the date on every row.
- Download the completed Alder Post Office example · Includes the five entries, sample file list, and marked plan.
- Download the blank photo log CSV · Duplicate it for your visit and add a row per file.
- Download the instructions for marking your own plan · Keep the finished log with your plan and the selected images.
Where does the dot go, and which way does the arrow point?
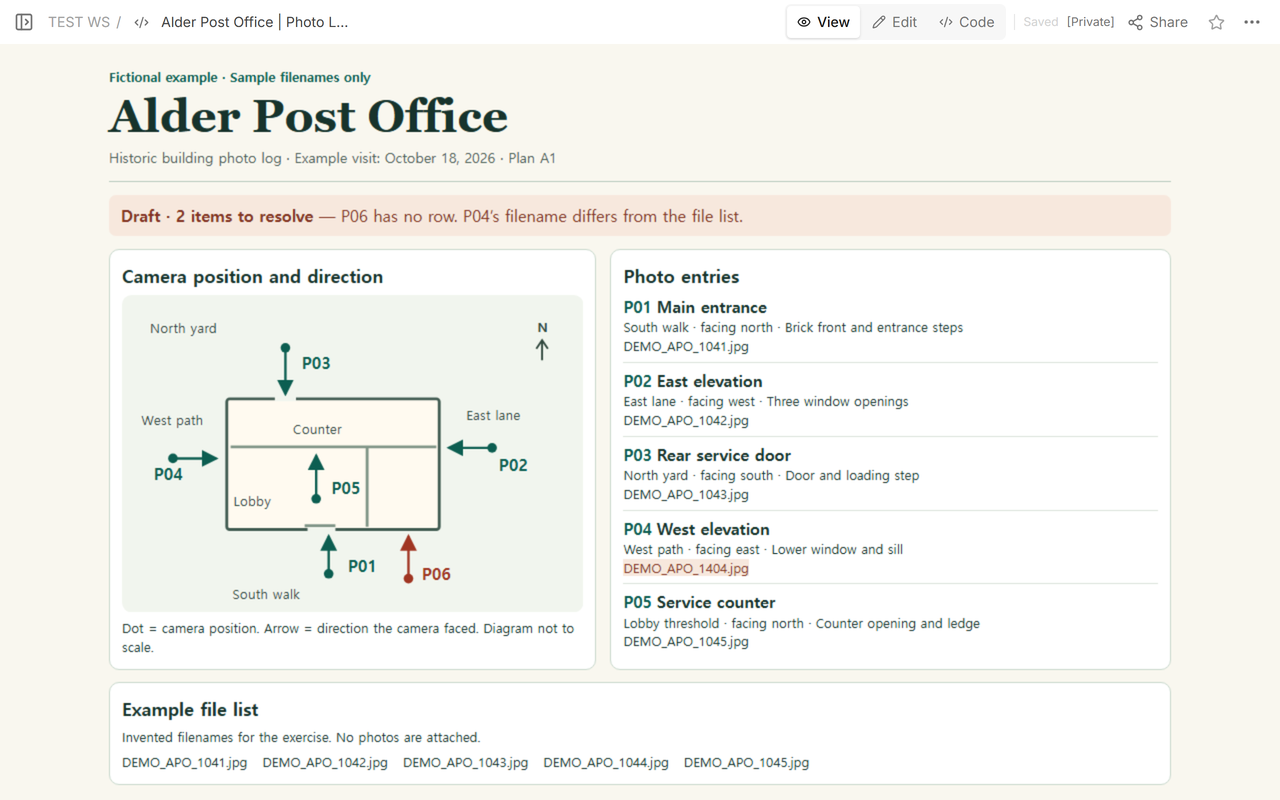
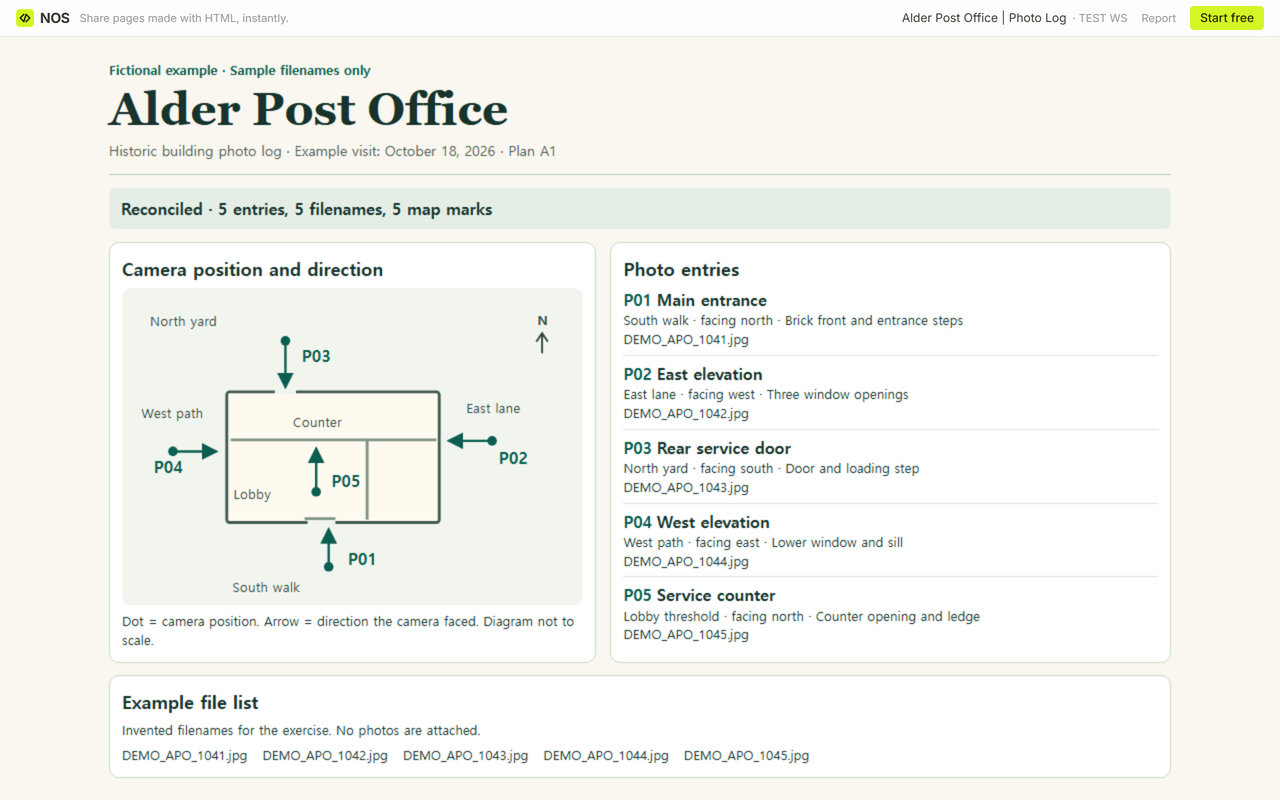
Put the dot where the camera stood. Point the arrow along the line of sight, and write the row ID next to the dot. In the invented Alder Post Office example, P01 starts on the south walk and points north toward the entrance. P02 starts in the east lane and points west toward the east elevation. “East elevation” names the wall in the frame, while “facing west” tells you how the camera was aimed.
Give your plan a sheet or revision ID and a north arrow. Use separate floor sheets when the same position could refer to two levels. The National Park Service photo policy shows how matching numbers connect photos, logs, and key maps. Pasadena’s photo documentation specifications illustrate the distinction between the subject’s location and the direction the camera faced.
How do you find a map mark with no photograph?
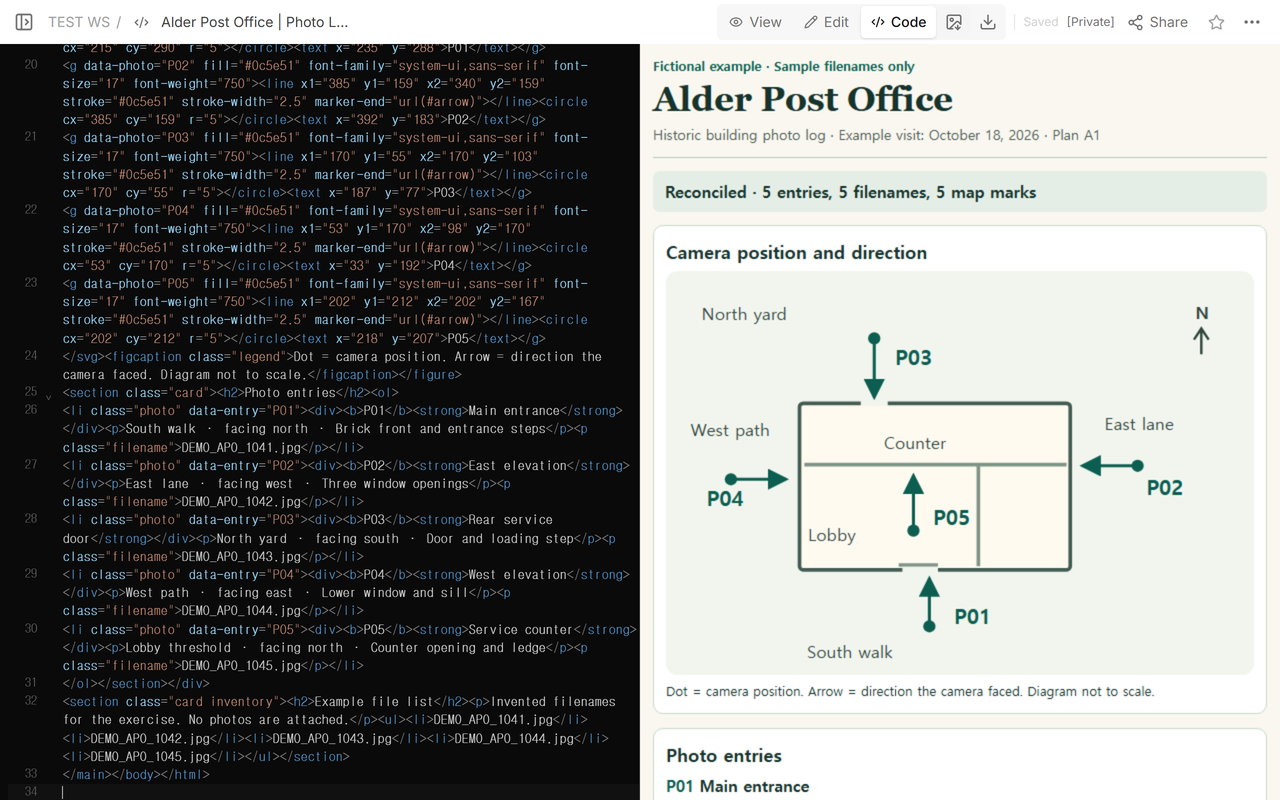
Start with a pass from the plan to the log. Point at each mark and find its row. In our practice draft, P06 was still on the south walk after the other five entries had been assembled. The fictional inventory and the log both ended at P05. We removed the spare P06 mark because the exercise supplied no sixth entry.
How do you catch a filename that looks right?
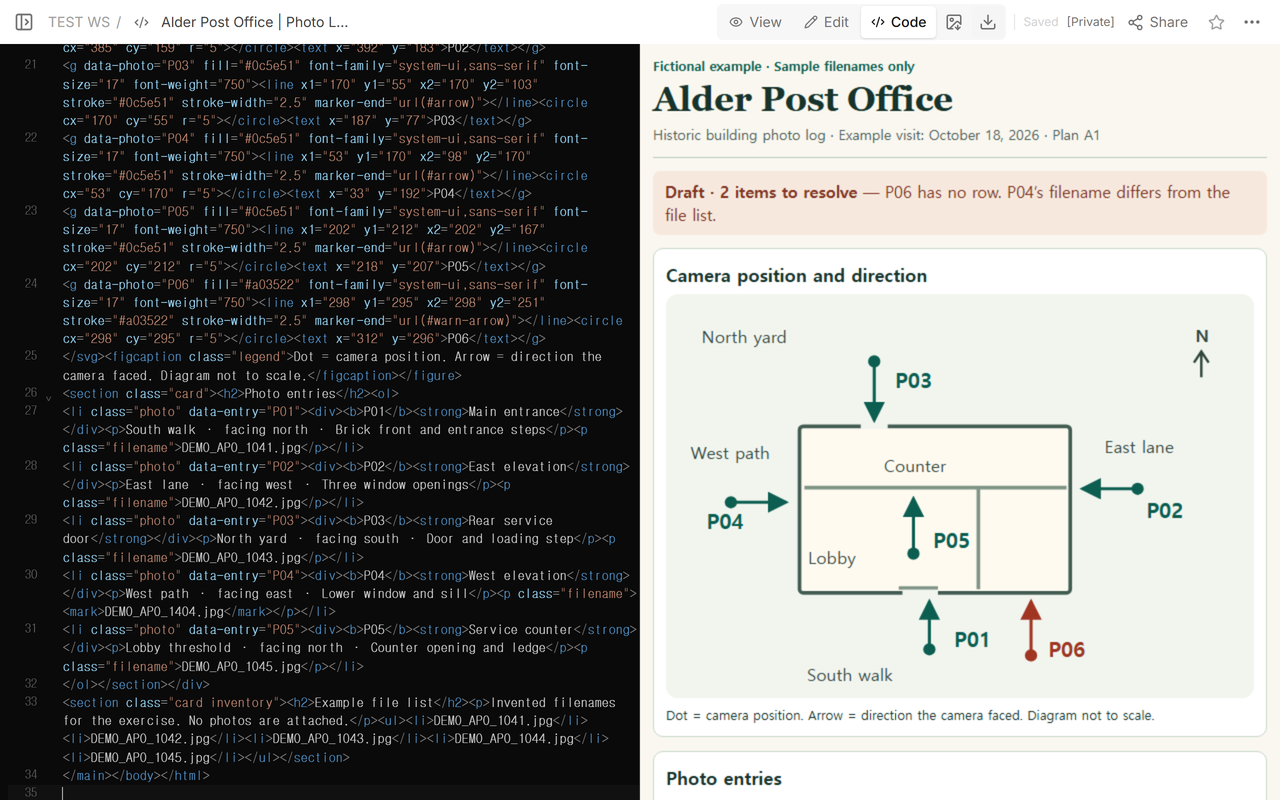
Now go in the other direction. Read each row, locate the exact file in your selected folder, and open it to confirm the caption. P04 had a row and a west-path mark, but our draft said DEMO_APO_1404.jpg. The fictional file list had DEMO_APO_1044.jpg for that entry. We corrected the row to match the list. The ID, west-path position, and east-facing arrow stayed with P04.
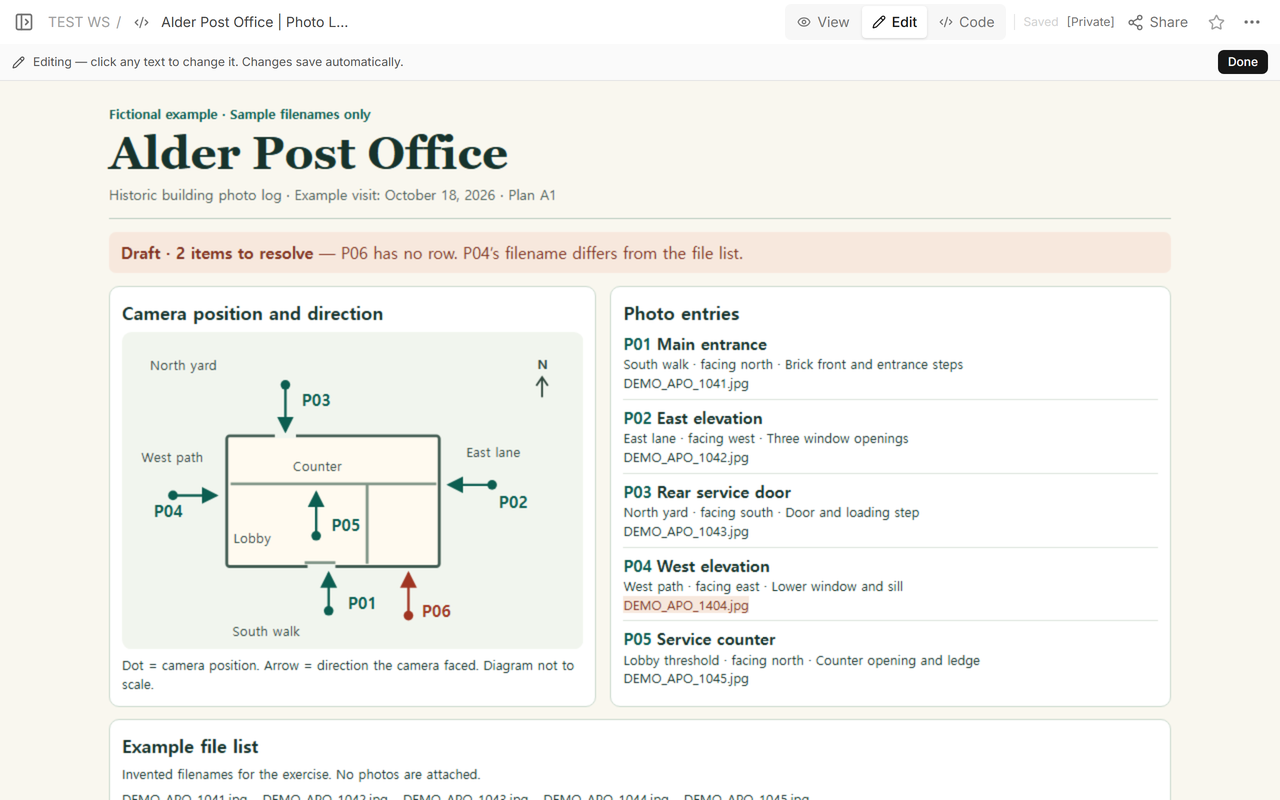
For your own visit, compare the open image with both the row and the plan. If the file opens to a different wall or the notes do not establish the viewpoint, flag the row as unresolved. The filename match is only one part of the check. Before handoff, a teammate should be able to choose a row or a mark and arrive at the same image.
When not to do this
Use a shot list when you are still deciding what to photograph or film. A gallery works when browsing the images is the goal. Use this log when someone needs to locate the exact file and recover the viewpoint after the visit. This template is for an internal photo record. Formal submissions, building inspections, and property access have their own requirements and fall outside its scope.
Share a checked copy in NOS
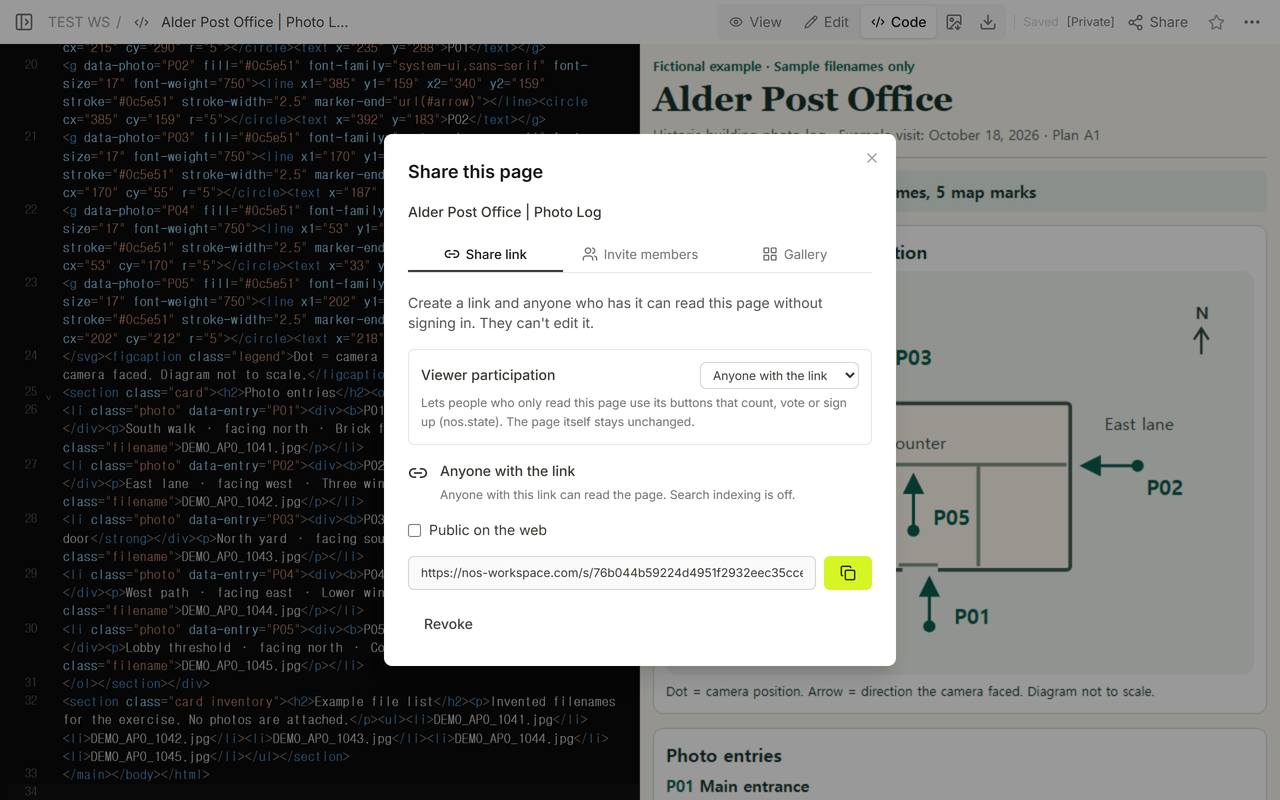
We updated the fictional post office log in NOS Workspace and reopened the same reader address to check both corrections. Keep your working log, marked plan, and actual photos together. The shared example shows how the pieces fit using invented filenames and no attached photos.
If you are putting together a captioned reference for an individual piece, the artwork information sheet covers identity, context, and display details.