In short
Start with a completed report for one object, not an empty checklist.
Keep identification, structural condition, surface condition, damage location, and photograph references in separate fields.
On return, compare the same locations and record what you can see before assigning a cause or conservation meaning.
Download the North Quay ceramic condition report
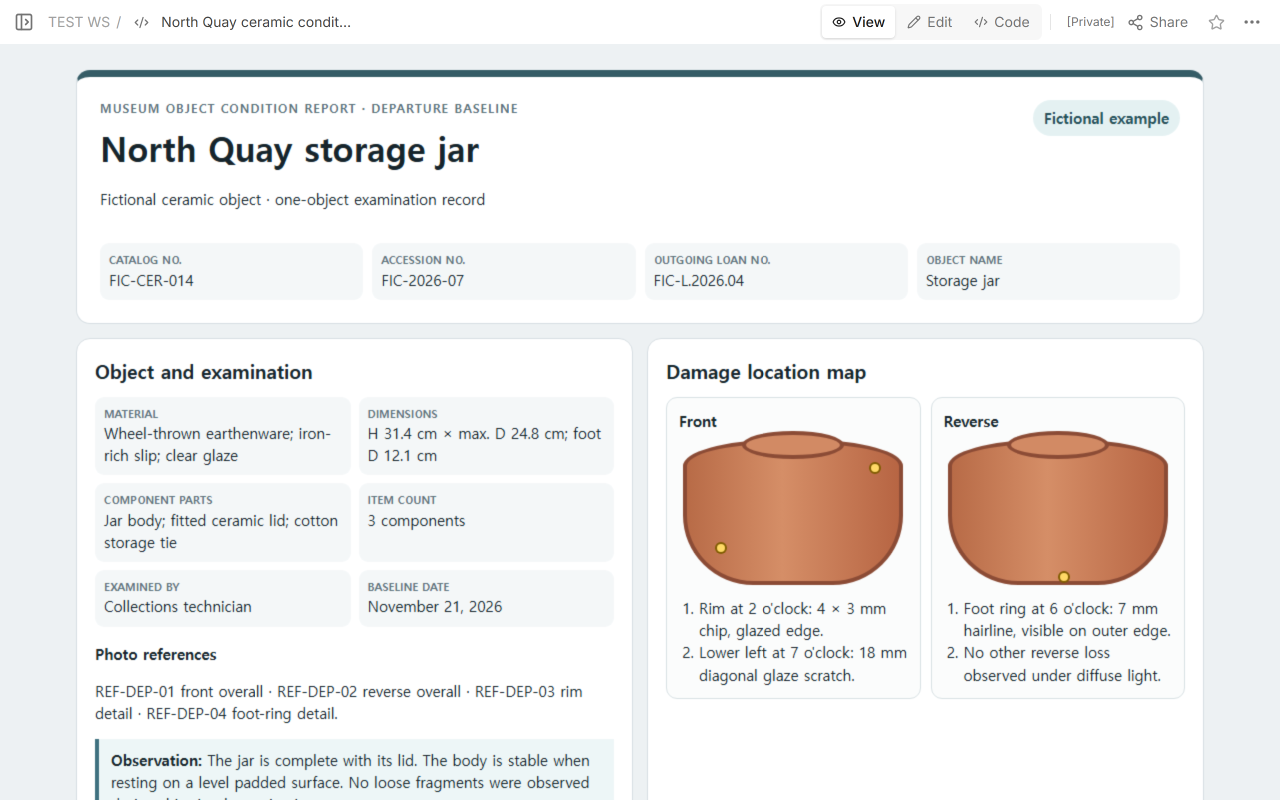
It contains fictional catalog, accession, and loan numbers; materials; dimensions; component parts; front and reverse damage maps; and a line-by-line comparison of departure and return. The file includes fictional photo references only.
We built the report around one invented earthenware storage jar. At departure, the record notes a rim chip, a glaze scratch, and a hairline at the foot ring. At return, the same points are checked again. A new 2 mm pale scuff on the reverse is recorded with a new photograph reference. The report does not guess what caused it, prescribe treatment, name an owner, assign an insurance value, or carry a real signature.
What belongs in a museum object condition report?
The object must be identifiable before anyone reads the condition notes. The NPS Object Condition Report shown as Figure 5.6 in its outgoing-loans handbook separates catalog number, accession number, object name, item count, component parts, outgoing loan number, and photograph numbers from the condition description. It then asks for structural and surface condition, examples of damage, and the location of each condition.
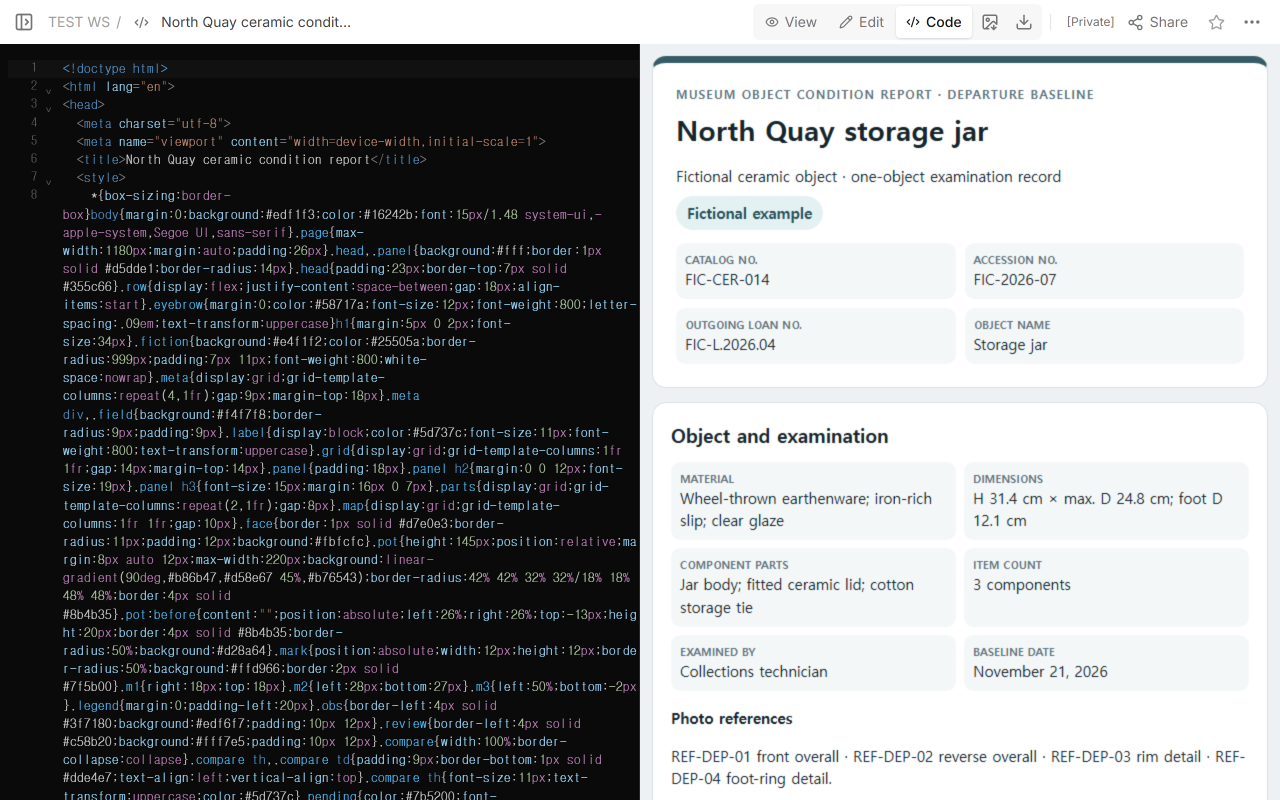
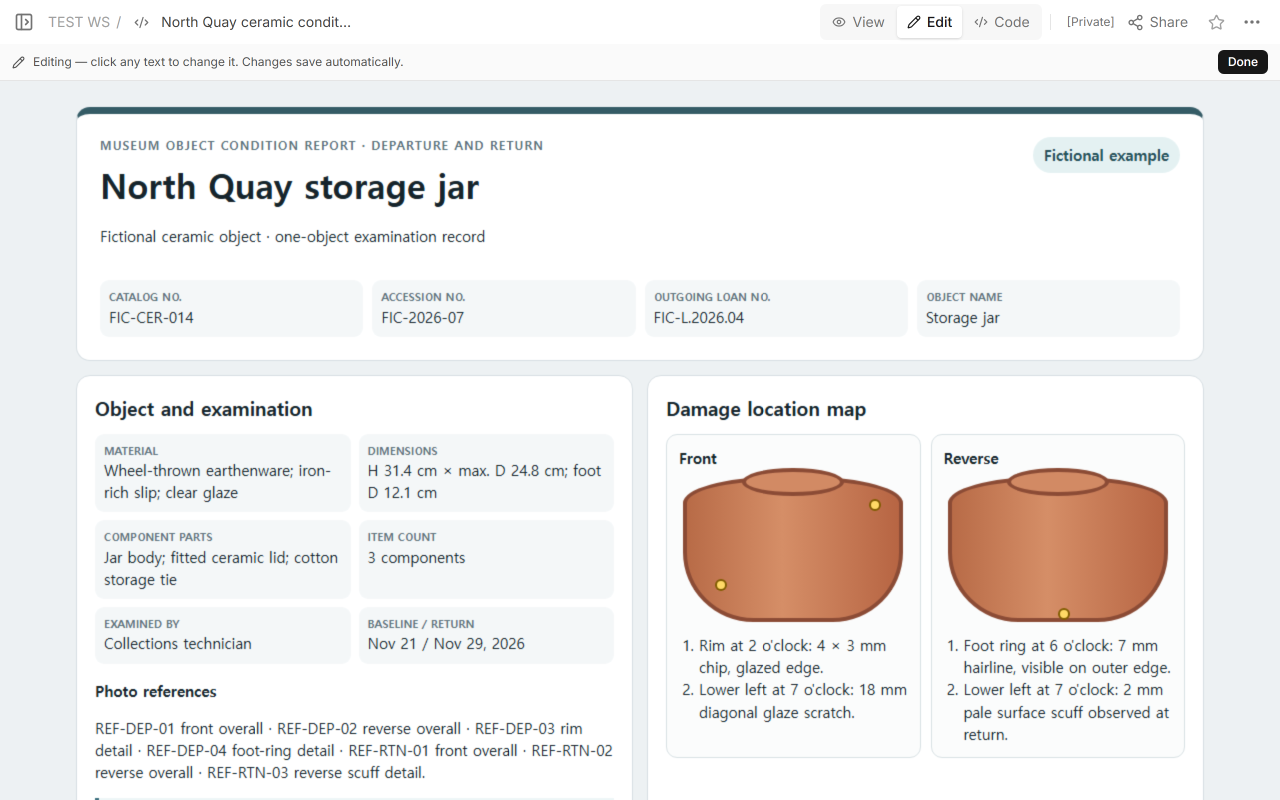
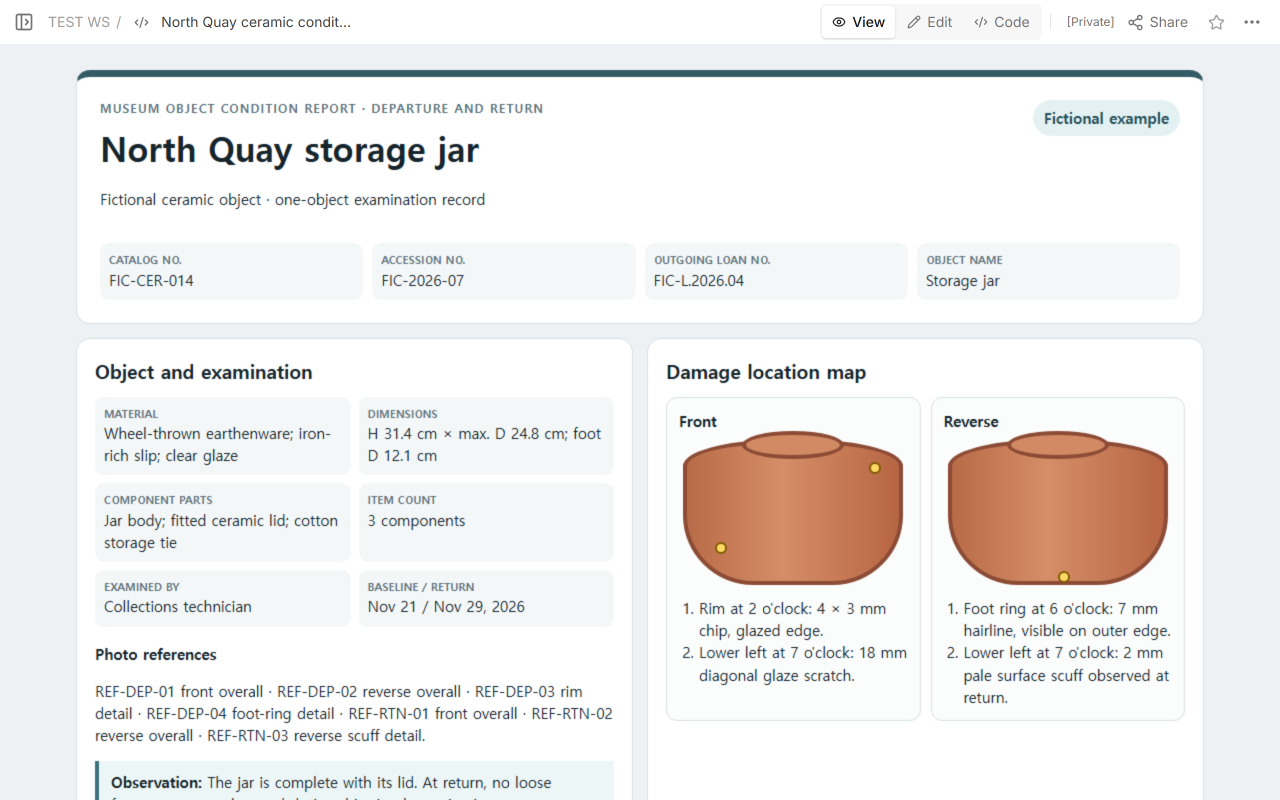
That separation shaped this example. The header identifies the jar with fictional references. The next section records its physical makeup and size. The location map then ties each observation to a face and clock position. The comparison table repeats those locations at return.
Identification and scope
- Catalog, accession, and loan references: use the identifiers assigned by the responsible institution.
- Object name and item count: state what is being examined and how many pieces belong to the record.
- Materials, dimensions, and components: name what is present instead of relying on a photograph alone.
- Examination role and date: record who examined it by role and when the observation was made.
This is a condition report, not a general artwork information sheet. An information sheet can explain context, display orientation, and handling instructions. A condition report fixes a particular examination state so another examination can compare the same object areas later.
How do you describe damage without overreaching?
Write what is visible, where it is, and how large it is. “Chip” alone is weak. “Front rim at 2 o'clock: 4 × 3 mm chip, surrounding glaze attached” gives the next examiner a location and a comparison point. “Hairline at the reverse foot ring, 6 o'clock, 7 mm” does the same for a structural feature.
Keep observation and professional judgment apart. In the example, the return examiner records a pale scuff. The report does not say the loan caused it or decide that it needs treatment. Cause, significance, fitness for travel, and treatment belong to the responsible professional's judgment, not to a guess added for completeness.
How should photographs be referenced?
Give each image a stable reference and a job. The example lists fictional references for four departure views: front overall, reverse overall, rim detail, and foot-ring detail. At return it lists the two overall views again, plus a detail reference for the new reverse scuff. In your own report, label each photograph with its reference and link that reference in the comparison row to the image in your institution's photo record.
The NPS handbook says a pre-loan condition report can be sent to the borrower and used again when the object returns. The same section recommends photographs for loaned objects except the repository-loan case it identifies. The template here follows the comparison principle, but it is not an official NPS form and does not replace an institution's required process.
How do you compare departure and return condition?
Do not replace the baseline. Put the return observation beside it. The original table in our example first showed “Return examination pending.” We then used the same document to add the return date, examiner role, return photo references, and one result for every baseline row.
| Area | Departure baseline | Return comparison |
|---|---|---|
| Reverse foot ring | 7 mm hairline at 6 o'clock | Still 7 mm; no visible widening under the same viewing light |
| Front rim | 4 × 3 mm chip at 2 o'clock | Dimensions and surrounding glaze appear unchanged |
| Reverse lower left | No scuff observed in the recorded area | New 2 mm pale scuff at 7 o'clock; cause and significance not assigned |
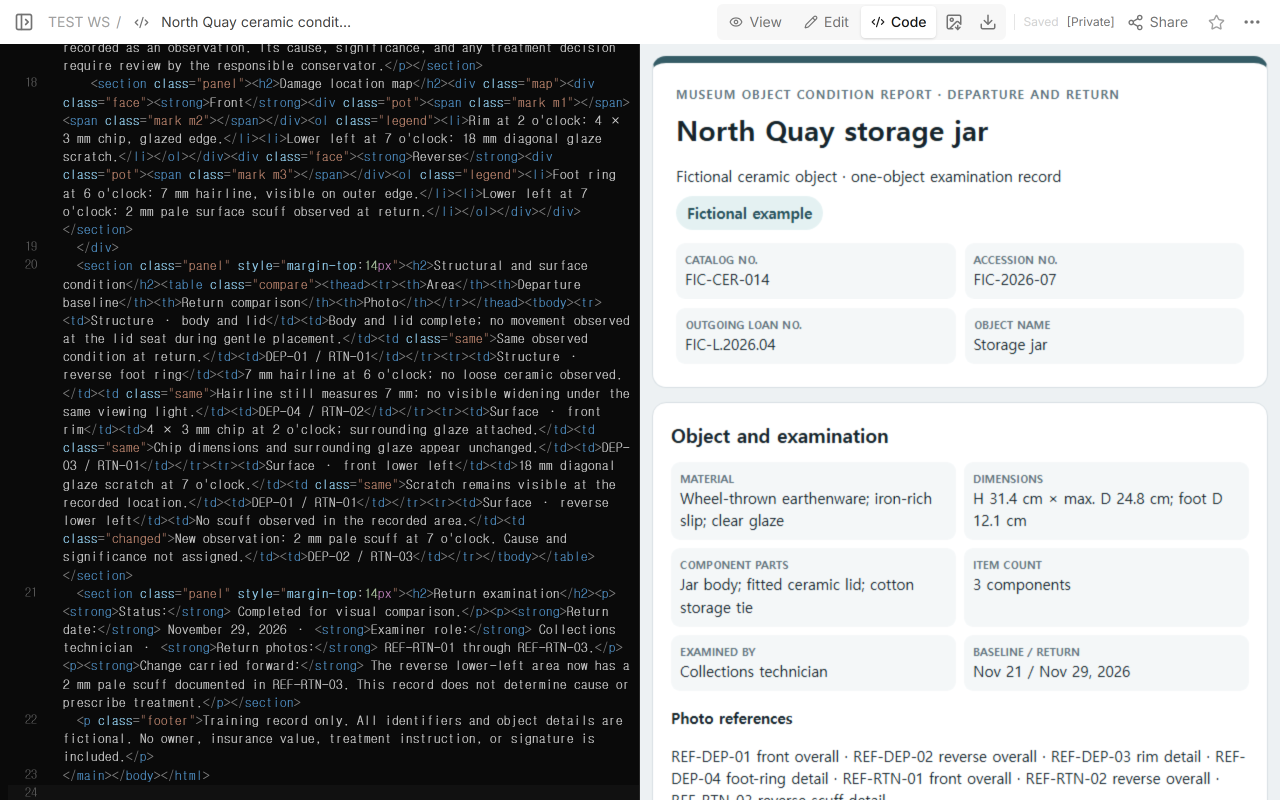
The reverse lower-left row names the location and pairs two fictional references: DEP-02 for the departure overview and RTN-03 for the return detail. The other rows retain the original observations alongside the return findings.
What is the difference between observation and conservation judgment?
An observation can state that a line measures 7 mm, a chip is 4 × 3 mm, or a pale scuff is visible at a defined location. A conservation judgment may address stability, cause, significance, travel fitness, treatment, or display limits. Those decisions require the responsible institution's process and qualified review.
How do you share the report without changing its reference?
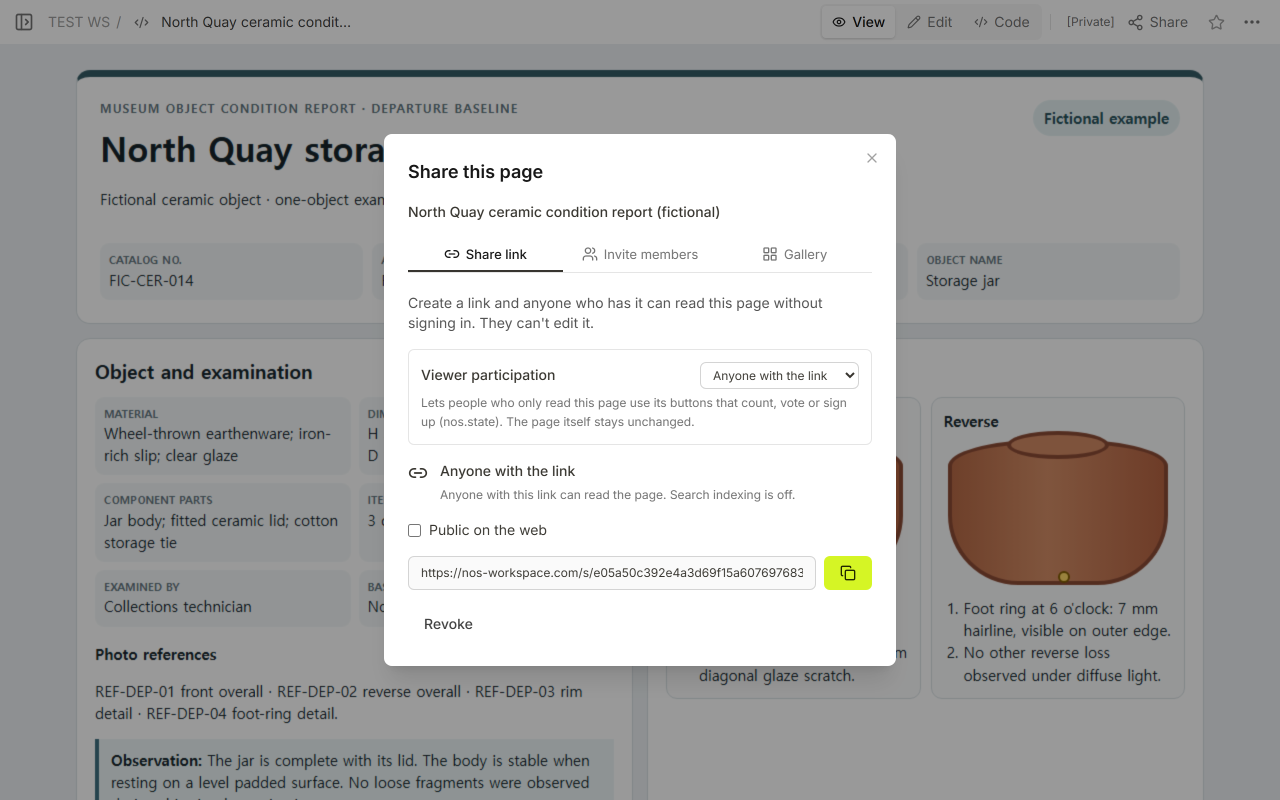
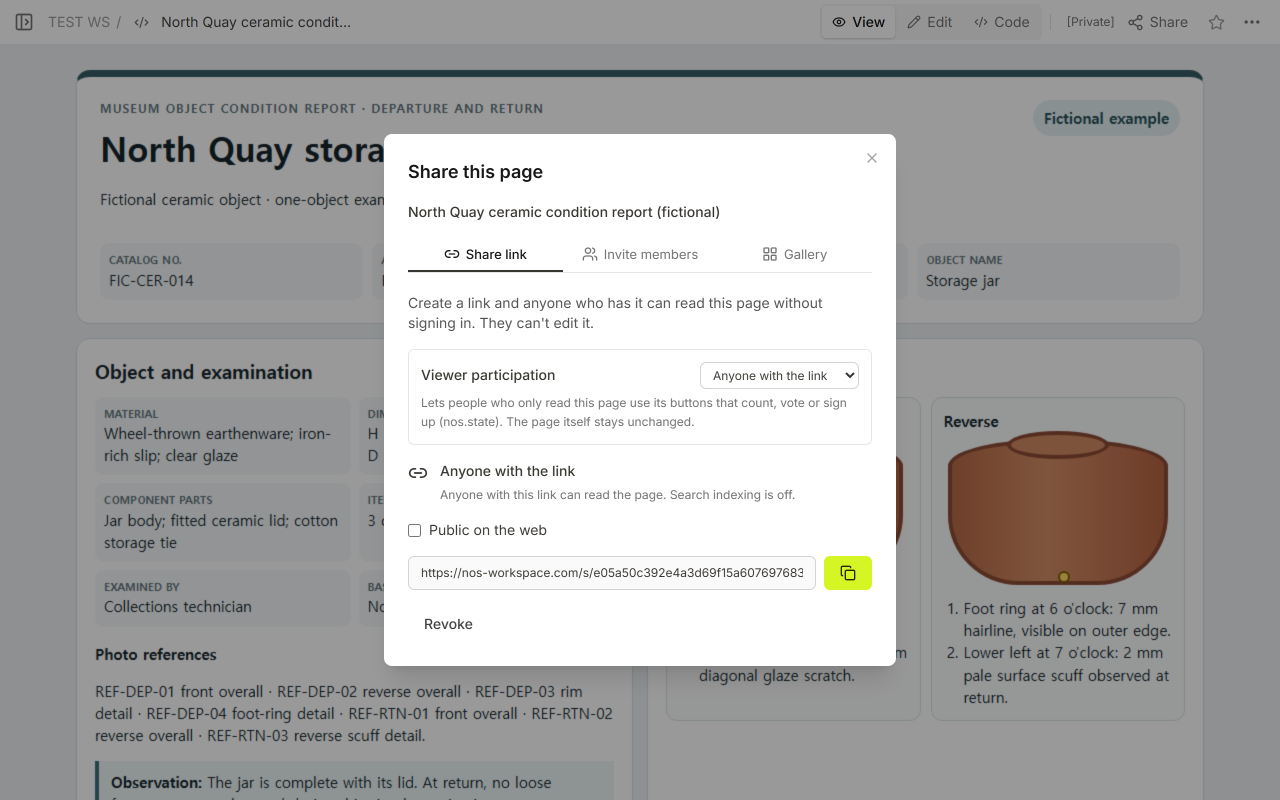
We reopened Share after the edit and confirmed the same reader address. The editing page title also remained “North Quay ceramic condition report (fictional).” The public frame behind that address changed from its initial version to the updated version, and the final frame exposed both the new scuff sentence and DEP-02 / RTN-03.
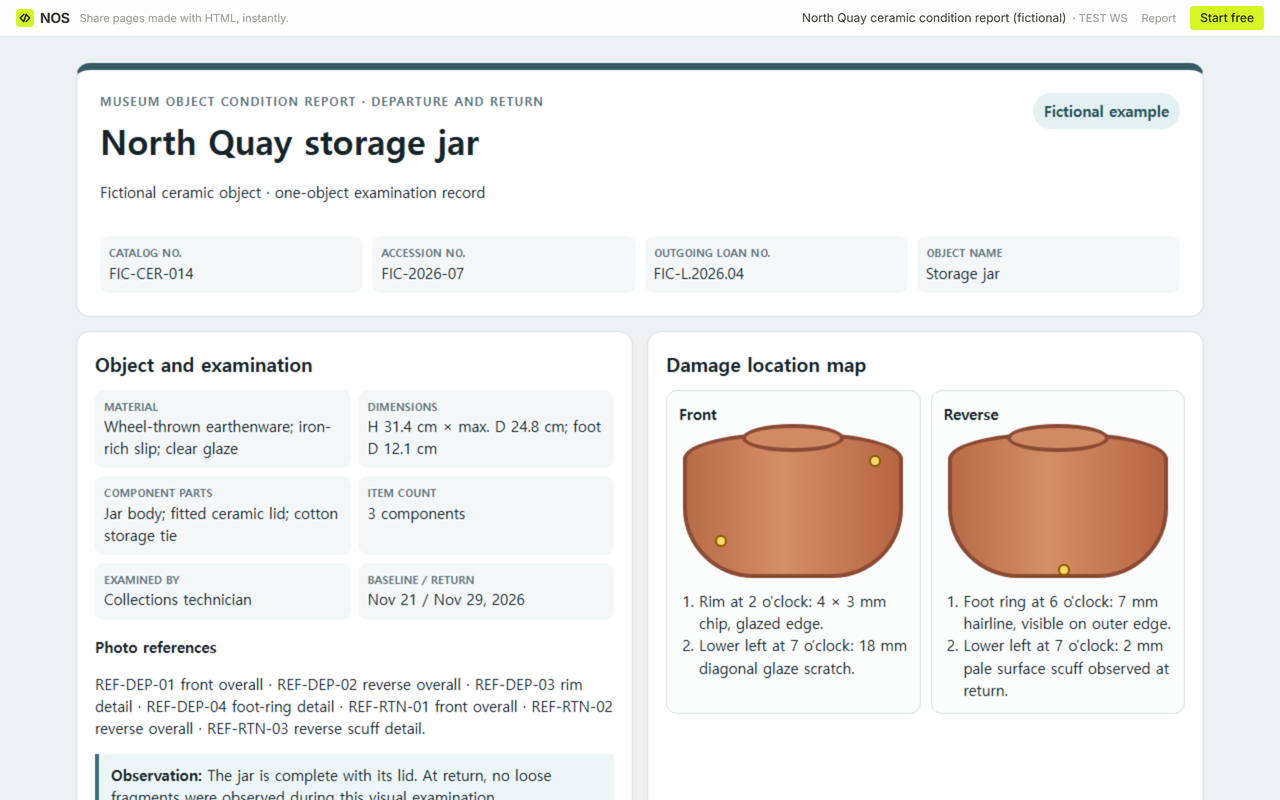
Finished result: one fictional object has a traceable departure baseline, location-specific damage notes, photograph references, a return examination, and an explicit new observation without an invented cause or treatment decision.
When not to do this
- Do not use this reading template instead of your museum's approved collections, loan, or conservation record.
- Do not publish private location data, owner information, insurance values, signatures, or restricted photographs on a public reader link.
- Do not turn a missing examination into “no change.” Leave it pending until the object is actually checked.
- Do not prescribe treatment or decide travel fitness unless that judgment belongs to your role and approved process.
- Do not use a one-object report as a room inventory. A rental inventory checklist serves a different task and scale.
Using NOS for the condition report
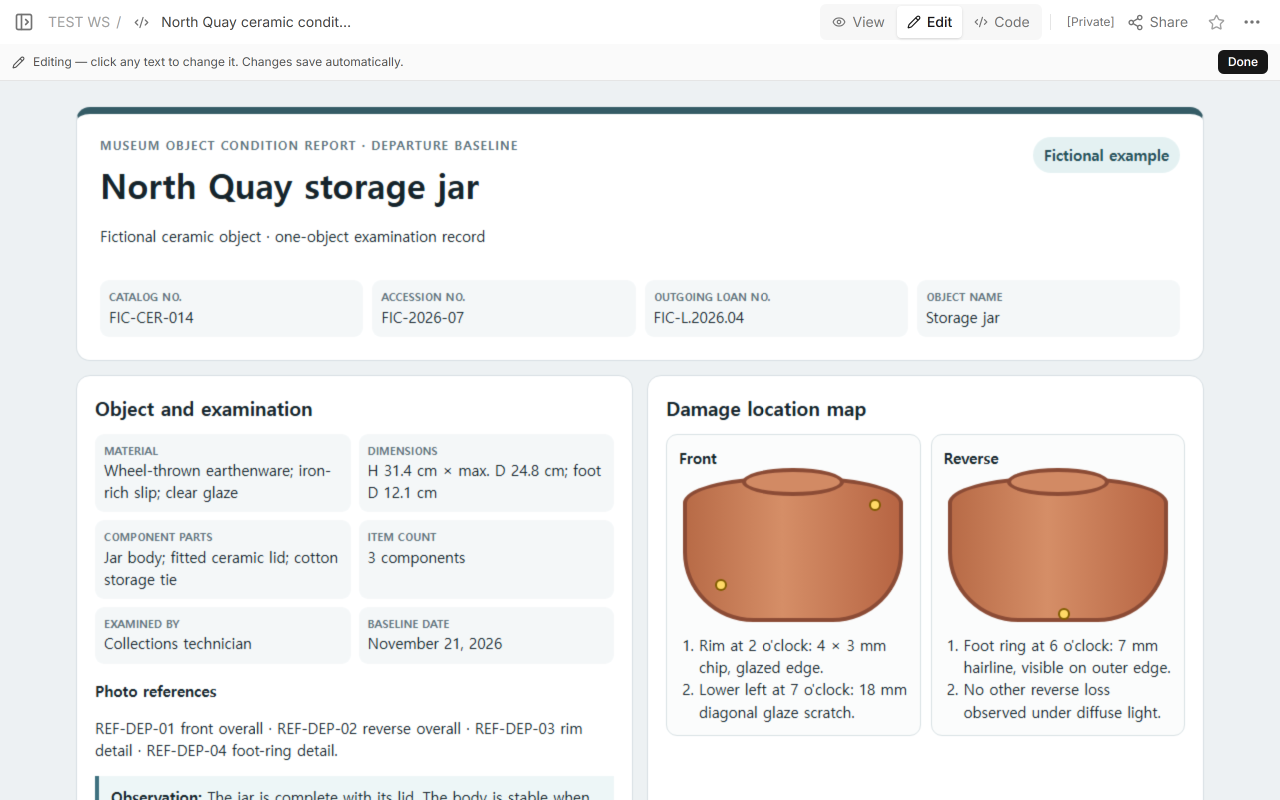
NOS Workspace kept the fictional report's Code, View, Edit, and Share states in one document. We added the return examination to that document, reopened the original reader address, and confirmed the revised photo reference and damage sentence there. Use the current pricing page for plan details; no price is copied into this guide.
Related records
- Use an artwork information sheet when the task is to share identity, context, display, and handling details rather than an examination baseline.
- Use a rental inventory checklist when several furnished-room items, quantities, and observed conditions need room-by-room tracking.
Sources checked
- National Park Service Museum Handbook, Part II, Chapter 5, including the condition-report guidance and Figure 5.6.