In short
A vendor onboarding page should tell a new supplier what to prepare, how the first delivery works, and who handles each kind of problem.
Keep private tax and payment records in your approved secure channel. Use the page as the readable map, not as a file collector.
We built and shared a fictional first-delivery page, then corrected its heading without changing the share address.
A purchase order can name the goods and quantity while still leaving a new supplier unsure about the practical handoff. Which records go to accounting? What belongs on a carton label? Which entrance receives the delivery? Who should hear about a delay?
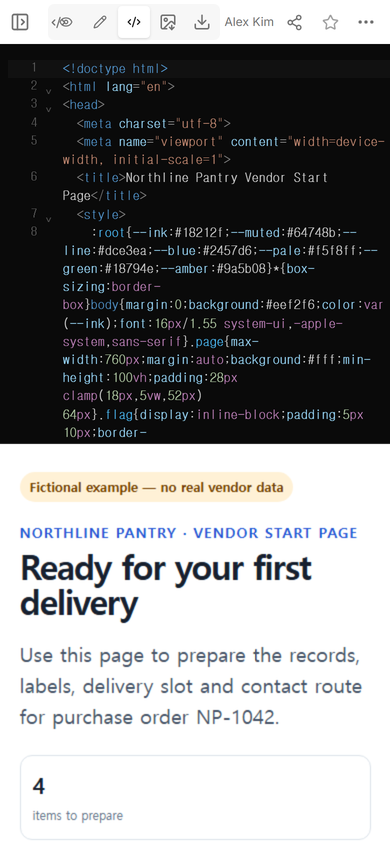
We made one fictional vendor onboarding page for Northline Pantry and a made-up order for 24 cartons of soup. The page brings four decisions into one reading path: records, delivery, labels, and contact routes. It does not represent a real company, vendor, order, or policy.
What is a vendor onboarding page for?
It is the supplier's start page after your organization has decided to work with them. It should help the supplier complete the next real handoff without guessing. In this example, “done” means the requested vendor record is ready, the first delivery has a defined window, every carton can be matched to the purchase order, and each problem has a contact route.
This is different from an RFP, which asks potential vendors to describe and price proposed work before selection. It is also different from a receiving record. After goods arrive, a procurement SOP should preserve the order line, delivered quantity, usable quantity, damage, and outstanding quantity.
How do I make a vendor onboarding page?
1. Start with the first completed transaction
Do not begin with a broad company introduction. Name the first event the supplier must complete. For a goods supplier, that may be a first delivery against a purchase order. For a service provider, it may be the first approved work order. The finish line determines which instructions belong on the page.
Our example starts with purchase order NP-1042 and a Tuesday receiving window. Those details are fictional, but they make the page testable: a reader can tell what to prepare and where the handoff would occur.
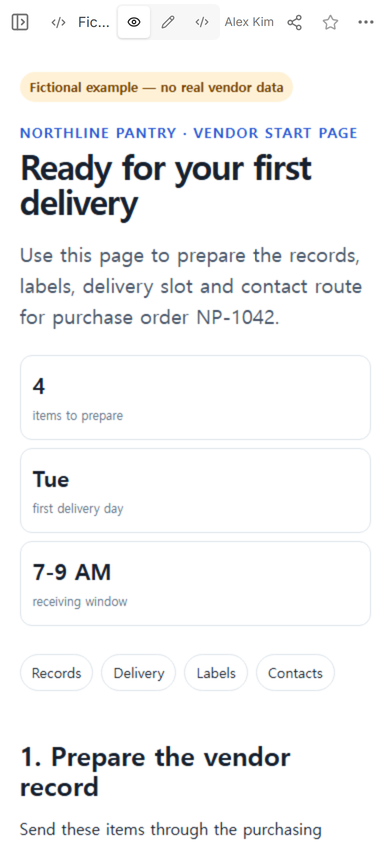
2. Separate the readable guide from sensitive records
List each requested record by purpose, owner, and delivery channel. Avoid a vague line such as “send all compliance documents.” A supplier needs to know which item applies, who expects it, and where it goes.
The fictional page names a vendor information sheet, an accounting-requested tax form, conditional insurance evidence, and payment-detail verification. It also says that the page itself does not collect or store those files. Replace those examples with your approved requirements and secure channels. Do not copy a form, threshold, or legal requirement from this example into a real process.
3. Put the delivery rule beside the order reference
A delivery instruction becomes easier to use when the supplier can match it to the order in front of them. Keep the order reference, item, quantity, receiving window, entrance, packing-slip fields, and late-arrival route together.
For labels, show one complete example rather than a paragraph of label advice. The fictional carton label keeps the product, PO number, lot reference, and “01 of 24” count in one block. A real buyer should replace that block with its maintained labeling rules.
4. Route problems by what happened
One general inbox forces the supplier to decide which internal team owns the issue. A short routing list can do that work on the page. Our example sends document questions to purchasing, arrival delays to receiving, quantity or damage issues to the PO issue route, and payment-detail changes to the known accounting contact. It names roles rather than inventing personal contact details.
Keep decisions outside the supplier's authority out of the guide. The page can tell a supplier where to report damaged cartons. It should not promise a replacement, return, payment, or new delivery date unless an authorized process has already established that outcome.
How do you share vendor onboarding information?
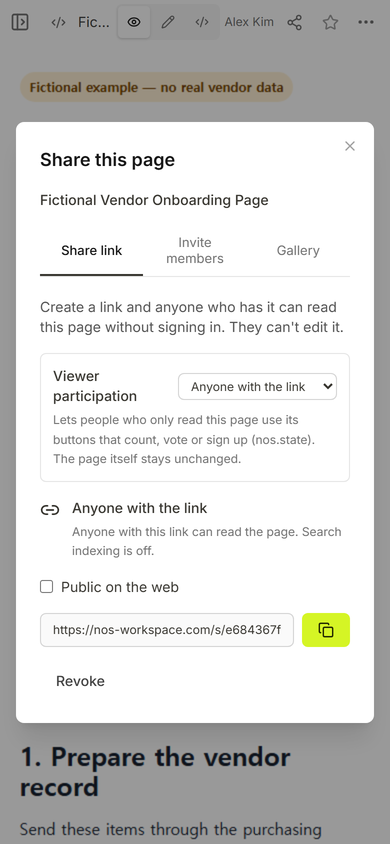
After checking the page in View, we opened Share and used the existing share link. The Share panel stated that anyone with the link could read the page without signing in and could not edit it. We then opened that address at phone width.
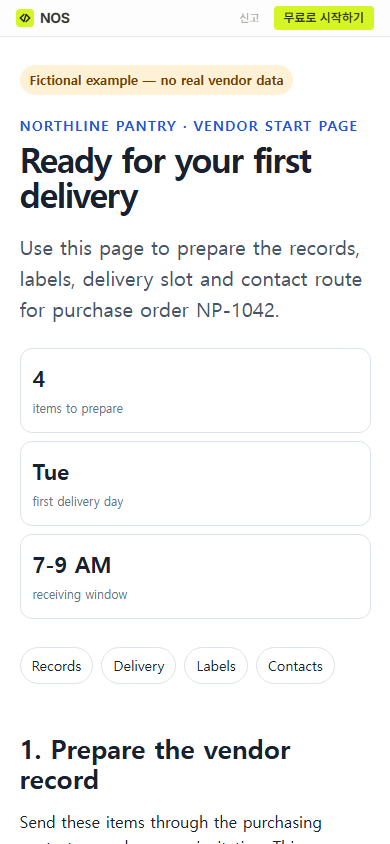
Send the guide only after the operational owner checks every instruction. A polished page cannot confirm that the receiving window, document route, or purchasing authority is correct. Those facts must come from the maintained process.
Can I update the page after I send it?
In this example, yes. We opened Edit on the existing page and changed its heading. Our first attempt selected only part of the heading, so the new words were joined to the old ones. That was visible immediately and was not left as the final result.
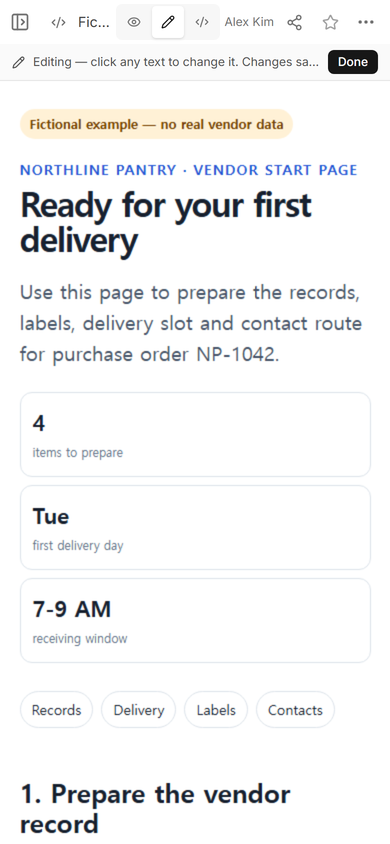
For a long or heavily styled heading, the safer recovery was to restore the complete page in Code, check the result in View, and then reopen the same share address. The corrected title, “Your first delivery checklist,” appeared at that address.
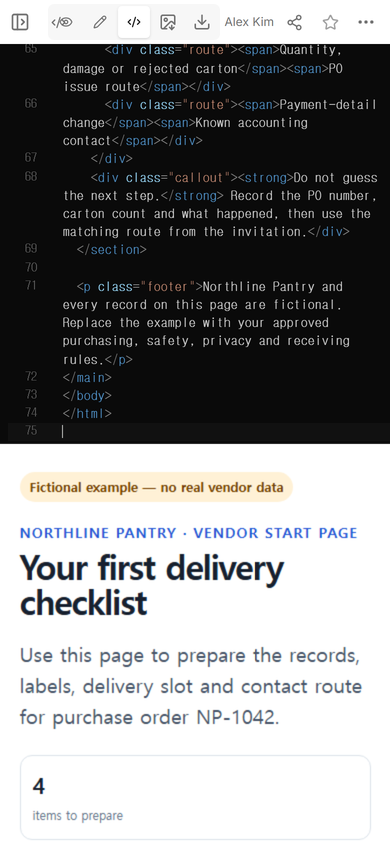
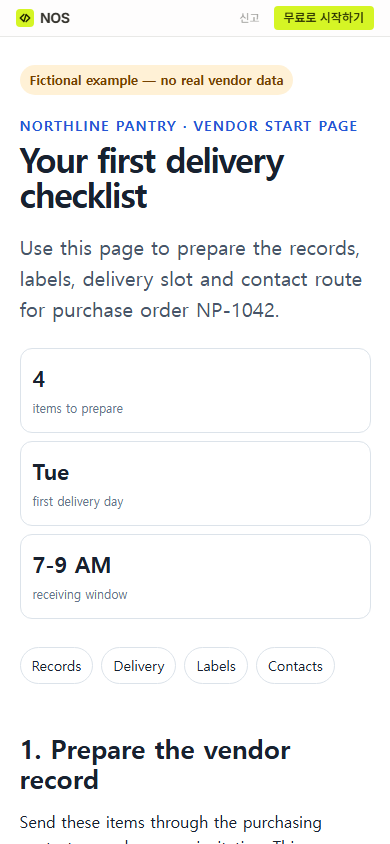
The useful habit is simple: make the change, inspect the full page, and reopen the reader's address. Do not treat a successful save action as proof that the page says what you intended.
What information should a vendor information page include?
Use the smallest set that gets the first transaction ready:
- Scope: the vendor, order, location, or service this guide covers.
- Required records: each item, whether it is conditional, its owner, and the approved submission route.
- Operating rules: delivery window, entrance, packaging, labels, or access steps that apply to the first handoff.
- Issue routes: who handles documents, delivery problems, discrepancies, and payment-detail changes.
- Definition of done: a short check the supplier and buyer can both understand.
Leave unknown details visibly unresolved until the owner supplies them. A blank contact route is safer than a convincing address that nobody approved.
When not to do this
Do not use an open reading page as a vendor database, tax-document drop box, bank-detail form, contract-signing system, or purchase approval record. Do not put credentials, private account information, or restricted supplier records in it. If the process requires identity checks, signatures, controlled access, retained submissions, or an audit trail, use the organization's approved system and keep this page as a plain guide at most.
Build the page in NOS
NOS worked here as the place to view the finished HTML, create a reader link, and correct the same page. The share screen and public result were checked for this fictional example. If you already have a complete HTML file, the HTML-to-link tool is the relevant next step. You can also download the fictional vendor onboarding example and replace every fictional rule with your approved process before using it.