In short
Put parking, the correct gate, check-in, and the first appointment in arrival order.
Show a simple landmark map beside written directions rather than making either one carry the whole guide.
Keep accessibility help and the contact for arrival changes close to the route.
Open the reader link at phone width, then correct the existing page when an arrival detail changes.
A campus visit guide has one job before the tour begins: get a visitor from the road to the right check-in desk with enough context to arrive prepared. For this guide, the NOS Team made a fictional prospective-student visit for Northbridge College. No real school, visitor, appointment, or contact data appears in the example.
We built the page around the order a guest would use it: parking, walking route, check-in, schedule, what to bring, and accessibility help. Open the complete fictional example to inspect the guide beyond the photographed sections.
Start with the arrival sequence, not the campus history
The opening screen names the visit and date, then gives the current gate in a highlighted note. The first full section answers three questions in sequence: Where do I park? Which building do I walk to? What happens at the desk?
That sequence is narrower than a general address link. An address page helps someone reach and enter one place. A campus visit guide also carries the visitor through several on-site stops and tells them what comes next.
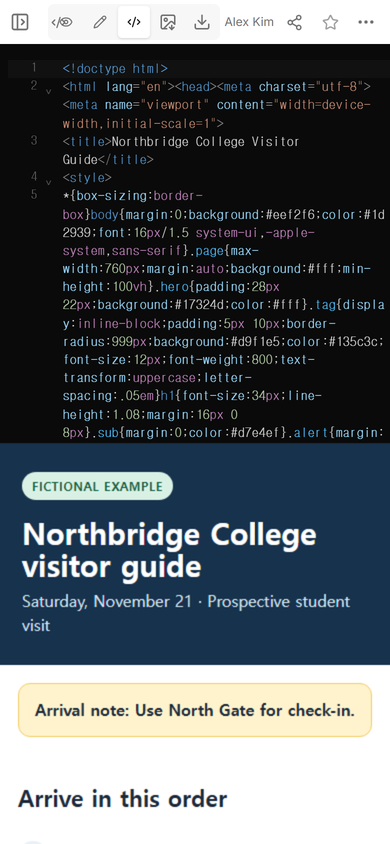
What should a campus visit guide include?
Five compact blocks were enough for this example:
- Arrival note: the gate or entrance that is correct for this visit.
- Parking and walking route: the lot name, entry street, destination building, and a visible landmark.
- Check-in instruction: the desk, room, and confirmation detail the visitor should use.
- Visit schedule: the appointments in local time, including where each one begins.
- Preparation and access: what to bring, the step-free route, and an approved contact for questions.
The fictional page does not ask the reader to infer a route from the schedule. It says “Visitor Lot C,” “Welcome Hall,” and “lobby desk” before showing the first appointment. The map repeats those same names, so a visitor can match the drawing with the written steps.
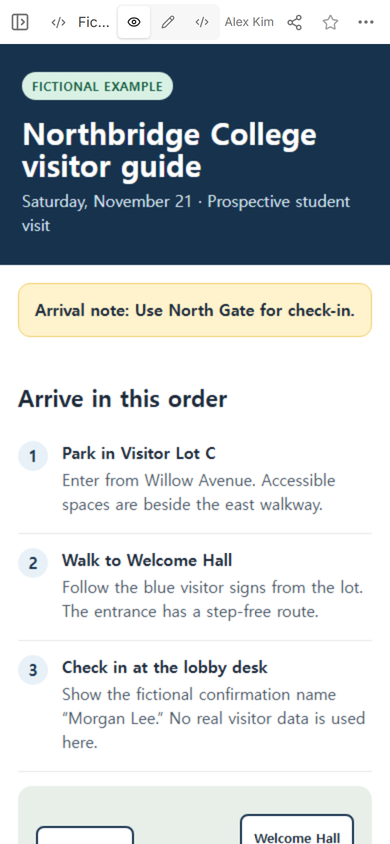
How do you make a campus visitor guide easy to use on a phone?
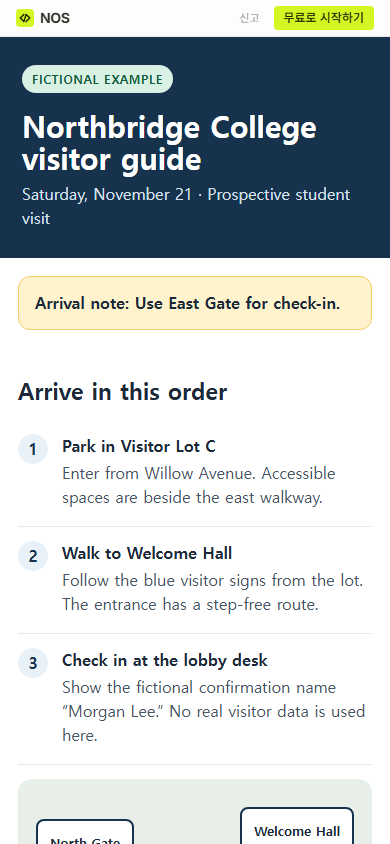
Use one reading column and keep each instruction short enough to scan while moving. On the tested phone-width view, the visit name, date, gate note, and three arrival steps appeared without horizontal scrolling. The map and later schedule continue below.
Do not rely on map color alone. Write every location as text, and repeat the destination building in the schedule when the group returns there. If a location has several entrances, name the one that matches the visit instead of sending only a campus-wide map.
What should visitors know before arriving on campus?
Preparation belongs after the route and schedule, not before them. The example asks for a confirmation message or visit name, weather-ready shoes, any mobility or communication request, and questions for the programs session. These are fictional prompts, not rules for another campus.
Accessibility information should describe the route rather than attach a vague label. The example identifies accessible parking beside the east walkway and a step-free entrance at Welcome Hall. It also gives placeholder contact details and tells the author to replace them with an approved campus contact before real use.
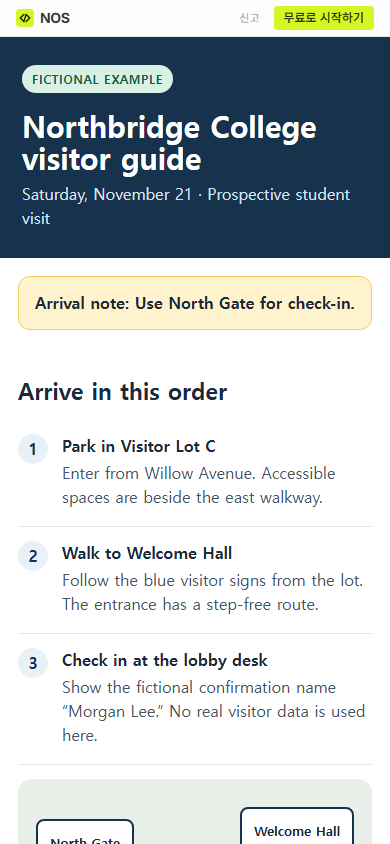
How do you handle a campus entrance change?
Change the prominent arrival note on the existing page. In ordinary Edit mode, we selected “Arrival note: Use North Gate for check-in,” replaced North with East, and chose Done. The cursor and new wording were visible before the change was saved.
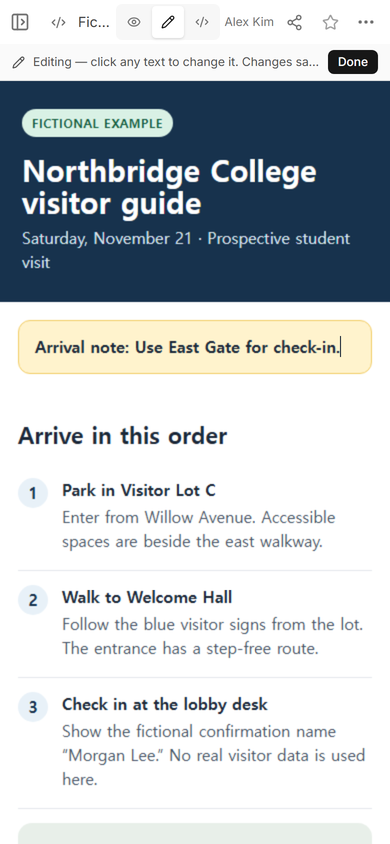
We then reopened the original reader address. It showed “Use East Gate for check-in.” The rest of the arrival sequence stayed on the same page.
How is this different from a field trip plan?
This page faces outward. It helps a visitor arrive, check in, and follow the visit. A field trip planning template is an organizer’s internal brief: purpose, permissions, confirmations, supervision, and actual participation must remain distinct. Do not move private rosters, medical details, or permission records into a public visitor guide.
An event link is broader than this guide and may be enough for a single gathering. Use a campus visit guide when the guest needs a route through multiple locations, a check-in handoff, and preparation specific to the visit.
What should you verify before sending the link?
Read the page as one chain. The named gate must lead to the named lot or walkway. The walking route must end at the same building as check-in. The schedule must start after the stated arrival time, and each room must belong to the building a visitor can actually find.
Then replace every fictional or placeholder detail. Confirm the date, local time, parking rules, gate, room, step-free route, and contact with the campus that owns the visit. A clear layout cannot make an unconfirmed direction correct.
When not to do this
- Do not use a shared guide as an emergency alert channel. Follow the campus process for closures, hazards, and urgent instructions.
- Do not publish visitor lists, student records, personal phone numbers, access requests, or appointment notes on a page available to anyone with the link.
- Do not copy the fictional map or route into a real visit. Replace every location and verify the accessible path with the host campus.
- Do not use a static page when you need registration, payment, capacity control, attendance records, or individual appointments.
Make the guide in NOS
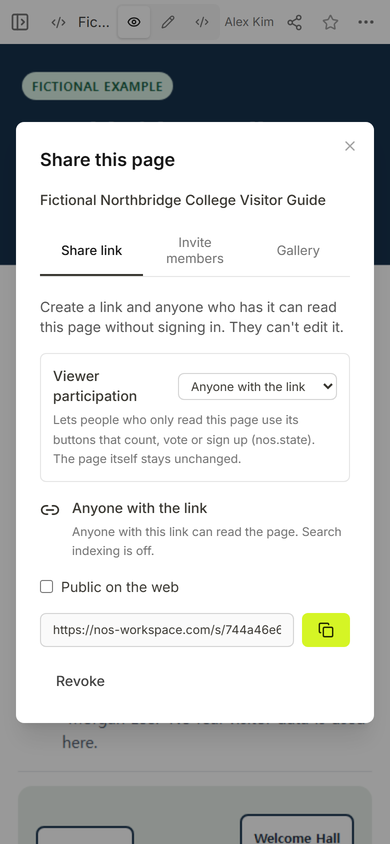
For this example, we added one complete HTML file to NOS, checked the page in View, created the reader address from Share, and corrected the gate in Edit. The current pricing page lists the available plans; this guide does not depend on a quoted price.