In short
An event accessibility guide tells attendees what the route, room, seating, sound, light, materials, and support process are actually like.
Describe each feature instead of calling the whole venue “accessible.” Put the guide at one share link, give one contact for unanswered needs, and update that same page when a checked detail changes.
NOS Team made a fictional access guide for the Riverlight Print Workshop. The page is clearly labeled as an example and asks an organizer to confirm every venue detail before using the structure for a real event. We wrote the arrival route, seating choices, sensory conditions, material options, and a fictional support contact, then changed the quiet-room location on the existing page.
What should an event accessibility guide include?
Start with the decisions an attendee may need before leaving home: which entrance to use, whether the route is step-free, what seating is available, what the room may sound and feel like, which communication support is confirmed, and who can answer a question. W3C’s event accessibility checklist tells organizers to check the venue, provide accessible routes between rooms, plan for assistive services as needed, limit distractions, and provide materials in advance.
That checklist is a planning source, not proof about your building. Walk the actual attendee route and ask the venue to confirm details. If a feature is still unknown, write “not confirmed” and name who is checking it.
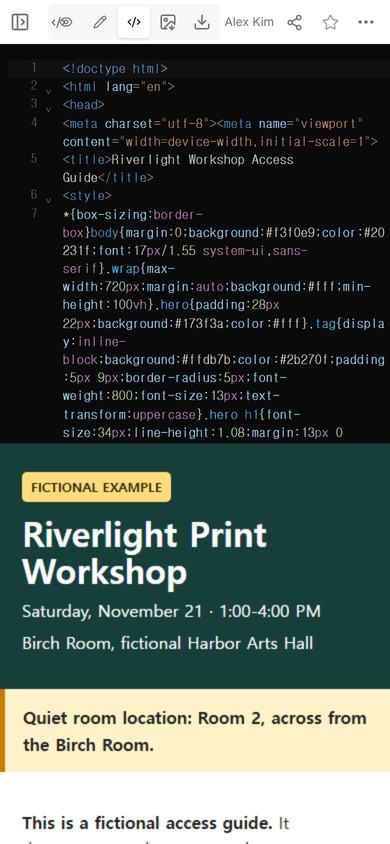
The example separates facts by task. An attendee can scan the route without reading the sensory notes, and someone choosing a seat can go directly to that section. The prominent fictional label prevents the sample venue details from looking like real arrangements.
How do you describe step-free access?
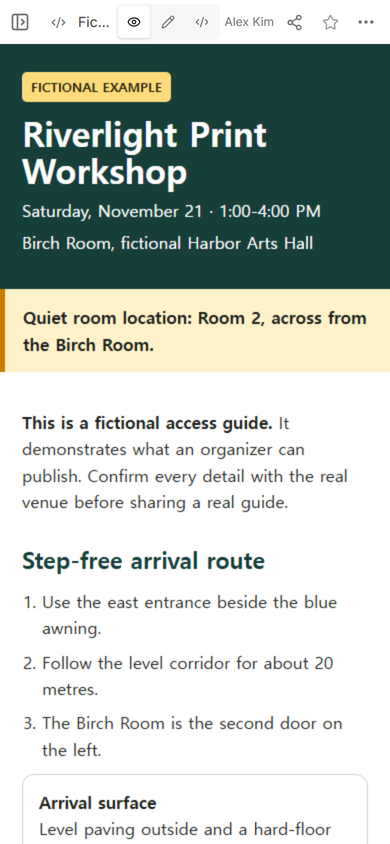
Write the route as instructions. Name the entrance, surface, doors, lifts or ramps, distance between key points, and the final room. “Accessible entrance available” leaves the attendee to discover which door it is. “Use the east entrance beside the blue awning, then follow the level corridor” gives a route that can be checked.
Do not copy a map pin and stop there. A separate address guide can hold navigation and arrival details, while this guide explains the access conditions along that route. For a real event, include only details that the organizer or venue has verified.
What should you say about seating and the sensory environment?
Describe choices rather than promising that one setup suits everyone. The fictional page lists chairs with and without arms, a table-edge place, and open floor space. A real organizer should replace that list with what the room can actually provide and explain how to request or reserve a particular place.
For the sensory section, cover expected sound, lighting, crowd or movement conditions, fragrance rules if the event has one, and the location of a lower-stimulation break space. Say whether music, amplification, flashing effects, or other planned conditions are present. Do not turn an absence of information into “none.”
Communication information belongs beside those details. State which formats are ready, which services are confirmed, and how to request something else. W3C advises organizers to arrange interpreters, captioners, or assistive listening support as needed and to get materials to participants and support providers in advance. The fictional page makes no claim that those services are confirmed.
How do attendees request accessibility support?
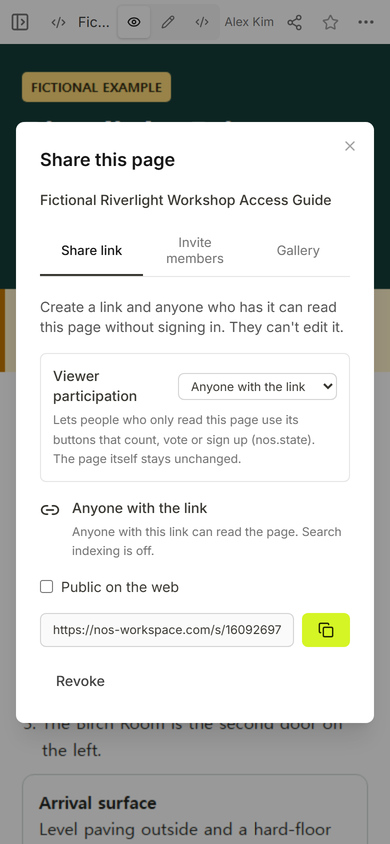
Give one clearly named route for questions. Say what the contact can help with, when a request is needed, and what information is unnecessary. In this sample, the fictional Access Desk covers route, seating, sensory, and communication questions, and the page tells readers not to send medical details.
A public information page does not need to collect private histories. Ask for the practical arrangement needed for the event. If a real request must go through a protected form or an established venue process, link to that process rather than inviting sensitive information by ordinary email.
How do you keep an access guide current?
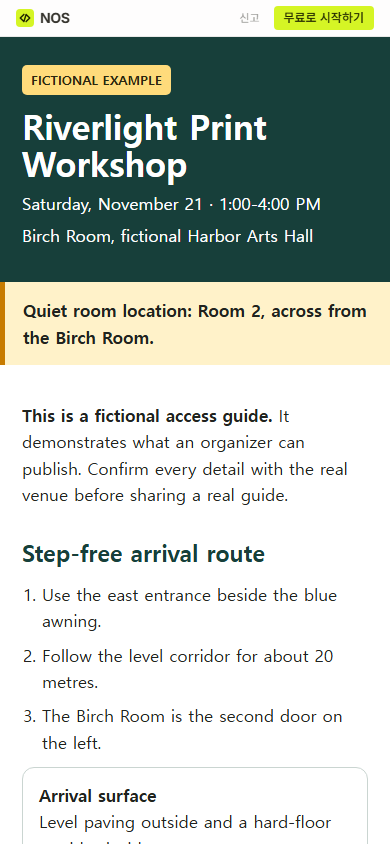
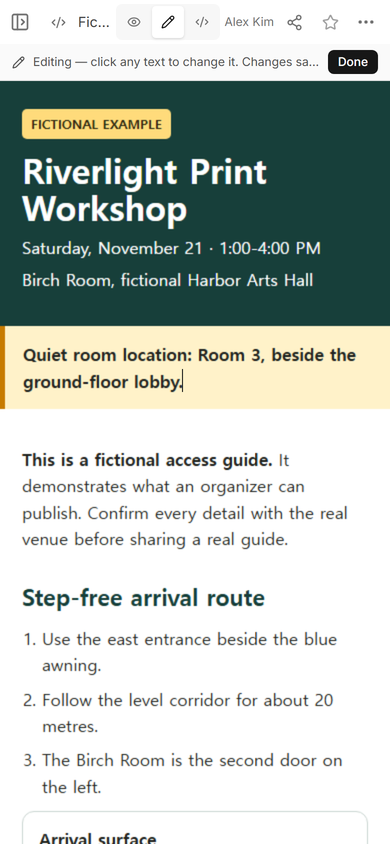
Put volatile details near the top and edit the existing page when a verified arrangement changes. For this example, we opened the normal Edit view, selected the quiet-room notice, changed Room 2 to Room 3 beside the ground-floor lobby, and saved it.
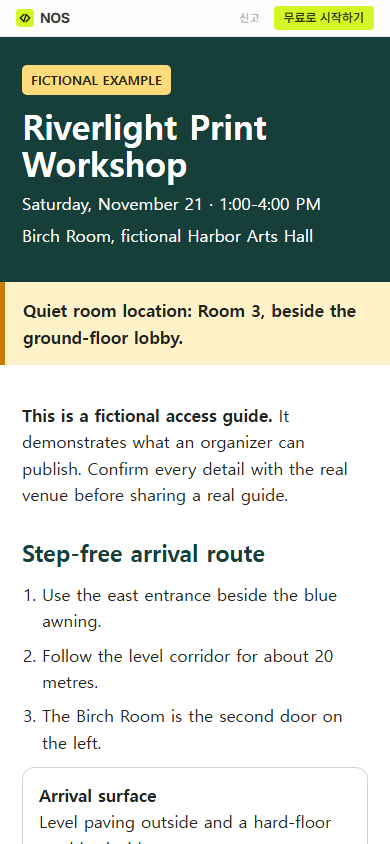
We then opened the same viewer address. The public page showed Room 3, while the workshop title and route below it stayed in place. The viewer did not need a replacement link.
For a real event, a page update is only one part of change management. If people may already be travelling or relying on an earlier arrangement, use the event’s approved notification channel as well. The event link guide explains how the general event page can hold the time, place, entry, cost, and contact alongside a dated change notice.
A practical event accessibility guide outline
- Label the event and scope. Name the date, venue, and whether the guide covers the whole event or one room.
- Explain arrival. Give the step-free route, doors, surfaces, vertical movement, parking or drop-off information, and the final room.
- Describe the room. List seating choices, circulation space, toilets, stage or activity access, and any place to take a break.
- Describe sensory conditions. Cover sound, light, crowd movement, planned effects, and the lower-stimulation space.
- State communication support. Name ready formats and confirmed services; mark pending requests honestly.
- Give a support route. Name the contact method, request deadline if one exists, and the kinds of arrangements it handles.
- Record changes. Put a dated correction at the top and notify attendees through the channel used for important event changes.
For parallel sessions, connect the access guide to the room and session names in the conference programme. That lets an attendee match each route or room condition to the session they plan to attend.
Download the complete fictional access-guide HTML example
When not to do this
Do not publish a polished guide from unverified venue claims. Do not use a static information page as a booking system, accommodation approval process, emergency alert, or accessibility certification. If requests require staff decisions, private records, payment, tickets, or capacity enforcement, keep those functions in the approved system and use the guide to explain how attendees reach it.
Where NOS fits
NOS can turn a prepared HTML access guide into a page you can inspect, share, and revise at the same viewer address, as this fictional example shows. It does not inspect a venue, confirm an accommodation, collect attendee requests, or certify that an event is accessible. Check current plan details on the pricing page.