In short
Pick one measurement method and show it before the chart.
Label every number as a body or garment measurement, with one unit throughout.
Explain what to do between sizes instead of leaving the buyer to guess.
Test the published page on a phone and check the decision rule with a real row from the chart.
We built a fictional size guide for the Northwind Field Overshirt. The job was narrow: help someone measure a shirt they already like, compare that width with five garment sizes, and choose more room for a T-shirt or a thicker layer. We did not invent customer feedback, return data, or a claim that one fit would suit every body.
Start with the decision the buyer needs to make
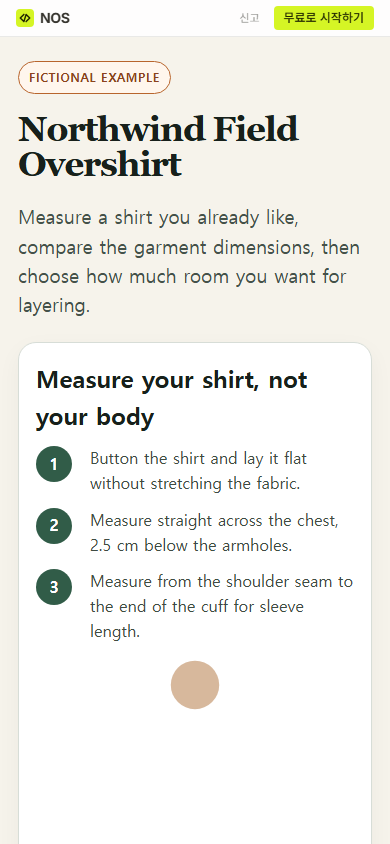
A chart alone gives the buyer numbers without a method. Our example starts by naming the reference item: a buttoned shirt laid flat. It then marks the chest line and sleeve line on the same page. That keeps the measurement instructions beside the table they explain.
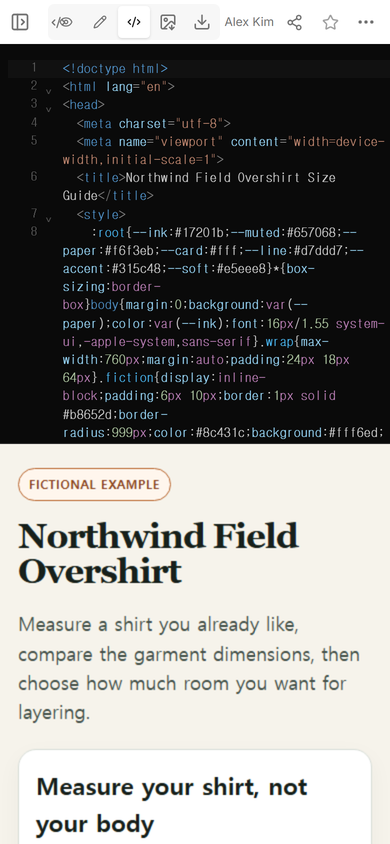
We used garment measurements throughout the example. “Chest width” means the distance straight across the flat shirt, not the circumference of a person’s chest. The wording matters because doubling one value or comparing two different kinds of measurement would send the reader to the wrong row.
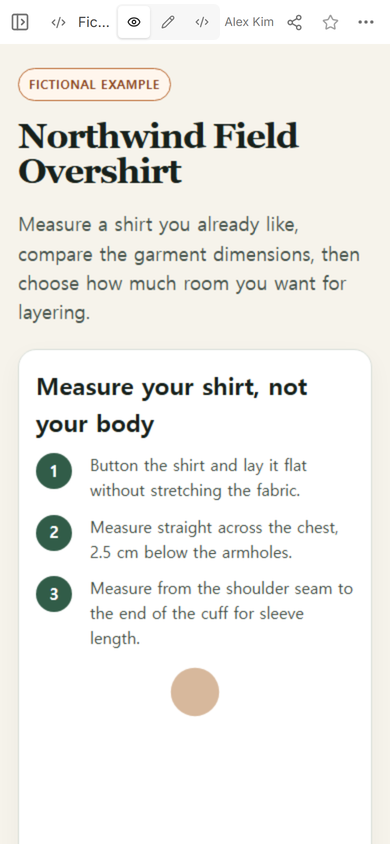
What should a size guide page include?
For this overshirt example, the page needed four connected parts:
- A named item and fit context. The guide is for one fictional overshirt, not every garment sold by a shop.
- A repeatable measuring method. The shirt is buttoned, laid flat, and measured without stretching.
- A chart with labeled units. Each row gives chest width, sleeve length, and back length in centimeters.
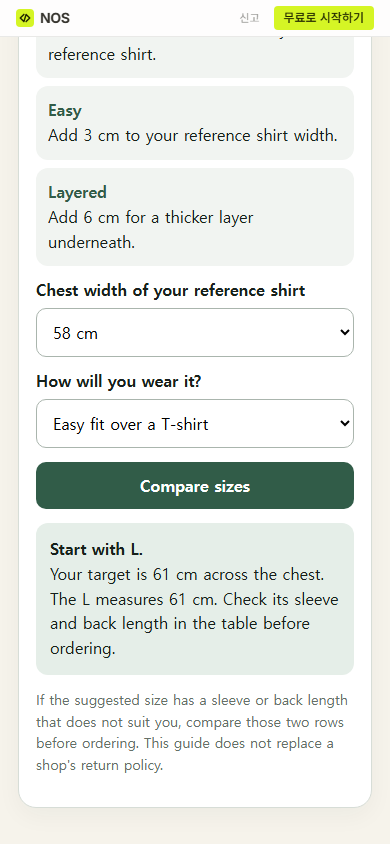
- A choice rule. The buyer can match a reference shirt, add 3 cm for an easy fit, or add 6 cm for a thicker layer.
Keep the method next to the chart. If a shop measures a sleeve from the center back instead of the shoulder seam, its numbers will not match this example. Name the endpoints in words and show them in the diagram.
How do you make a size chart easier to use?
Use the same unit in the instructions, column labels, and recommendation. Put sizes in a predictable order. Then give the reader a worked comparison using values already visible in the table.
In the fictional guide, a reference shirt is 58 cm across the chest. Choosing an easy fit adds 3 cm, so the target becomes 61 cm. The chart’s L row is 61 cm. That is arithmetic from the example, not a promise that L will fit a particular person.
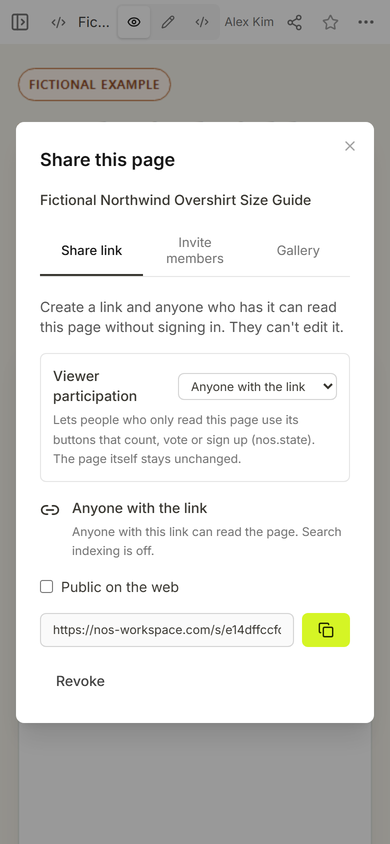
The captured Share panel states that anyone with the link can read the page without signing in and cannot edit it. It also shows viewer participation enabled, which is what lets a reader use the comparison button while the page itself stays unchanged.
How should you handle someone between two sizes?
Do not hide the choice behind “size up if unsure.” Say which measurement controls the decision, what extra room means in this product, and which other dimensions still need checking.
Our example chooses the first listed size whose chest width meets the selected target. It then tells the reader to check sleeve and back length before ordering. If the target exceeds the largest row, the page can only return the largest available option; that is a reason to show the table and limits, not to imply a guaranteed fit.
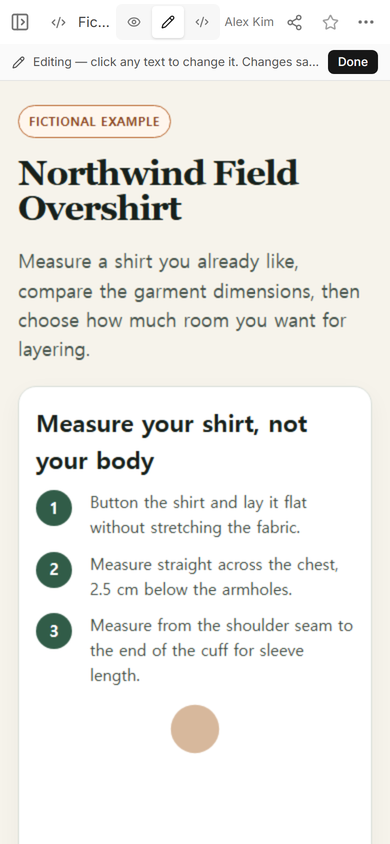
The editing screen is useful when a measurement label needs clarification. A correction should preserve the meaning of the chart: changing “chest” to “chest width measured flat” is clearer, while silently swapping garment width for body circumference would require rebuilding the values and examples.
Check the published guide in the buyer’s order
We opened the actual share link at phone width. The fictional label, product name, short purpose, and measuring method appeared before the chart. That order answers “Is this my item?” and “How were these numbers taken?” before asking the buyer to choose a row.
Next, we used the page’s prepared values: 58 cm and “Easy fit over a T-shirt.” Pressing Compare sizes returned L, a target of 61 cm, and the L chest width of 61 cm. The result also repeated the sleeve and back-length check.
What went wrong while checking the page?
The first view of the chart was not enough to prove that the recommendation was understandable. The target number only became useful after the result named the suggested row and told the reader what to inspect next. We also kept the “Fictional example” label on the public page, so no invented product or recommendation could be mistaken for a real shop policy.
When not to do this
- Do not reuse one chart across products that are cut or measured differently.
- Do not convert body measurements into garment measurements unless the product owner has supplied that rule.
- Do not present a calculated row as a fit guarantee.
- Do not replace an established returns, alterations, or fitting process with this fictional example.
Build and share the page with NOS
NOS Workspace let us open the finished HTML in Code, inspect it in View, open Edit, and create a reader link from Share. The public link displayed the guide at phone width and ran its comparison button. To prepare a product range before the size guide, use the product catalog template. For the page-making step, the HTML-to-link tool explains how a finished page becomes a shareable address. Current plan details belong on the pricing page.