In short
Choose one question for the whole museum, then divide the answer into a short room sequence.
Give every object a label, a source line, and a question that tells the visitor what to notice.
Make the route visible with room buttons and an active-room marker.
Test every room from the reader address, then recheck the first screen after any edit.
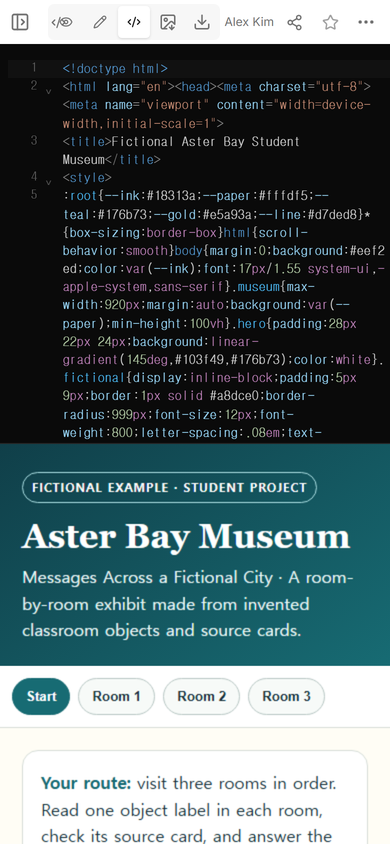
A virtual museum project for students works best when it feels like a visit, not a long report cut into cards. For this guide, NOS Team made a fictional city museum with three rooms. Each room contains one object, a label, a source card, and a looking question.
Aster Bay is not a real city. Its objects, dates, people, and classroom records were invented for this example. Open the complete fictional museum to follow the route yourself.
What should a virtual museum project include?
Start with five pieces that visitors can understand without a teacher standing beside the screen:
- A guiding question: one sentence that explains what the rooms investigate.
- A room order: a beginning, a middle, and a final room that build on one another.
- Object labels: a title, object ID, material or format, date status, and a short explanation.
- Visible sources: the record, book, interview, catalog, or class source used for each claim.
- Looking questions: one prompt per room that makes the visitor compare the object with its label.
The example asks how a fictional city shared news. Room 1 uses a painted notice, Room 2 uses a radio prop and bulletin card, and Room 3 uses an alert-light concept. The sequence moves from printed messages to broadcasts to a proposed future tool.
How do you plan the rooms before building the page?
Write the route as a list before choosing colors or drawing objects. For each room, finish this sentence: “After this room, the visitor should be able to explain…” If two rooms end with the same answer, combine them or give one a different job.
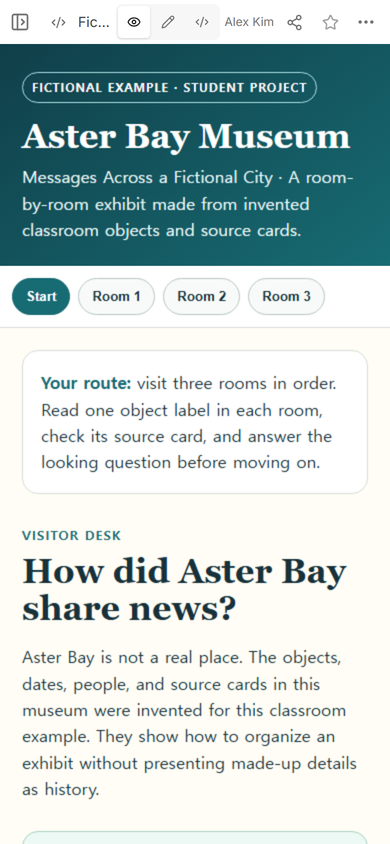
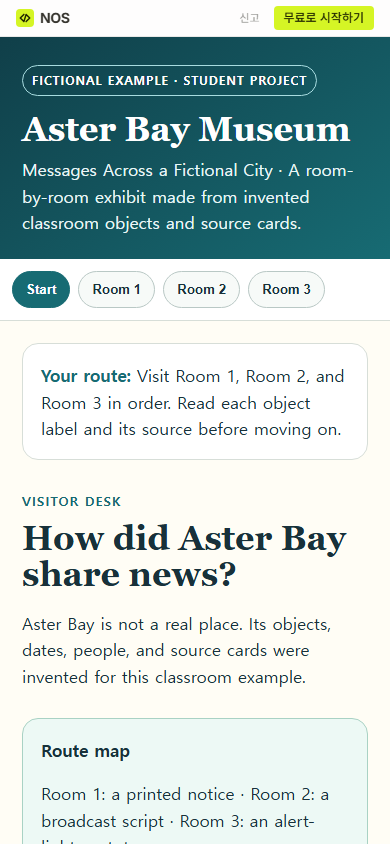
Our visitor desk names the route before the first room opens. It tells the visitor to move through Rooms 1, 2, and 3, read each object label, and check its source. A short route map then names the three object types. That front desk prevents the room buttons from becoming unexplained tabs.
A science fair page presents the method and result of one investigation. This museum uses objects and labels to build an argument across several stops. If the assignment is mainly one experiment, the science fair poster guide is the closer structure.
How do students write a museum object label?
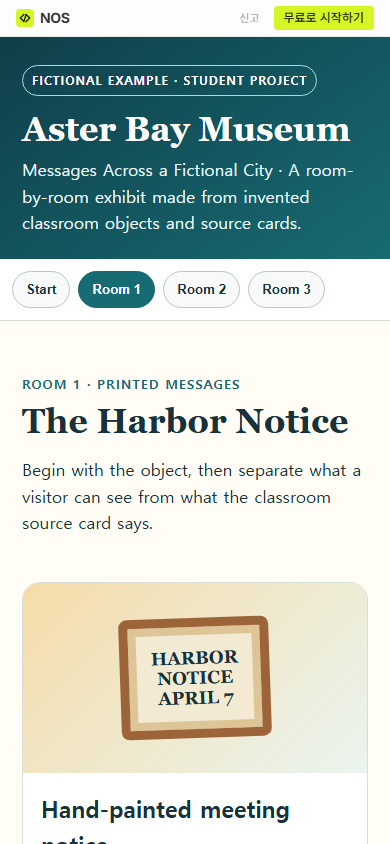
Keep observation and interpretation separate. Start with what the object visibly contains. Then explain what the project source contributes. In Room 1, the replica shows wide lettering and a blank lower edge. The fictional source card supplies the exercise date and the story about where the notice appeared.
The label also marks the object as a replica and the date as fictional. Those small status words matter because a polished page can otherwise make invented classroom material look like a historical collection.
For an observation activity before students write labels, the museum lesson plan template separates visible features from interpretations and questions for another source.
Where should sources go in a virtual museum?
Put the source beside the claim it supports. Do not make visitors leave the room and search a final bibliography to discover where one label came from. A full bibliography can still appear at the end, but each object needs a short source line of its own.
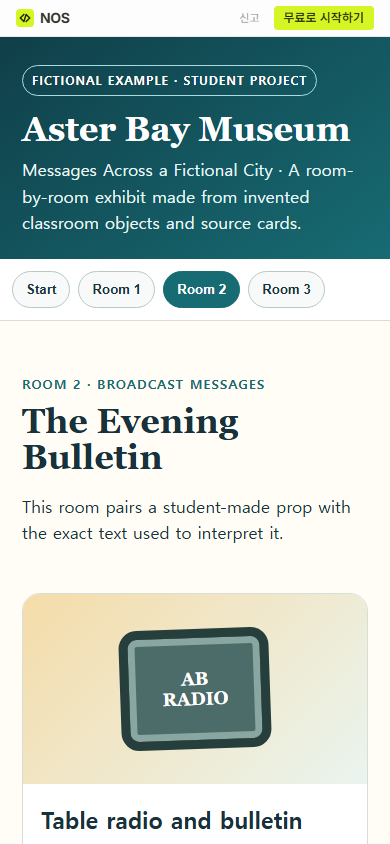
Room 2 cites both a classroom source card and a student prop note. Its label says exactly what the object can show and what its companion card adds. Because both records are fictional, the source line says that too.
For a real project, replace every exercise ID with a source that the class actually used. Record enough information for the teacher or another student to find it again. Do not invent a museum accession number, publication date, creator, or quotation to fill an empty field.
How do you make room-by-room navigation clear?
Use a fixed order even if visitors are allowed to jump ahead. Our page keeps Start and Rooms 1-3 visible at the top. The active button changes color, each room repeats its number and theme, and the bottom buttons name the next or previous stop.
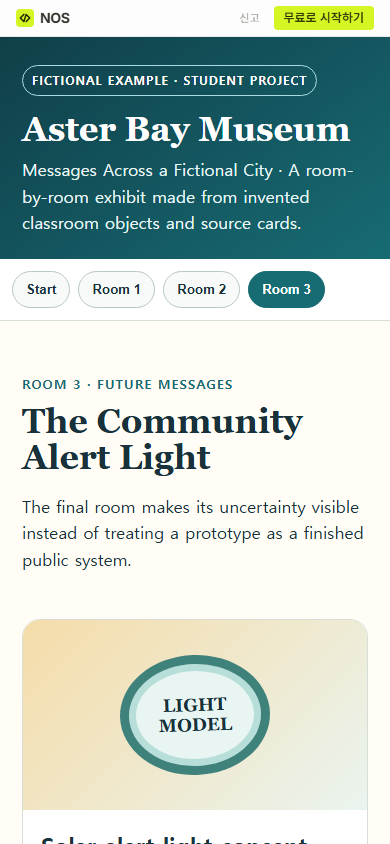
Room 3 finishes the route instead of ending on another unlabeled button. It identifies the alert light as a classroom concept, states what the model does not do, and asks what testing a real public tool would need. The completion note then reminds students to replace the exercise records with verified sources.
If the assignment needs puzzles and locked answers rather than an exhibit route, use the structure in digital escape rooms for students. A museum should not make the evidence hard to find simply to imitate a game.
How do you turn the exhibit into one web page?
Keep the museum in one complete HTML file. Put the shared title and room navigation first, then one section for each room. The room buttons should reveal the chosen section while leaving the other rooms available from the same route bar.
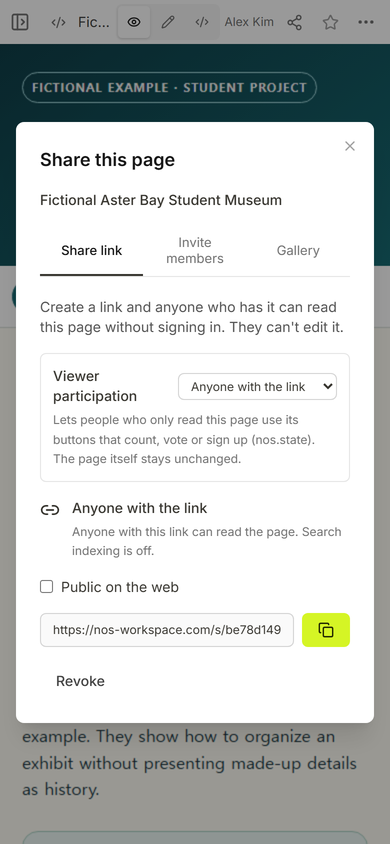
For this example, we added the complete file to NOS, checked the first screen in View, and opened Share to make the reader address. The Share panel for this page said that anyone with the address could read it without signing in and could not edit it.
We then opened the reader address at phone width and used the room buttons. Rooms 1, 2, and 3 each replaced the exhibit area while the museum title and route stayed in place. The three public room images in this guide came from those separate button actions.
What can go wrong when you edit the museum?
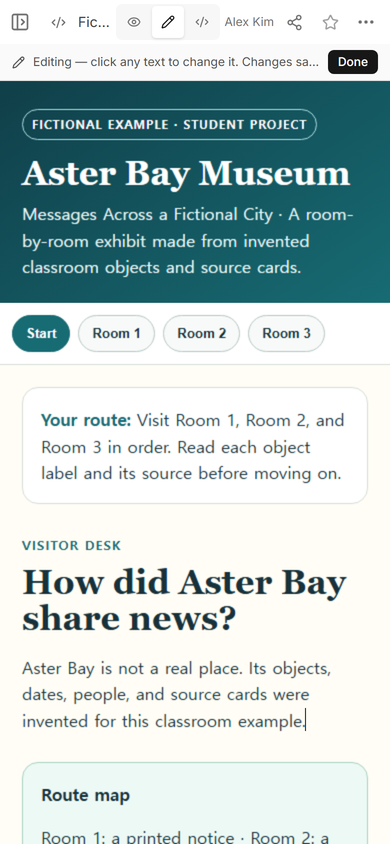
Nearby text blocks can be easy to confuse in visual editing. We meant to clarify the visitor route but selected the wrong paragraph twice. We did not leave those changes in place. We restored the fictional-project note, corrected the route card, and kept the unsuccessful images in the work record.
The useful check is broader than rereading the sentence you intended to change. After choosing Done, reopen the reader address and inspect the entire first screen: title, fictional label, route card, introduction, and room buttons. Then open at least one room to make sure the route still works.
What should the teacher check before students share it?
Open every room from the reader address and compare each label with its cited source. Check that fictional, replica, model, uncertain, and unknown are visible wherever they apply. Confirm that images and records are permitted for class sharing, and remove names or contact details that do not belong on a reader page.
Read the route without using prior class knowledge. A visitor should know where to start, what to notice, where each claim came from, and when the visit is complete.
When not to do this
- Do not use this public-style example for grades, student profiles, private feedback, attendance, or personal contact details.
- Do not present invented labels, dates, quotations, or object IDs as real collection records.
- Do not use a static exhibit when the assignment requires saved visitor responses, authenticated student accounts, or teacher grading inside the page.
- Do not force a room metaphor onto a short report that would be clearer as one continuous project page.
Make the virtual museum in NOS
NOS displayed this complete museum page, its room buttons, and the separate reader address used for the public checks above. The current pricing page lists available plans; no price is needed to follow this project structure.