In short
Put the task, sources, questions, final response, and rubric on one page in the order students need them.
Keep the source set small enough to compare on the page, and label every source so students can cite it.
Use the interactive checks for guidance, not for stored submissions or automatic grading.
Share the finished page, then open the link at phone width before assigning it.
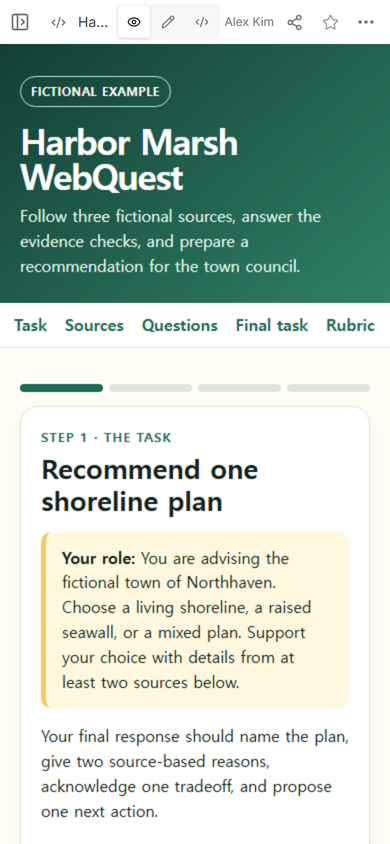
NOS Team built a fictional shoreline-planning WebQuest to test the complete path. The page asks a learner to advise the fictional town of Northhaven, read three labeled notes, answer two evidence checks, and draft a recommendation using at least two sources. The final section shows the same four criteria named in the task.
What is a WebQuest website?
A WebQuest website is more than a list of links. It gives the learner a role, a question worth resolving, a selected source set, a process for examining the evidence, and a final product with visible review criteria.
The order matters because each section prepares the next one. In this example, the learner sees the council recommendation before opening the sources. The evidence questions then point back to the budget and resident notes before the final response box appears.
How do you make a WebQuest website?
Start by writing the final task in one sentence. We used: recommend one shoreline plan and support it with details from at least two sources. That sentence determined which sources, questions, response fields, and rubric items belonged on the page.
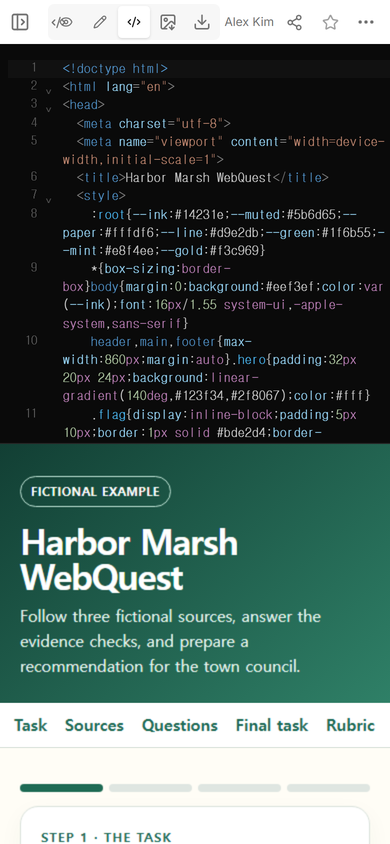
Next, make the page as one complete HTML file. Keep its title, directions, source labels, buttons, and phone layout together so you can review the whole learning path before sharing it. The finished fictional example is available as a complete WebQuest HTML example.
Open View and read the page as a learner would. The first screen should identify the role, the decision, and the evidence requirement without making the learner hunt through the sources first.
What belongs on a WebQuest page?
Use five parts, but write them for this task rather than copying a generic worksheet:
- Task: Name the learner's role, the decision, and the required final product.
- Sources: Label each item and include only material that helps resolve the task.
- Questions: Ask for evidence the learner will need in the final response.
- Final task: State the expected structure without supplying the learner's answer.
- Rubric: Show what a reviewer will look for before the learner begins.
The fictional source cards deliberately separate evidence from claims. One note describes the marsh edge, one defines a two-phase budget, and one records an access concern. None of the three declares a winning plan. The learner has to connect those details to a recommendation.
How do students move through the WebQuest?
Navigation labels let a learner jump back to a source, but the main page still reads from task to rubric. Each source card can reveal a short detail. The two evidence checks tell the learner whether to revisit the budget or resident note. They do not award a grade.
The final response asks for a plan, two source-based reasons, one tradeoff, and one next action. Its review button checks whether those parts are present. The page also states that a teacher still has to review the evidence and reasoning.
This is the important boundary: a visible completion message is not proof that the recommendation is accurate. Keep the rubric beside the task and reserve judgment for the teacher or other authorized reviewer.
How do you share a WebQuest with students?
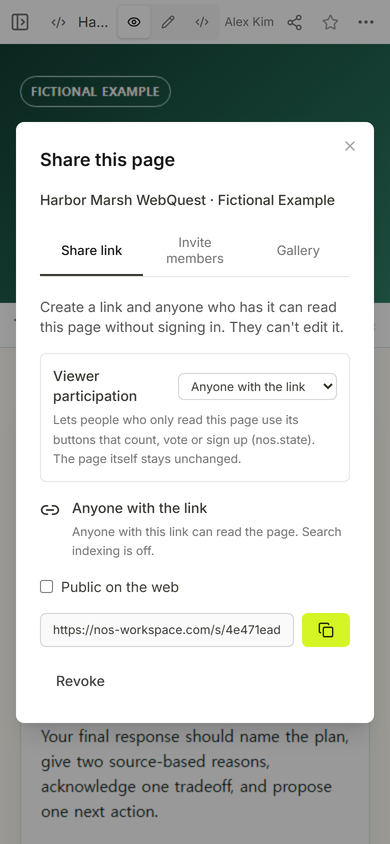
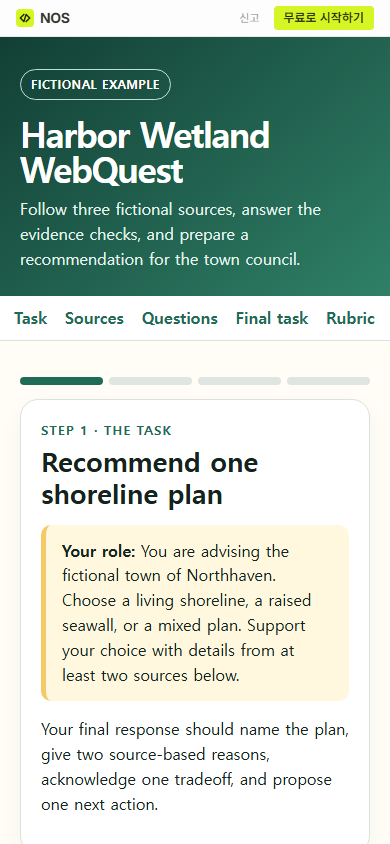
After checking every section in View, open Share and use the page's share address. The captured Share panel states that anyone with the link can read the page without signing in and cannot edit it.
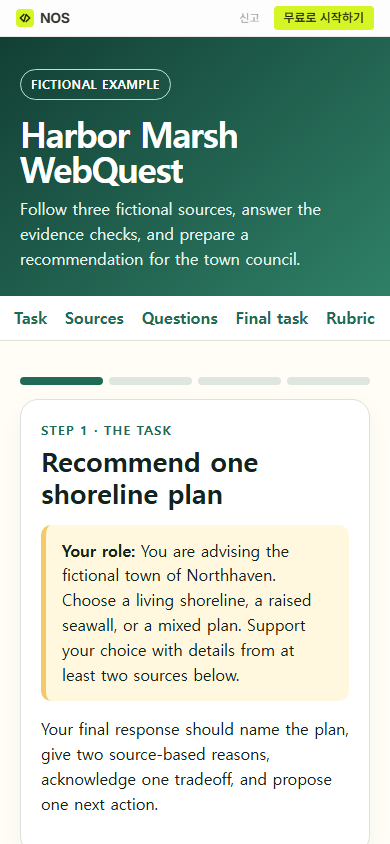
Open that address at phone width. The first public screen should still show the fictional label, task navigation, role, and evidence requirement. Check the rest of the page as well; a clean first screen does not prove that later source cards or controls fit.
Can you update a WebQuest after sharing it?
Yes, if you edit the existing NOS page. We first opened Edit on the same page. The title would not change while View was active; switching to Edit first made the page text available for editing.
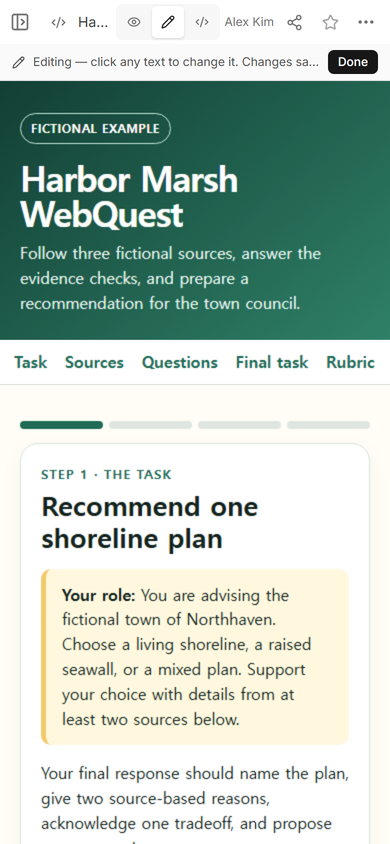
We changed “Harbor Marsh WebQuest” to “Harbor Wetland WebQuest” and selected Done. The normal page isolation setting remained in place during the edit.
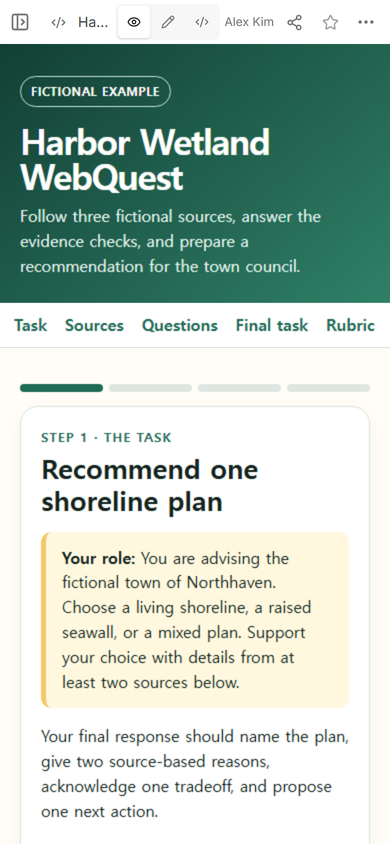
The original share address then displayed the revised title. That means a teacher can correct the existing page without distributing another address. A content change still needs a fresh review: a revised source can make an old question or rubric line wrong.
Can students submit answers on this page?
Not in this example. A learner can open source details, choose evidence answers, and type a draft, but the page sends nothing and stores no response. Reloading or closing the page can remove that local work.
If you need retained submissions, named student records, feedback history, or grades, use a school-approved collection system. Link to that system from the WebQuest only after checking its access and privacy requirements.
When not to do this
- Do not use a public WebQuest page for private student information or protected course material.
- Do not call a local answer check an assessment record or an automatic grade.
- Do not force all research onto one page when students must search, compare, or evaluate a wider set of sources.
- Do not use a long scrolling page when the task requires saved progress across several sessions.
Using NOS for the finished WebQuest
NOS gave this one-file WebQuest an editor view and a separate read-only share address. We used Code to inspect the complete file, View to read the learner path, Share to obtain the public address, and Edit to change the title on the existing page. For current plan limits, open the NOS pricing page before you publish.
What should you build next?
If you need a broader class information page rather than a guided inquiry, see classroom websites free. To organize course sources without assigning a final council-style decision, use the study guide template. If locks and a final code are the intended outcome, the digital escape room for students guide fits that different task.