In short
List the equipment in one room, where each item is stored, and the exact label a presenter should look for.
Put the connection steps in order. Add a short stop-and-escalate path for faults instead of turning the page into a repair manual.
Test the final viewer link on a phone, and revise the existing page when a cable label, contact route, or room status changes.
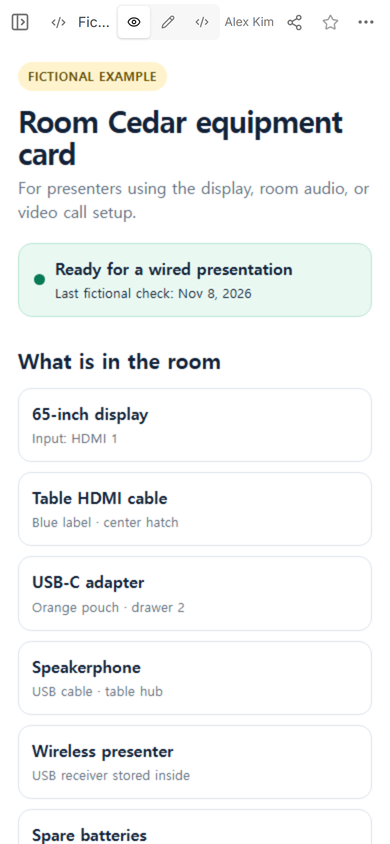
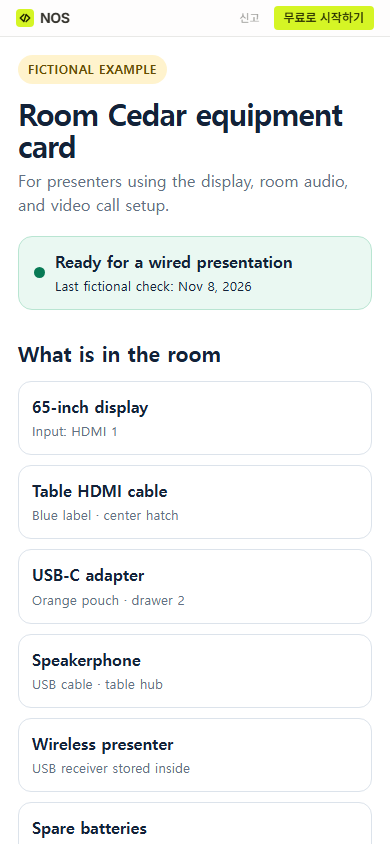
NOS Team made a fictional equipment card for Room Cedar. The completed page names six room items, gives a five-step connection path, lists four checks for a blank display, and tells a presenter what to report to the fictional facilities desk. We used invented room data throughout.
What should be on a meeting room equipment list?
Start with the room, not a generic shopping list. A presenter needs to know what is already there, what connector reaches the laptop, which input appears on the display, and where a loose adapter or battery is kept.
The Room Cedar example records these six items:
- Display: 65-inch screen, using the input labeled HDMI 1.
- Table cable: HDMI cable with a blue label in the center hatch.
- Laptop adapter: USB-C adapter in an orange pouch in drawer 2.
- Room audio: USB speakerphone at the table hub.
- Presenter: wireless presenter with its receiver stored inside.
- Consumable: two spare AAA batteries in drawer 2.
These details are fictional, but the level of specificity is the point. “Adapter available” leaves the presenter guessing. A connector type, a visible label, and a storage location turn the row into an instruction.
How do you turn the inventory into a presenter guide?
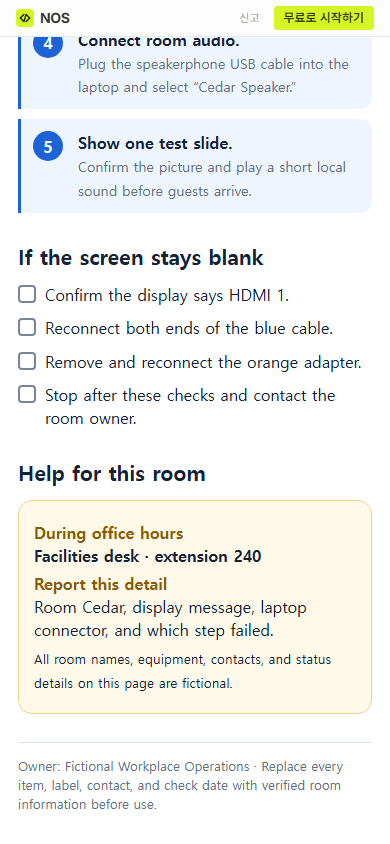
Order the page around the path a presenter follows. Room Cedar begins with the display, then the laptop connection, room audio, and a test slide. The inventory supports those steps instead of sitting in a separate spreadsheet that must be interpreted during setup.
- Wake the display with the room remote.
- Choose the input labeled HDMI 1.
- Connect the blue HDMI cable, adding the orange USB-C adapter only when the laptop needs it.
- Connect the USB speakerphone and select the fictional device name shown on the card.
- Show one test slide and play a short local sound before the meeting begins.
Keep the real room instructions as short as the equipment permits. If the display, conferencing unit, and microphone need separate power or input choices, give each action its own numbered line.
What should the list say when equipment does not work?
A meeting room equipment list should help a presenter identify the failure and hand it to the right owner. It should not invite unapproved repair work. The example stops after four checks: confirm HDMI 1, reconnect both ends of the blue cable, reconnect the orange adapter, then contact the room owner.
The help block asks the presenter to report the room, display message, laptop connector, and failed step. That gives the support owner a clearer starting point than “the screen is broken,” while keeping every contact and maintenance rule under the organization’s control.
How do you share the equipment guide with presenters?
Open Share and use the viewer address. The Share panel in this example says that anyone with the link can read the page without signing in and cannot edit it. It also says search indexing is off for this link.
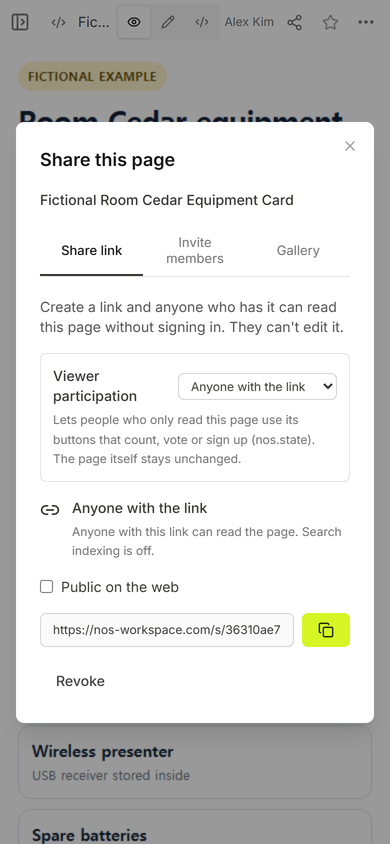
Place that viewer address where the presenter will look before connecting a laptop: the room booking confirmation, an internal room directory, or a room label chosen by the organization. Do not put restricted network details, passwords, private contacts, or visitor information on a link that can be forwarded.
How do you update a room list without leaving two versions?
Edit the existing page. During this example, our first text selection caught only part of the introduction and duplicated words. We reopened Edit, removed the complete faulty line, entered the sentence once, and checked the existing viewer address again. The practical lesson is simple: read the changed block in View and at the public link before calling the update finished.
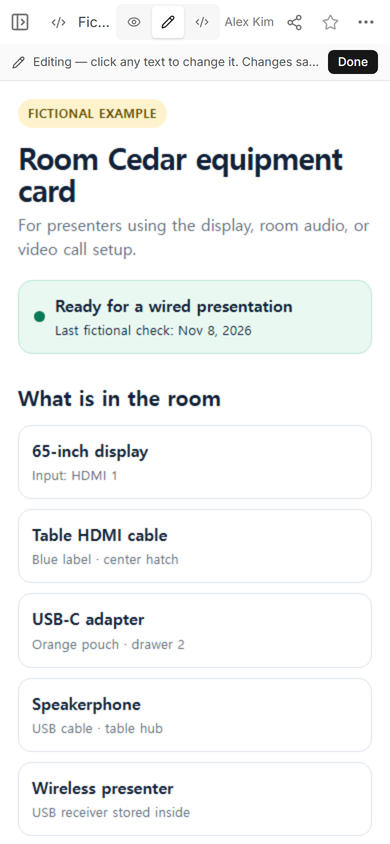
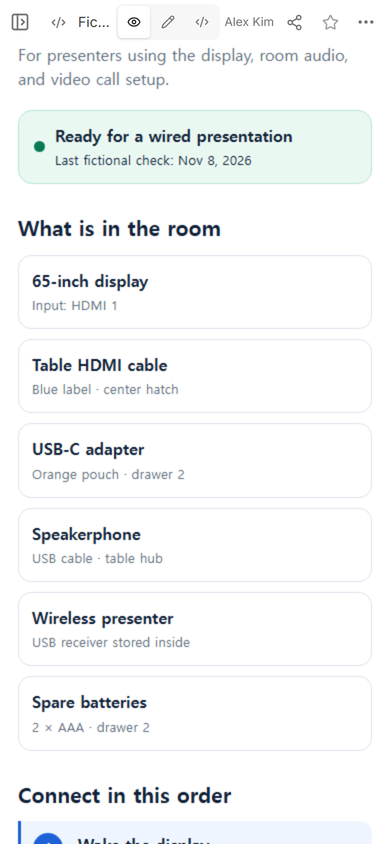
Use one owner and a visible check date. When equipment changes, verify the physical room first, then update the item, connection step, help route, and date together. The page can describe the latest verified state; it cannot test the hardware by itself.
Download the fictional meeting room equipment list
Open the complete Room Cedar example. Replace the room name, every device, cable label, storage location, input name, contact route, and check date with verified information from your own room before sharing it.
When not to do this
- Do not use a public viewer page for passwords, network credentials, private dial-in details, access codes, or personal contact information.
- Do not mark a room ready from an old list. Check the physical equipment and the organization’s maintained support record.
- Do not add reset, wiring, electrical, or repair steps that presenters are not authorized to perform.
- Do not treat this page as a booking system. Use the organization’s approved reservation process for room availability and approval.
Using NOS for a meeting room equipment list
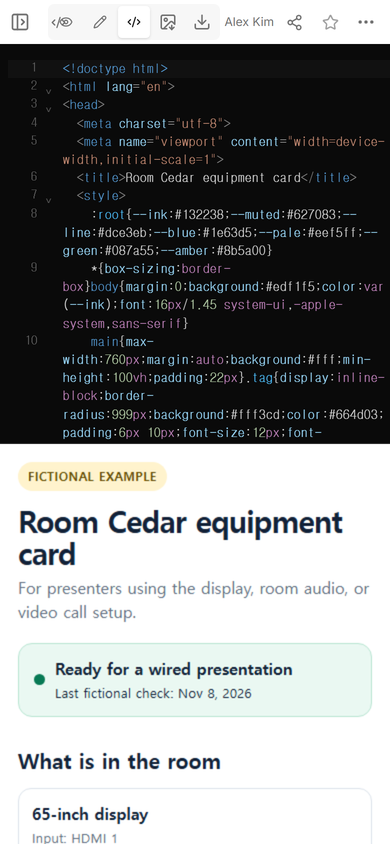
NOS Workspace held the complete fictional page, showed it in Code and View, opened ordinary Edit mode for a text correction, and created a reader address from Share. In this test, the original reader address showed the corrected sentence after the existing page was updated. Check the current pricing page if plan details matter to your setup.
Related room and team guides
Use the boardroom booking template when the next job is resolving setup and cleanup time around a reservation. Use the meeting checklist template to record evidence behind other preparation tasks. If several room guides and workplace links need one owner and one entry point, continue with the one-page internal hub guide. To turn another finished page into a viewer address, open the HTML-to-link tool.