In short
A museum exhibit guide should help a visitor answer three questions on a phone: where do I go next, what am I looking at, and which extra resource is available?
Number the stops, keep each interpretation short, place access information before the route begins, and link only the material that belongs with that work.
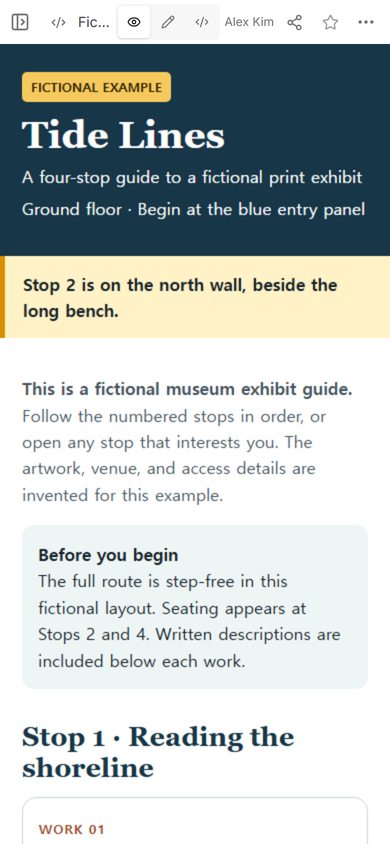
NOS Team built a fictional four-stop guide for Tide Lines, an invented print exhibition. We arranged the route, wrote one concise observation for each work, added seating and large-text information, and linked a process note, a plain-text transcript, and an artist page. Then we corrected the wall direction for Stop 2 on the existing page and checked the same viewer address again.
How do you make a museum exhibit guide for a phone?
Begin with the physical visit rather than the full curatorial essay. Put the exhibition title, starting point, and first route decision on the opening screen. After that, give every stop a number, an artwork identifier, a short interpretation, and one useful prompt or resource.
The fictional guide starts at a blue entry panel and contains four numbered works. That is enough structure to test the reading order without pretending to document a real collection.
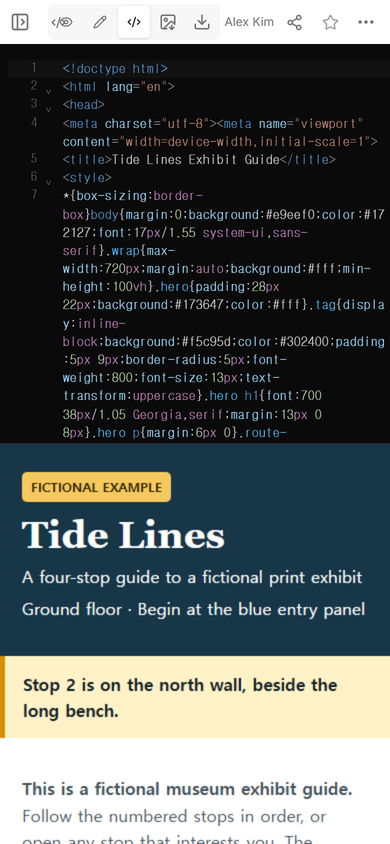
Keep the fictional or draft status visible while the page is under review. It prevents invented names, routes, and access details from being mistaken for museum information.
What should a museum visitor guide include?
Use a small, repeatable set of fields:
- Route: a starting point and the location of each stop.
- Artwork identity: number, title, creator, medium, and date when those facts are confirmed.
- Interpretation: one idea that helps the visitor look again.
- Access: step-free route, seating, large-text or transcript availability, and any relevant sensory information.
- Related material: a transcript, process note, audio description, artist page, or collection record that adds something the label cannot hold.
Do not fill an unknown field with a likely answer. Mark it as unconfirmed and assign it to the person checking the object record or gallery plan.
How long should museum exhibit text be?
Write for the job each block must do. A route note needs a direction. An object line needs identification. A short interpretation can point to one visual choice and then stop.
The Smithsonian Guidelines for Accessible Exhibition Design recommend plain English, active voice, short sentences, and a short overview at the beginning of introductory or thematic text. The fictional page follows that pattern: each stop names one feature to notice instead of compressing every possible reading into the phone screen.
If the scholarship needs more space, place the full essay in a related resource. The guide remains useful in the gallery, while the longer material remains available to the visitor who wants it.
How do you share the guide without exposing the editor?
Use the viewer address from Share, not the workspace address. In this example, the Share panel stated that anyone with the link could read the page without signing in and could not edit it.
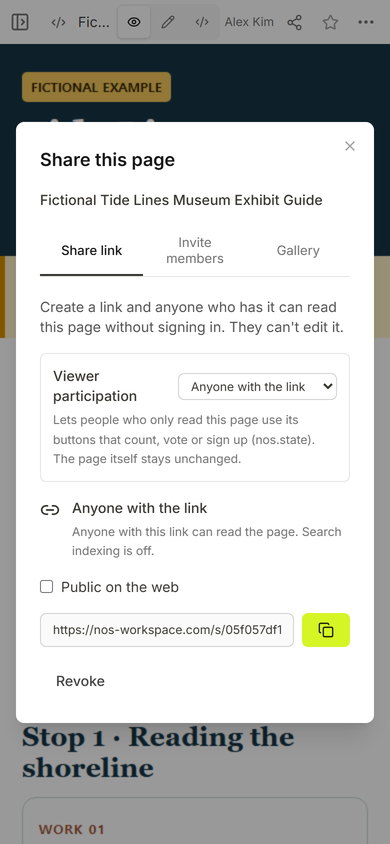
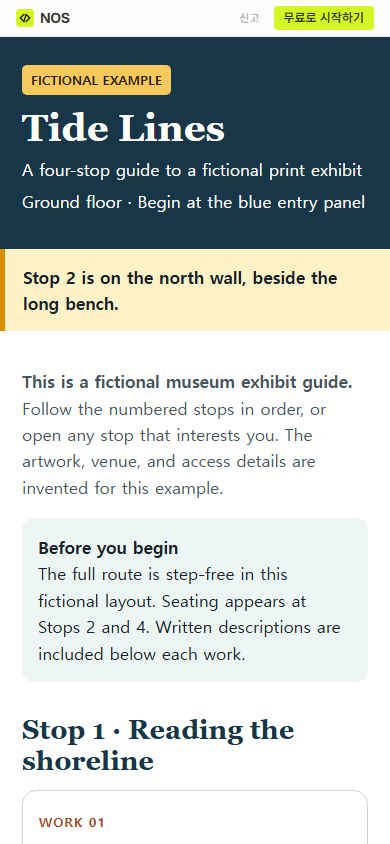
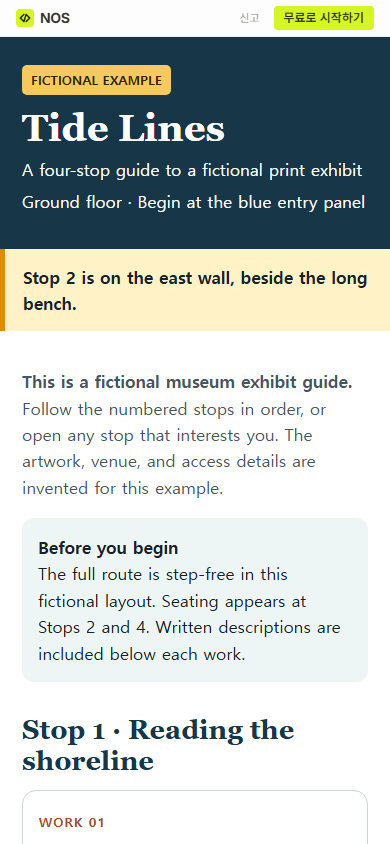
Open that address at phone width before placing it on a wall label or handout. The first public check showed the exhibition title, the fictional marker, the starting point, the Stop 2 direction, and the access summary before the first artwork.
How do you add accessibility information to an exhibit guide?
Put access information where it affects a decision. A visitor should not have to finish four artwork notes before learning where seating or a step-free route is located.
The Smithsonian guidelines require legible main copy and alternative formats for people who cannot read print. Their overview also calls for a clearly defined, easy-to-follow circulation route and seating in each exhibition.
Those examples do not prove that a particular gallery is accessible. For a real guide, verify the route, seating, label formats, transcripts, and sensory details with the museum. State what exists and where it is; do not use a single “accessible” label as a substitute for particulars.
Can you correct an exhibit guide after sharing it?
For this example, the Stop 2 notice first said “north wall.” We opened the ordinary Edit view, selected that notice, replaced north with east, and saved the existing page.
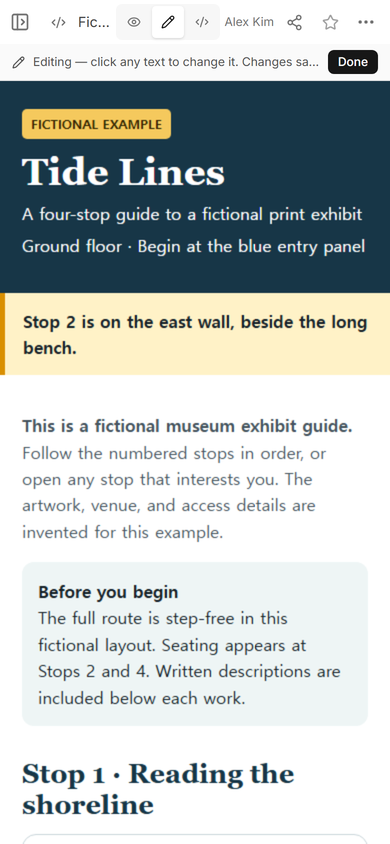
We reopened the original viewer address. It showed “east wall” while the exhibition title, starting point, access summary, and first stop remained in place.
A correction on the page does not move signage or notify staff by itself. If the old direction also appears on a printed label, floor map, audio guide, or staff sheet, update those materials through the museum’s normal review process.
A practical museum exhibit guide outline
- Open with orientation. Name the exhibition, starting point, floor, and route conditions.
- Number the stops. Match the phone guide to numbers that visitors can find in the gallery.
- Identify each work. Use confirmed collection information and keep the field order consistent.
- Offer one way to look. Point to a color, material, comparison, or question that belongs to that work.
- Place access details early. Include the route, seating, available formats, and where to ask for help.
- Attach related material selectively. Link a transcript or deeper resource beside the stop it supports.
- Check the public page in the room. Confirm the route wording against the installed exhibition and correct the existing guide when a verified detail changes.
Use the virtual tour guide when the goal is to understand a space without visiting. Use the digital art portfolio guide when an artist needs a lasting body of work rather than an in-gallery route. If the exhibit belongs to a larger opening or program, the event link guide covers time, place, entry, cost, and contact information.
Download the complete fictional museum exhibit guide example
When not to do this
Do not use a static exhibit guide as a ticketing system, collection database, emergency notice, indoor positioning service, or accessibility certification. Do not publish an artwork attribution, route, or accommodation that the museum has not checked. If the visit depends on live capacity, reservations, personal information, or real-time wayfinding, keep that function in the approved system and use the guide to explain where it begins.
Where NOS fits
NOS can turn a prepared HTML exhibit guide into a page you can inspect, share, and revise at the same viewer address, as this fictional example demonstrates. It does not verify collection records, gallery installation, access conditions, or visitor services. Check current plan details on the pricing page.