In short
Fix the viewing face and the legend before reading the proof. Give each intended fold segment an ID. Compare the mark on the proof with the author's intended direction, then recheck the exported drawing after the correction.
The middle line on a workshop handout needs to be a valley fold. The file about to go to print shows a dash and a dot, which the handout's legend reads as a mountain. Use the sheet below to pinpoint the change and record what you saw when you checked it again.
Download the blank fold symbol proofing sheet. For a practice run, open Proof A with the hold and the completed Proof B.
Which side of the drawing should you check?
Record the drawing and proof revision. Write which face is up and where an orientation mark belongs. In the fictional Workshop Crease Card, the front face is up and the word TOP sits above the rectangle. Keep that same view when you compare Proof A with Proof B.
From the named face, a mountain rises like a ridge and a valley dips like a trough. In its square-base example, Utah State University Extension's origami guide names the side to put up and gives different directions for the diagonal and straight folds. Robert J. Lang's diagramming notes distinguish edges, creases and fold marks and discuss variations in how these are drawn. Read the legend approved for your own drawing.
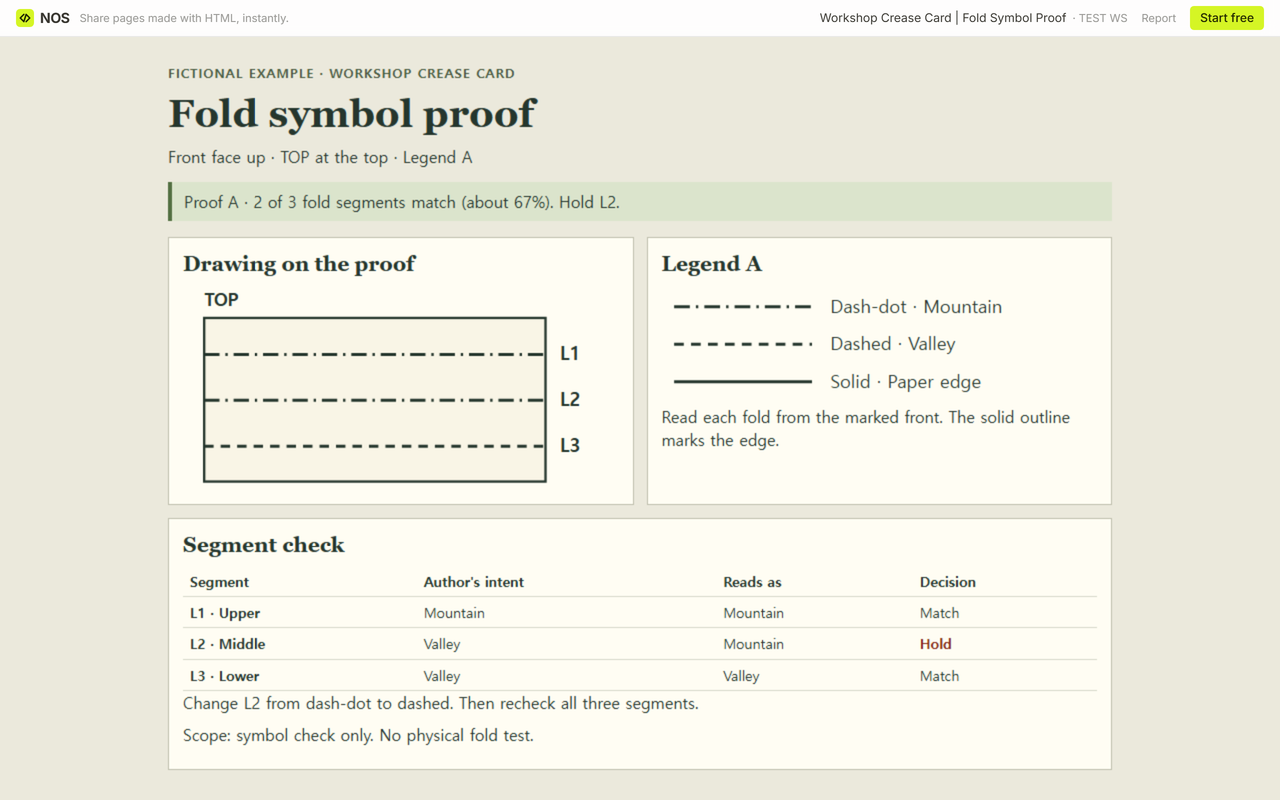
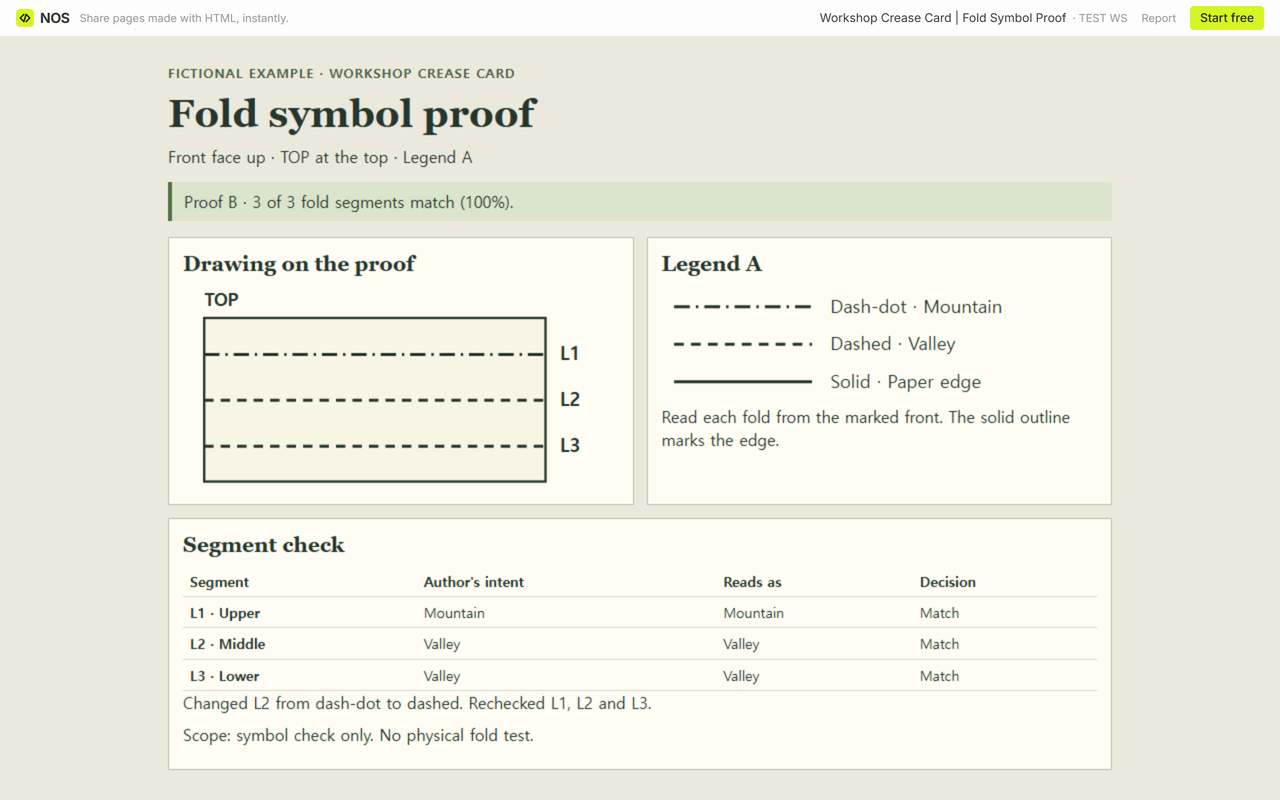
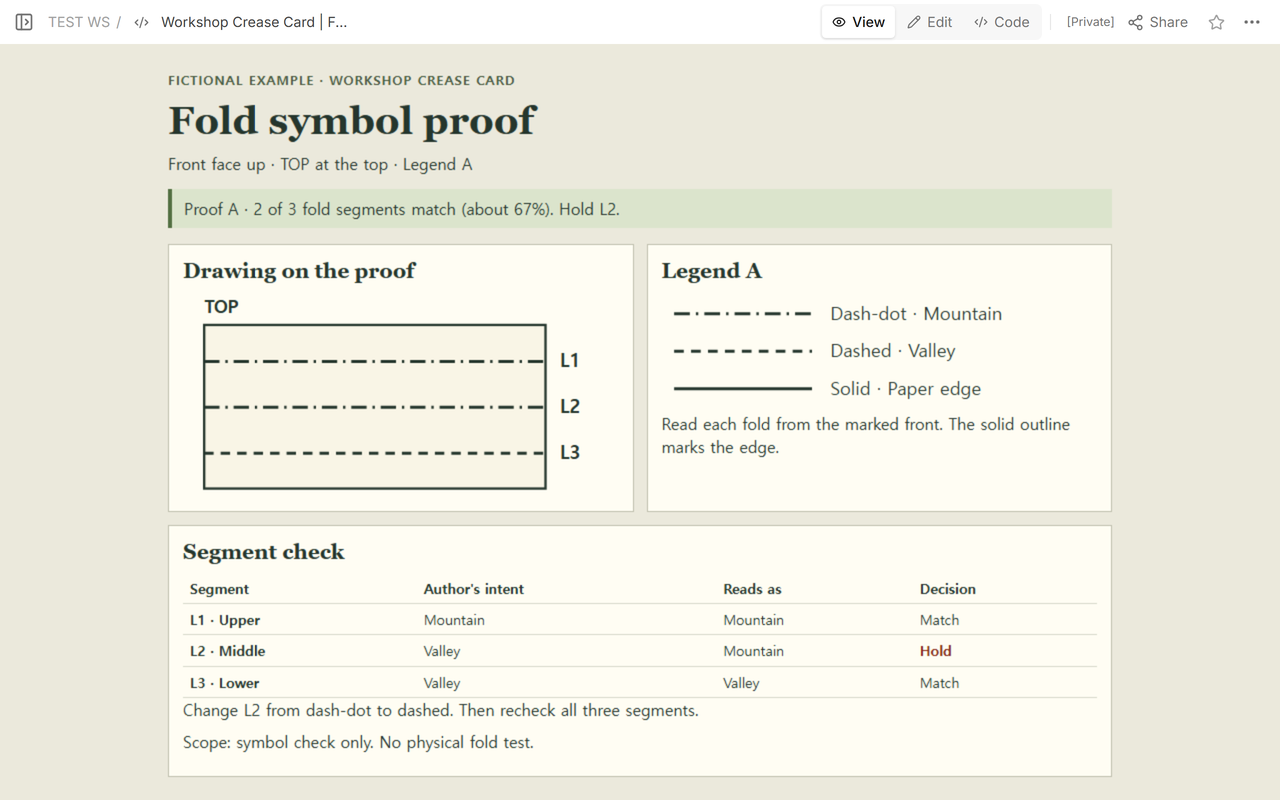
For this exercise, Legend A calls dash-dot a mountain, dashed a valley and solid the paper edge. The fictional author's note specifies the upper segment L1 as mountain and the middle L2 and lower L3 as valley, all from the marked front. Copy the author's directions to your sheet before you look at the proof marks.
Which segment needs a change?
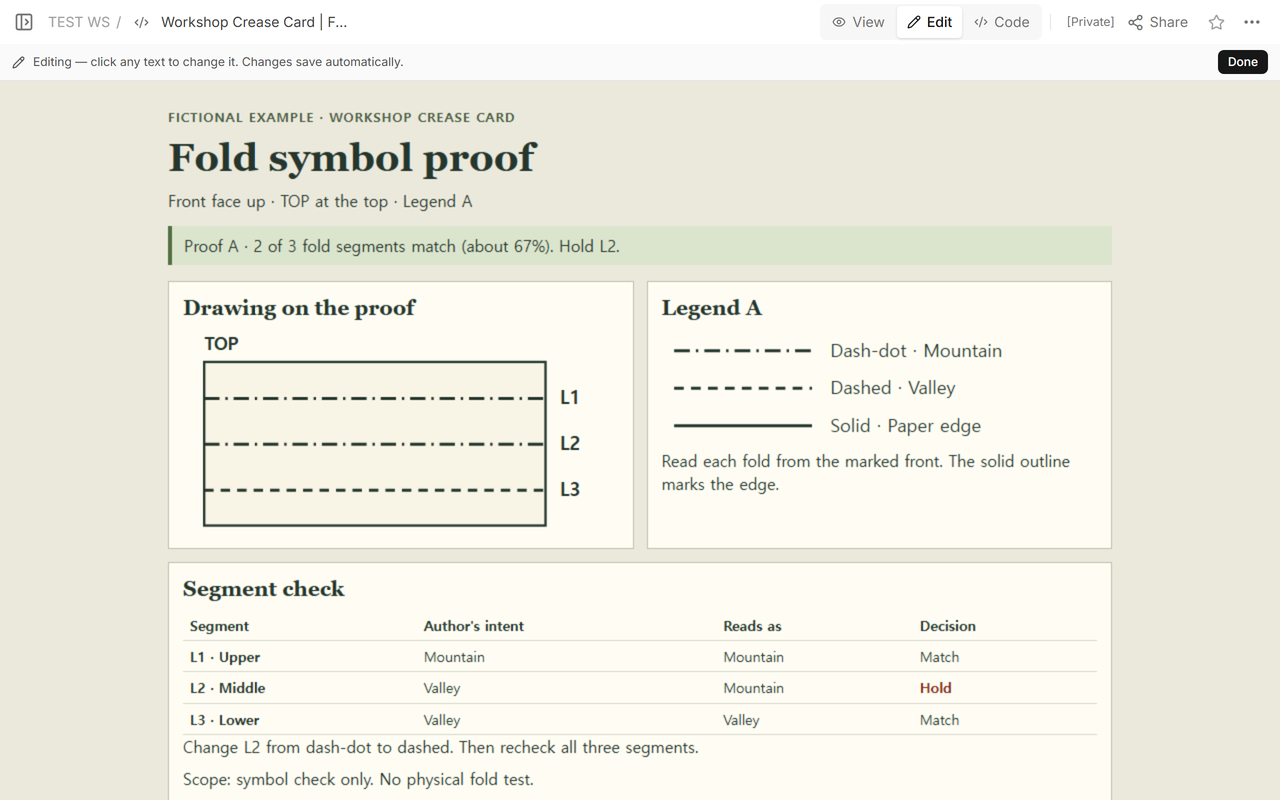
- L1, upper. The dash-dot mark reads as mountain and agrees with the author's note. Mark it Match.
- L2, middle. The dash-dot mark also reads as mountain. The author specifies valley here. Mark it Hold and ask for a dashed line at L2.
- L3, lower. The dashed mark reads as valley and agrees with the author's note. Mark it Match.
The solid rectangle is the paper edge. Count the three labeled fold segments only. Proof A has 2 of 3 matches (about 67%, rounded to the nearest whole percent). Correct the stroke on L2, leaving its position, the front-face marker and Legend A as they were. In Proof B the middle and lower strokes are both dashed. Reread all three positions. Proof B has 3 of 3 matches (100%).
What stays open on the blank sheet?
Fill the proof reference first, including the source and revision for the intended folds. In each used entry, write the segment ID and its endpoints or position. Split a continuous line into separate entries where its meaning changes. Record the current mark, the direction it reads as and the disposition. Use Hold for a clear disagreement. Use Unverified when the intent or the mark is missing or unreadable. Both belong in the total of expected segments.
Leave unused entries blank and out of the count. With zero expected segments, record “no comparison.” If a fold-like mark has no ID, keep the job open and get the mark identified before closing the sheet. For each correction, record the new proof revision and read the mark at final print size. If the dash-dot and dashed samples are hard to tell apart, keep the proof open until both are readable.
When not to do this
Get author confirmation before deciding a direction if the viewing face, legend or intended direction is unknown. Use a physical fold test for the folding sequence or the behavior of the paper. The fictional example checks the line symbols and stops there. A product assembly manual helps when the task is to guide someone through ordered actions. An instruction manual QR code addresses how readers reach the instructions.
How did we share the corrected proof?
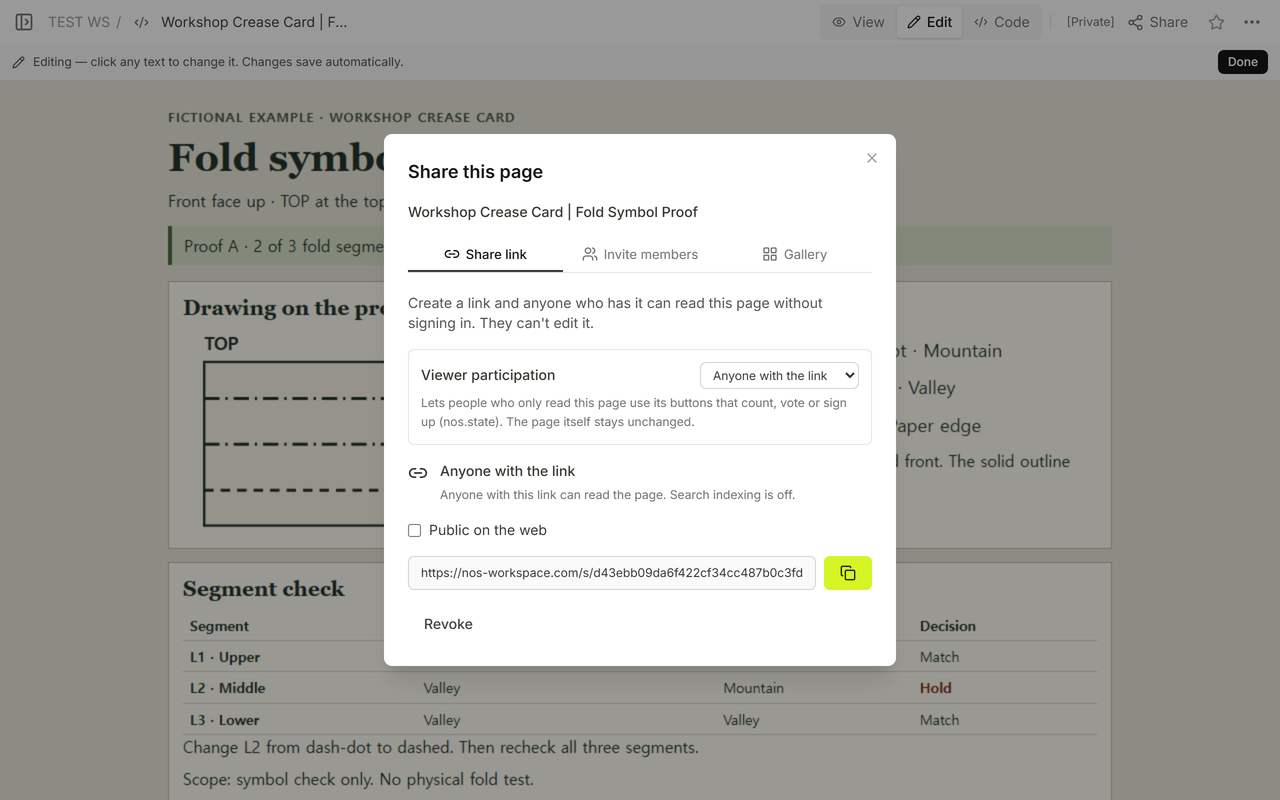
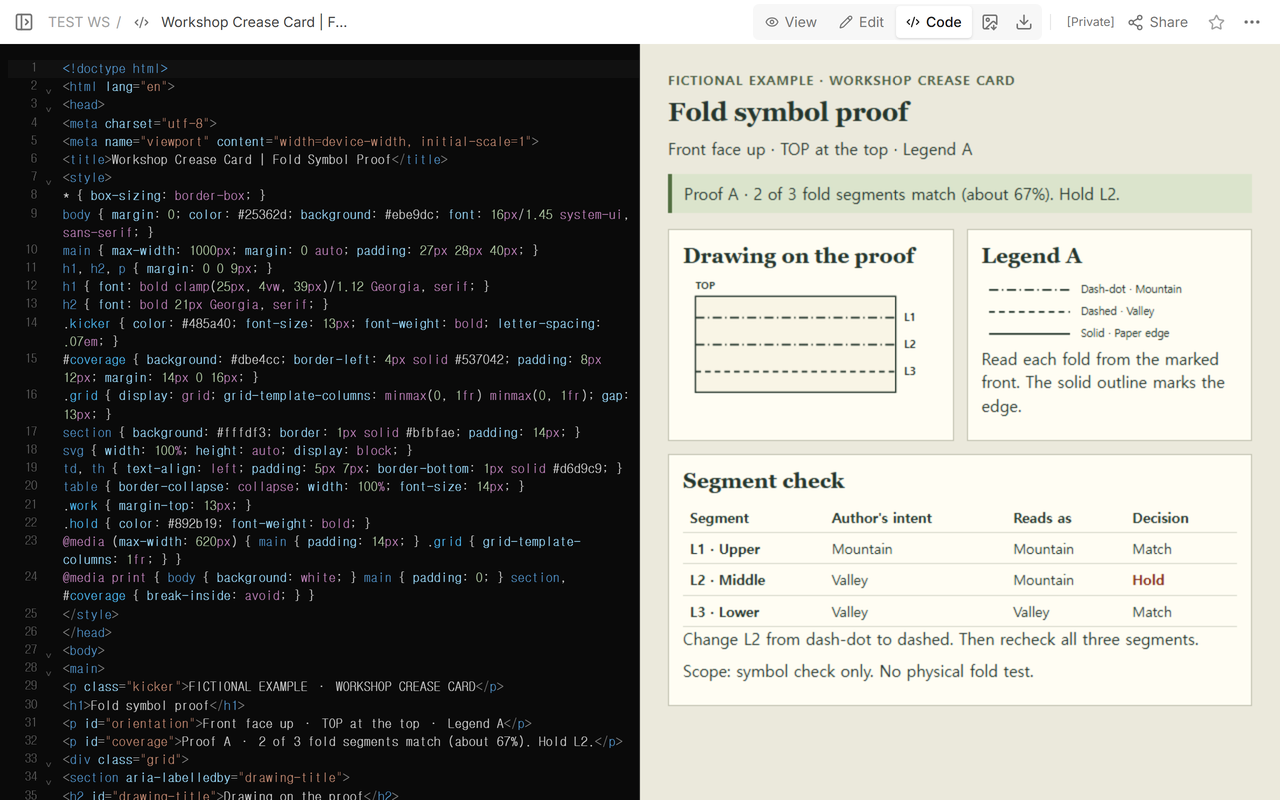
We used NOS Workspace for the comparison. Share gave us the reader link for the fictional card. We opened Proof A there while signed out, corrected L2 on the original page and reopened the same link while signed out to read Proof B.