In short
Start with the finished trim width and height. Add the printer's per-side bleed twice to each dimension.
For this 5 × 7 inch card, a 0.125 inch bleed on every edge produces a 5.25 × 7.25 inch document.
Enter the safe margin separately. It moves inward from trim and does not change the document size.
The calculator gives dimensions and a labeled diagram. It does not inspect or approve a print file.
NOS Team built a fictional card example around one practical result: turn a finished size and two printer-supplied margins into dimensions a designer can copy into a document setup. The example uses one explicit unit for every field, so inches and millimetres cannot be mixed quietly.
What does the completed print bleed calculation show?
The finished example starts with a 5 × 7 inch trim size, 0.125 inch of bleed per side, and a 0.375 inch safe margin inside trim. It returns a 5.25 × 7.25 inch document and a 4.25 × 6.25 inch safe area.
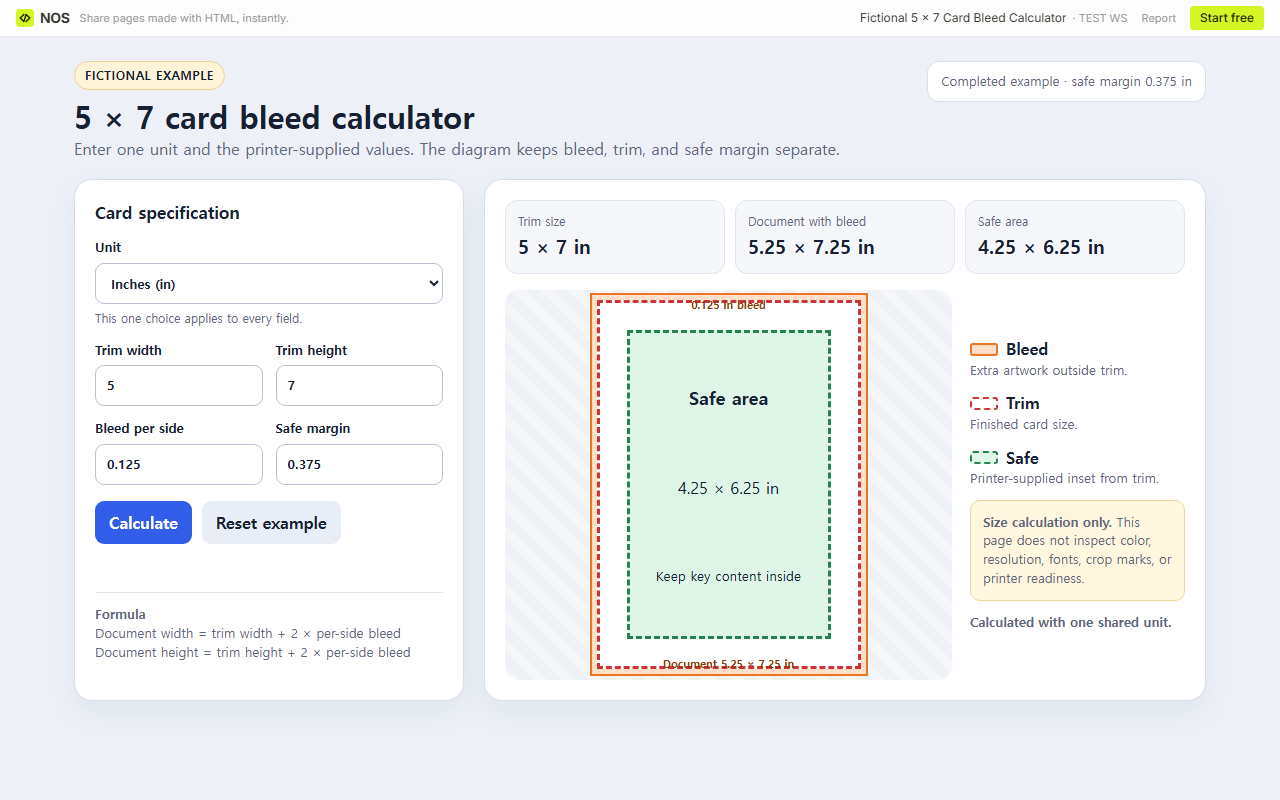
You can download the complete calculator or download the worked 5 × 7 card calculation. Both are fictional examples. Replace every value with the specification for your job.
How do you calculate document size with bleed?
Bleed is added outside the finished trim on opposite edges. That means the per-side number appears twice in each dimension:
- Document width = trim width + 2 × per-side bleed
- Document height = trim height + 2 × per-side bleed
For the card, the width is 5 + (2 × 0.125) = 5.25 inches. The height is 7 + (2 × 0.125) = 7.25 inches. Adding 0.125 only once would omit one edge.
Adobe describes bleed as an area beyond the final page trim and says to verify the required value with the print provider. Its current InDesign bleed guide also shows bleed settings separately from the finished page edge and crop marks.
How do trim, bleed, and safe margin differ?
Trim is the finished 5 × 7 inch card in this example. Bleed adds artwork outside that boundary. Safe margin is the printer-supplied inset used here to keep key content away from trim.
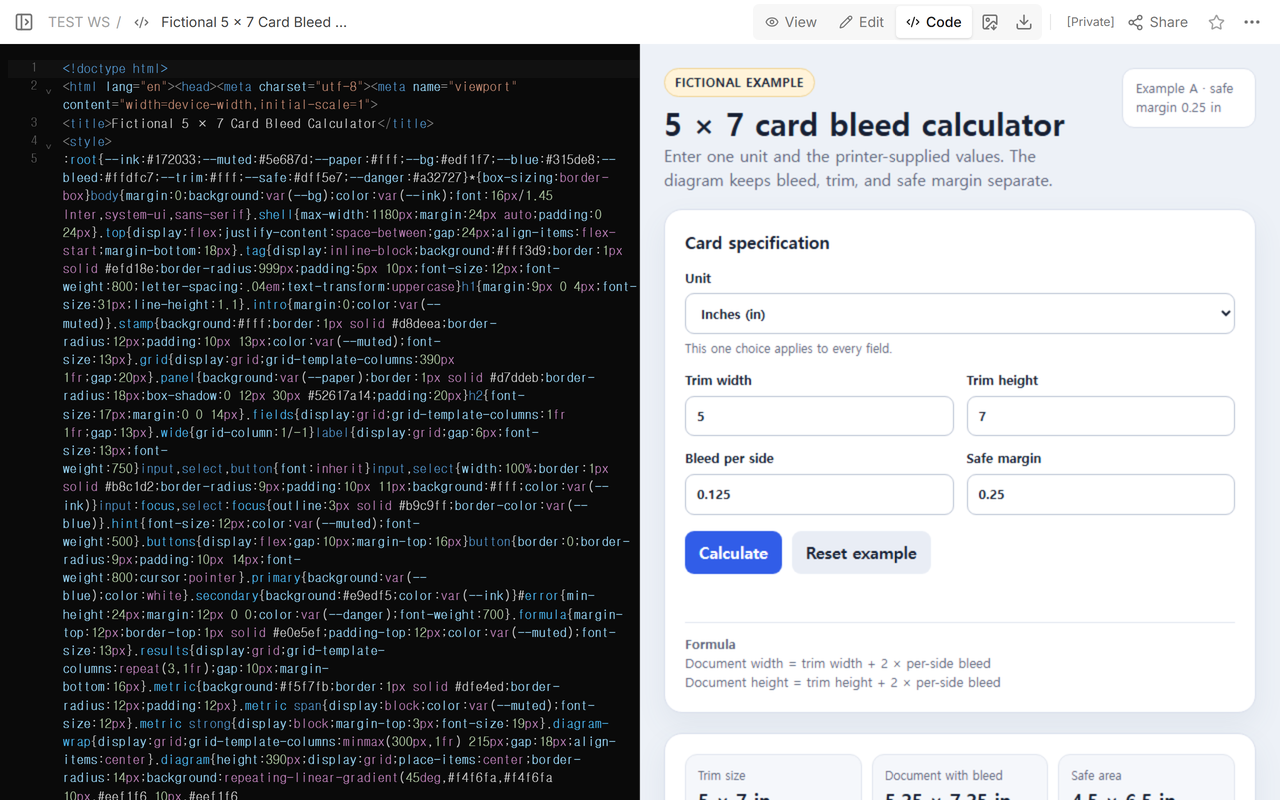
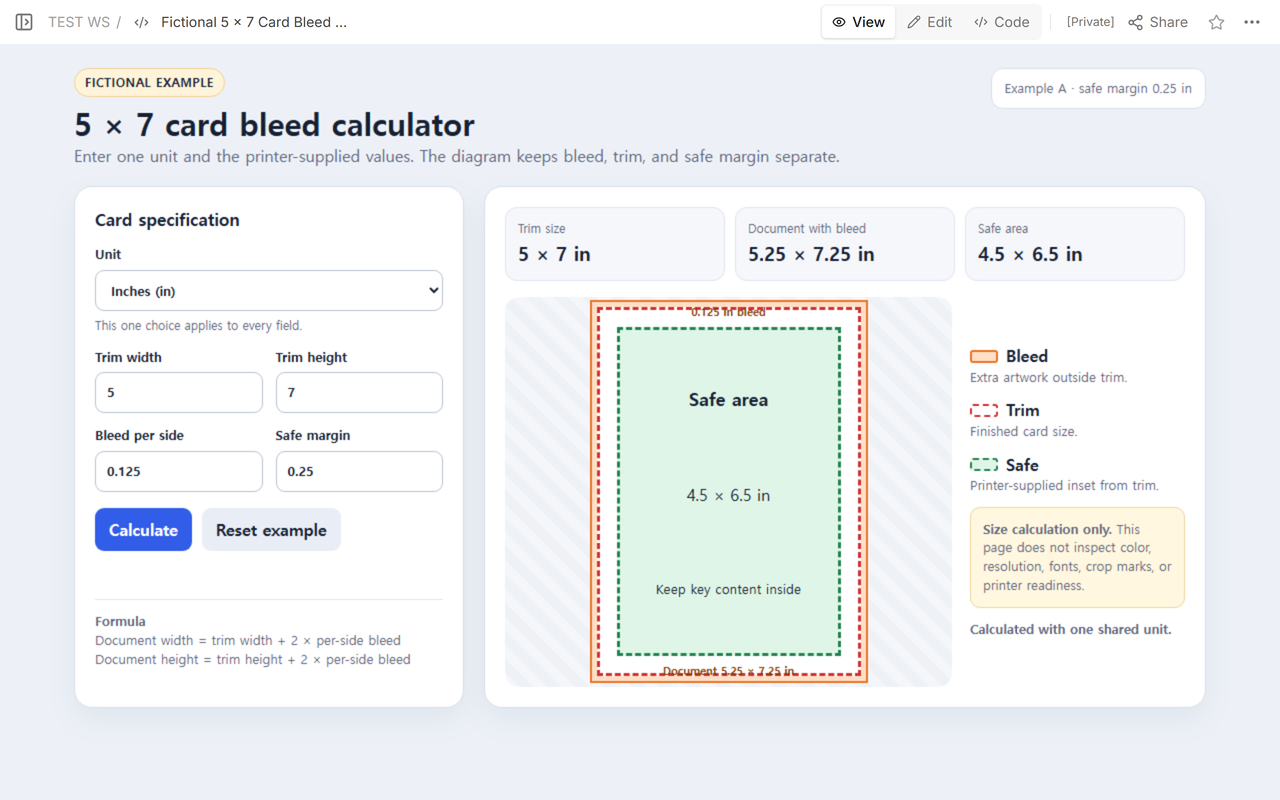
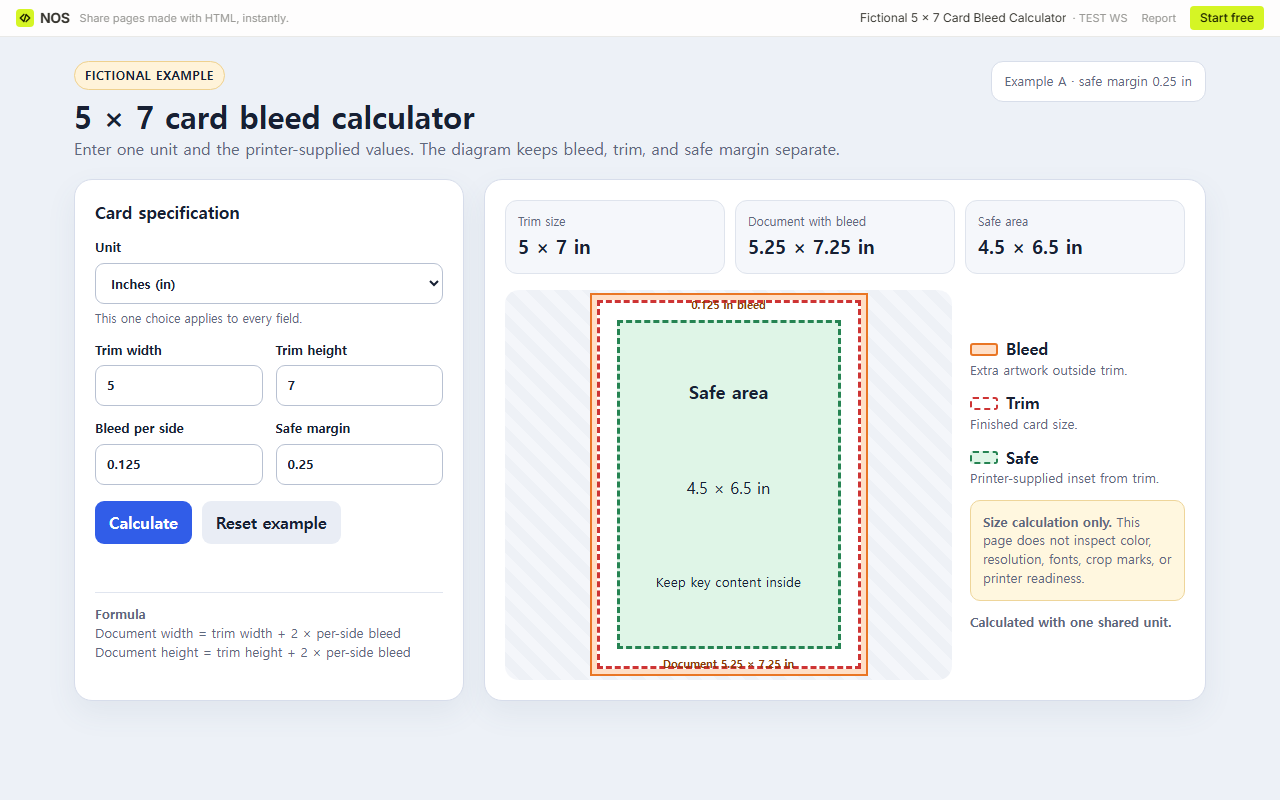
The safe calculation runs in the other direction: safe width = trim width − 2 × safe margin, and safe height = trim height − 2 × safe margin. Changing the safe margin from 0.25 to 0.375 inch changes the safe area from 4.5 × 6.5 to 4.25 × 6.25 inches. The document remains 5.25 × 7.25 inches because the bleed did not change.
How was the calculator built as one page?
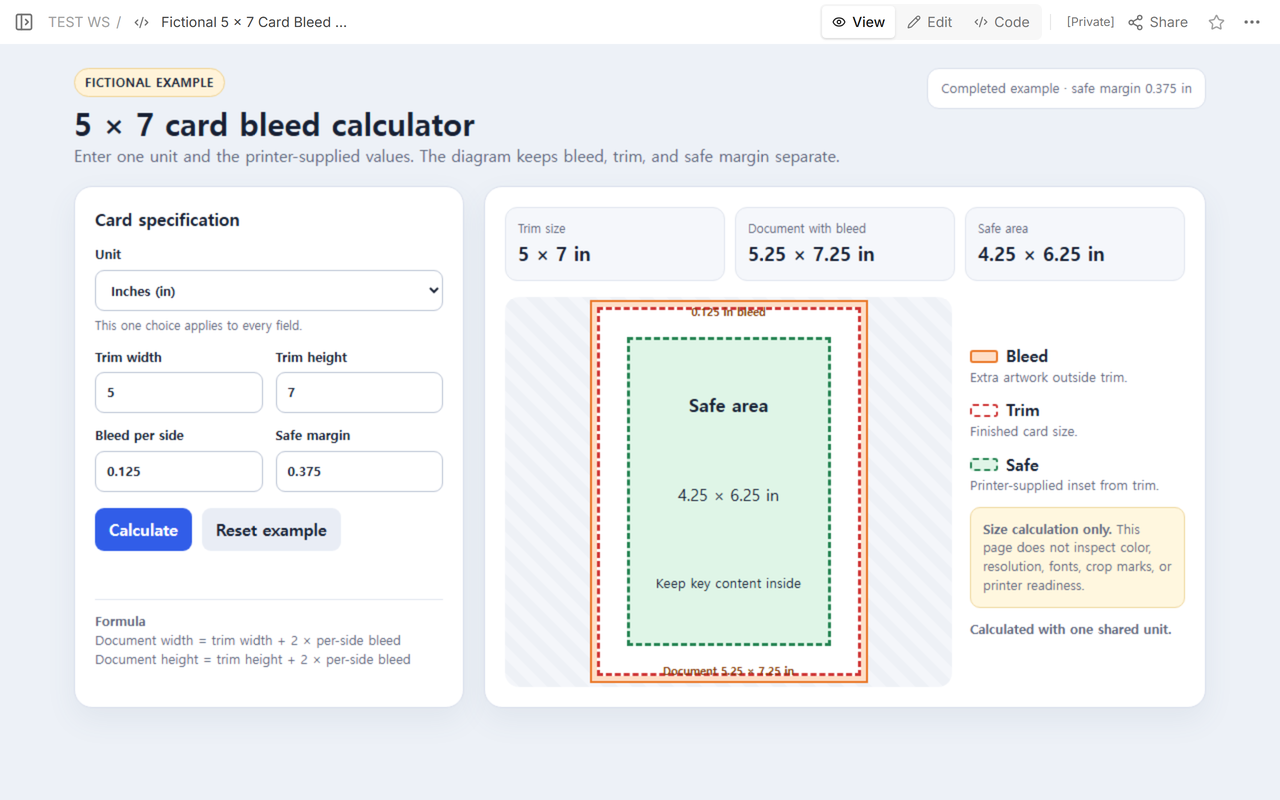
The complete HTML contains the inputs, arithmetic, validation messages, result cards, and diagram. Code showed the initial version with the 5 × 7 trim, 0.125 inch bleed, and 0.25 inch safe margin beside its rendered result.
View removed the source panel and made the relationship easier to read. The orange outer field is bleed, the red dashed line is trim, and the green dashed field is the safe area.
How should a print bleed calculator handle units and errors?
Choose one unit before entering numbers. This calculator applies that choice to trim, bleed, and safe margin together. It does not convert a lone millimetre value inside an inch calculation or guess what an unlabeled number means.
We checked the completed file with the following inputs:
- Zero trim width: rejected because trim dimensions must be greater than zero.
- Negative bleed: rejected because bleed and safe margin cannot be negative.
- Blank safe margin: rejected with a prompt to complete all four number fields.
- Decimal millimetres: 127.5 × 177.8 mm with 3.175 mm bleed and 9.525 mm safe margin returned a 133.85 × 184.15 mm document and a 108.45 × 158.75 mm safe area.
- Zero bleed or zero safe margin: accepted, because zero can be an explicit supplied value; the page does not replace it with a default.
After an invalid entry, the previous result stays visible but the error message says not to use it. A corrected calculation clears the error. That is safer than turning a blank field into zero without telling the reader.
How do you share the finished calculator?
Share displayed a reader address for the actual example. In the captured panel, anyone with that link could read the page without signing in and could not edit it; search indexing was off for that captured state.
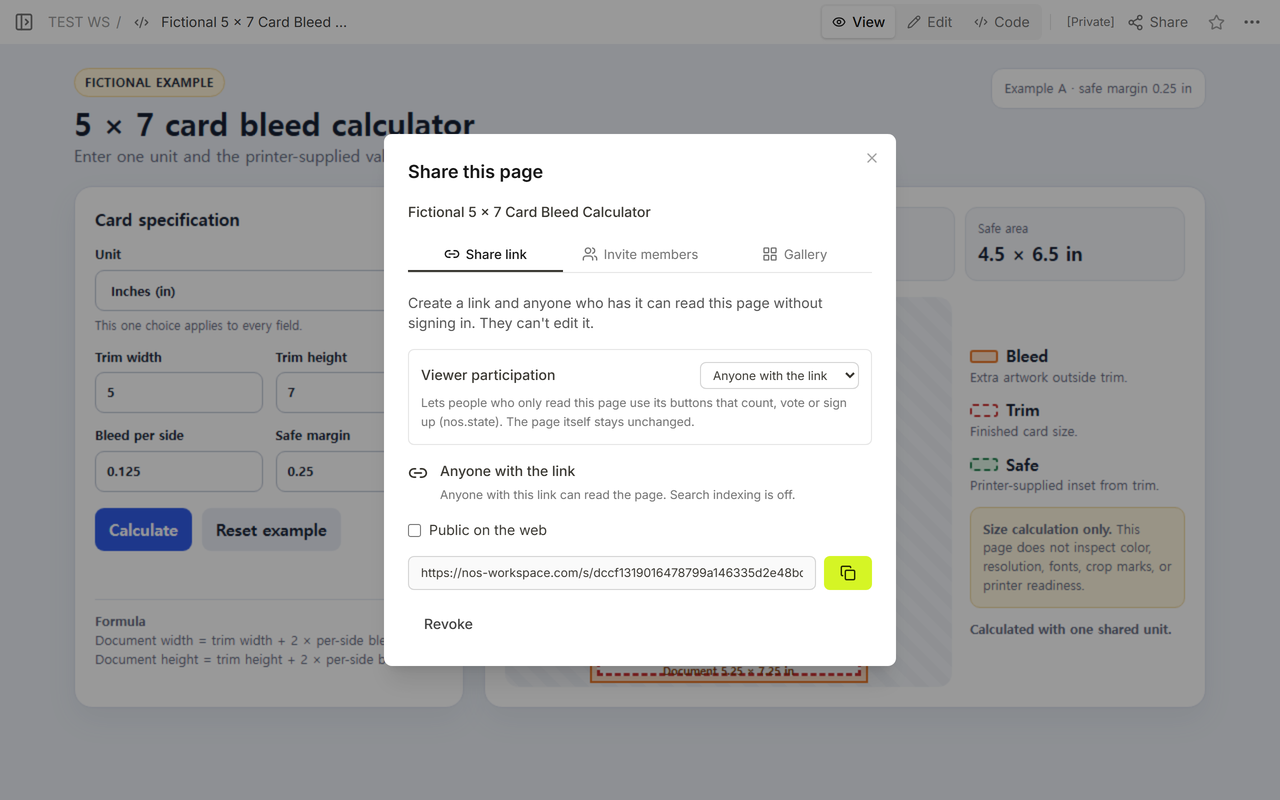
We opened the reader address separately before changing the safe margin. It showed the same 5.25 × 7.25 inch document and the initial 4.5 × 6.5 inch safe area.
Can you revise the safe margin without changing the share link?
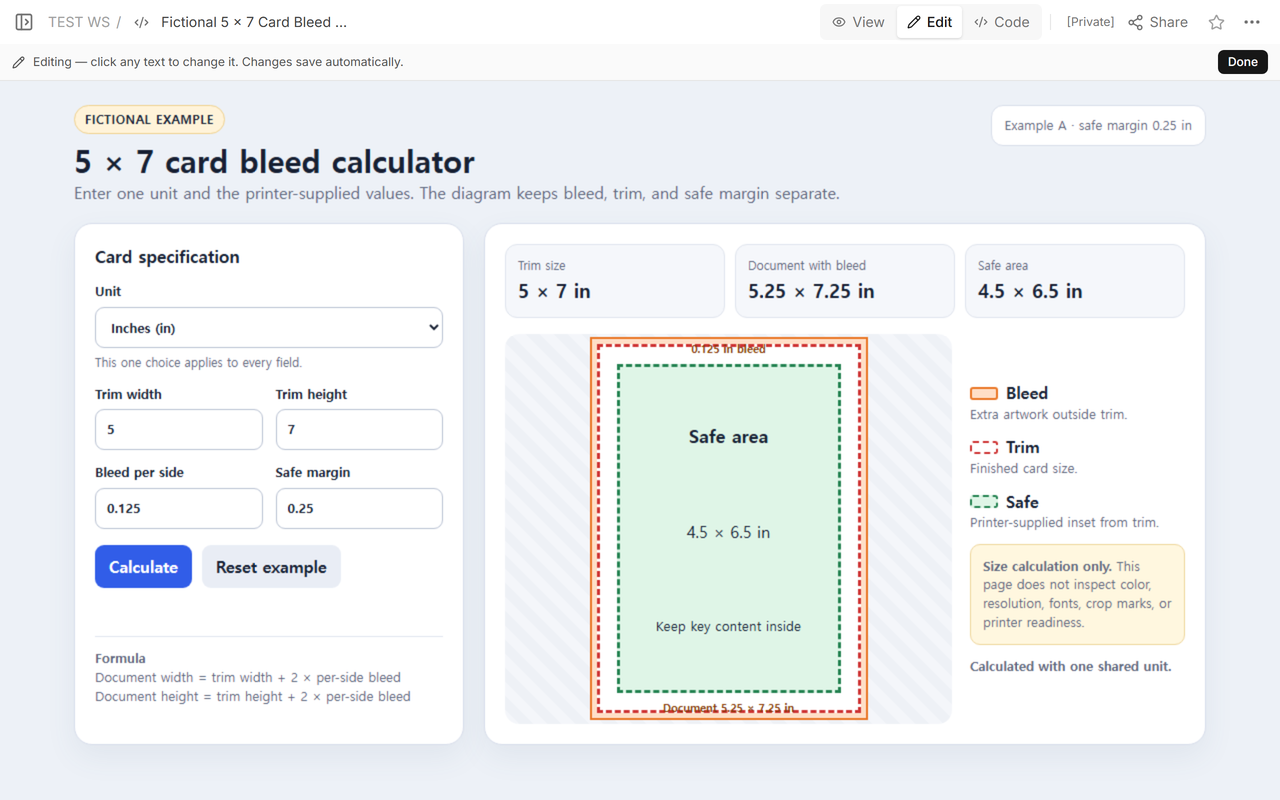
For this example, yes. We opened Edit on the existing page while the initial 0.25 inch safe margin was still visible.
We then changed the completed example to use a 0.375 inch safe margin. The saved source still contained the 5 × 7 trim and 0.125 inch bleed, so the document stayed 5.25 × 7.25 inches. Only the safe area moved inward to 4.25 × 6.25 inches.
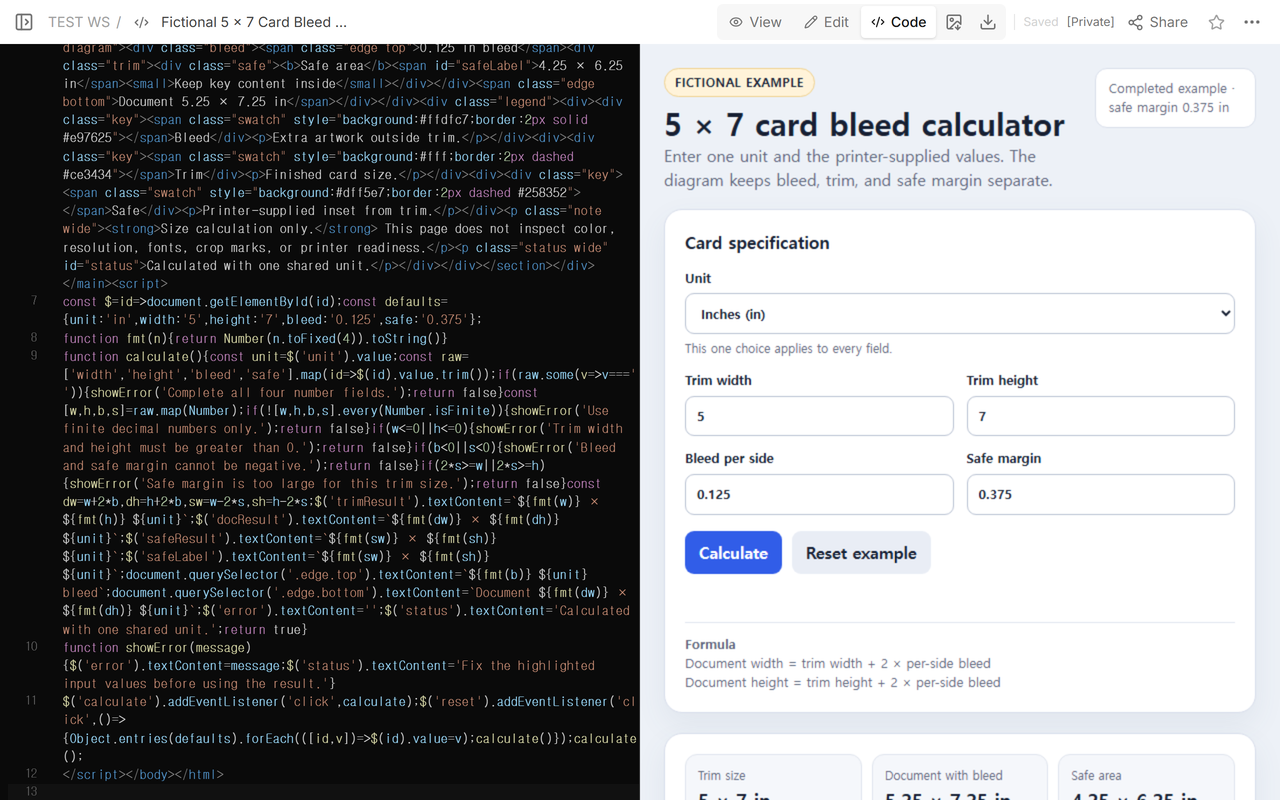
The original reader address then displayed the completed result shown at the start of this guide. No new share address was needed for the revision.
What does this calculator not check?
It checks arithmetic and input rules only. It does not open a design file or inspect color mode, image resolution, fonts, crop marks, output settings, trimming tolerance, or the amount of artwork that actually extends into bleed. It also does not approve a job for printing.
Use the printer's current template and submission instructions after calculating the dimensions. If the job has different values on different edges, use a document setup that accepts those separate values instead of forcing them into this equal-per-side example.
When not to do this
- Do not treat a calculated canvas size as a preflight report or printer approval.
- Do not use a common bleed value when the printer supplied a different specification.
- Do not mix inches, millimetres, or centimetres inside one calculation.
- Do not assume the safe margin equals the bleed; enter each supplied value separately.
- Do not use this equal-per-side calculator when the job specifies different top, bottom, left, or right values.
Using NOS for a print bleed calculator
NOS displayed the one-file calculator in Code, View, and Edit and created the reader address used for both observed safe-margin states. The calculator itself performs the arithmetic in the open page; it does not upload a design file or send a print order. Current plan details are on the NOS pricing page.
What should you read next?
Use calculator to link when the main job is publishing any working HTML calculator. Read HTML page size 8.5 × 11 when you need browser paper-size rules rather than bleed arithmetic. Use print an HTML page for print styles, breaks, and browser print-preview checks.