In short
Lead with capacity by layout, not one unexplained maximum.
Separate what the hire includes from what the organizer must arrange.
Put operating limits beside the contact step, before anyone asks about a date.
Check the shared page on a phone so the decision points appear before long background copy.
NOS Team built a fictional venue hire page for Northlight Hall. The job was narrow: help an event organizer compare the room before making contact. The page therefore needed capacities, included equipment, restrictions, the available hire window, access notes, and a clear enquiry handoff.
This is different from an attendee event page. An attendee needs to know where to arrive and when. A prospective hirer is still deciding whether the room can support a particular layout, supplier plan, schedule, and guest count.
What information should a venue hire page include?
Start with facts that can end the comparison quickly. A single “capacity 90” label is incomplete when a seated talk, workshop, dinner, and standing reception use the room differently. The fictional example gives a number and a physical arrangement for each layout.
We wrote the full page as one self-contained HTML document, then placed that document in the NOS code view. Keeping the source and preview together made it possible to compare the stated figures with the page the reader would see.
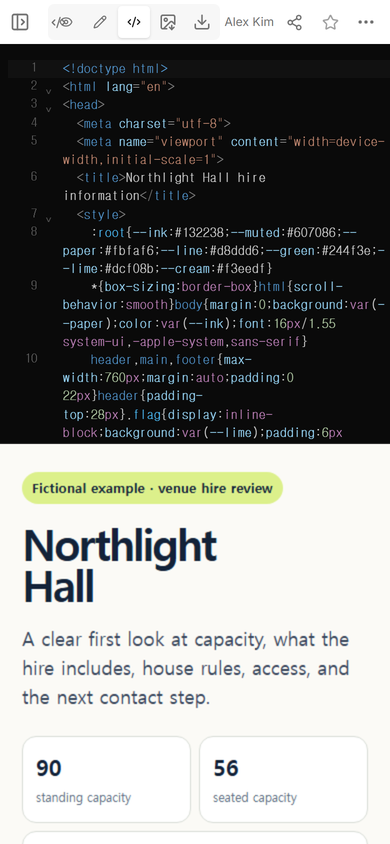
Put the decision facts above the background story
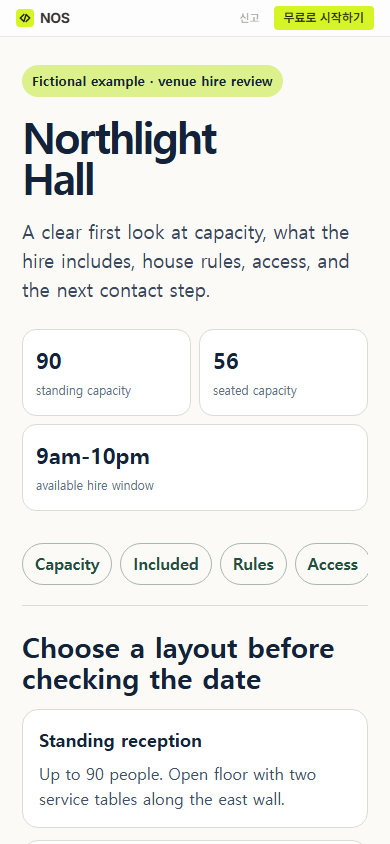
The first screen names the fictional venue, labels the page as an example, and shows three figures: 90 standing, 56 seated, and a 9am-10pm hire window. Links then take the reader to capacity, included items, rules, access, and contact.
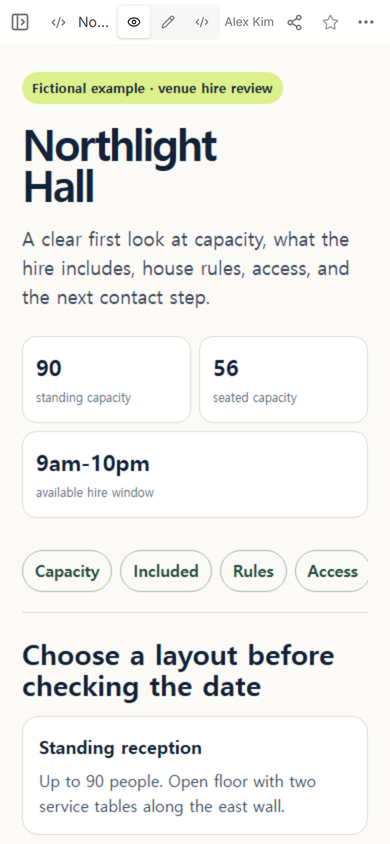
Do not hide a major limit in a general terms page. If amplified music ends at a certain time, cooking is not allowed, or setup belongs inside the booked period, put that constraint where the organizer can compare it with the event plan.
How do you show venue capacity clearly?
Give each useful layout its own capacity and one short note about the arrangement. The Northlight Hall example uses four fictional setups:
- 90 people for a standing reception, with service tables along one wall.
- 56 people for a seated talk, with a clear center aisle.
- 36 people at six workshop tables.
- 40 people for dining, after allowing space for catering service.
These numbers are example content, not measurements of a real room. A real venue should use its approved figures and explain which layouts or production areas reduce them.
How should included equipment and restrictions be presented?
Use two separate sections. “Included” answers what arrives with the room. “Rules” answers what the organizer may bring or do. Mixing them into a long amenities paragraph makes exclusions easy to miss.
Our fictional included list names chair and table quantities, display equipment, microphones, kitchenette use, and the setup allowance. The list avoids “fully equipped,” because that phrase does not identify what an organizer can rely on.
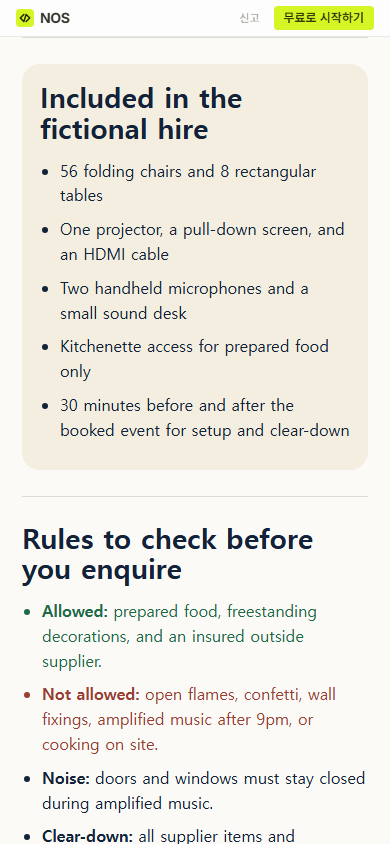
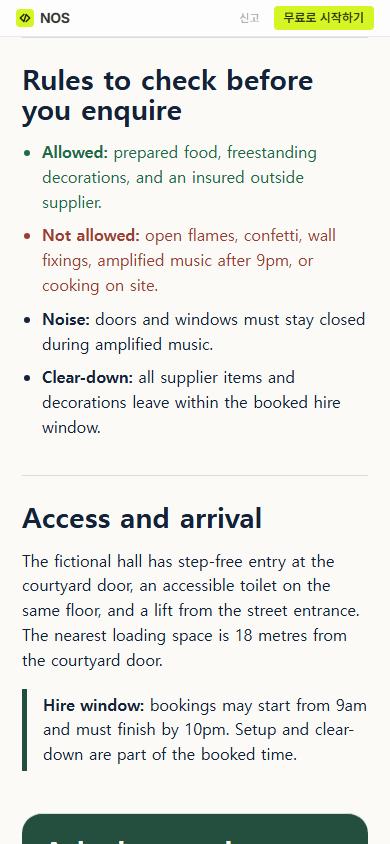
The rules use plain allowed and not-allowed labels. Open flames, confetti, wall fixings, late amplified music, and on-site cooking are all visible before the contact section. The same screen also explains step-free entry, the accessible toilet, the lift, and the distance from the loading space.
How do you share a venue information page?
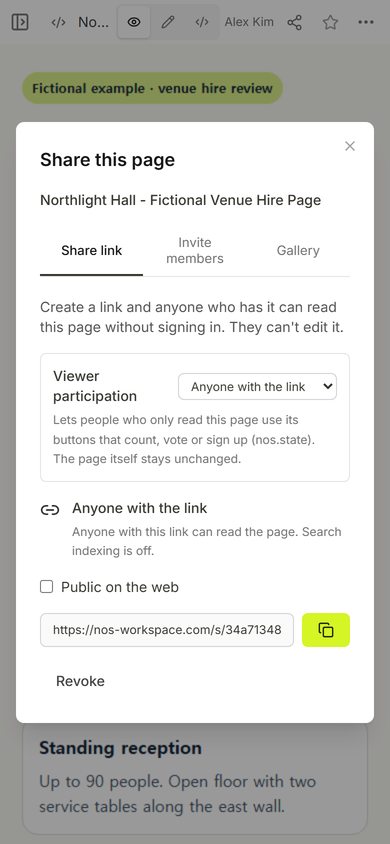
Open Share after checking the page in View. In the captured NOS panel, “Anyone with the link” is the reading option, search indexing is off, and the panel states that readers cannot edit the page.
The public address opened the fictional page without the workspace controls. On a phone-sized screen, the label, venue name, headline facts, and section links were visible before the detailed layout cards.
Tip from this build: short section links helped, but only because their destinations used specific headings. “Rules to check before you enquire” gives the reader more direction than a vague “More information” label.
What should the enquiry step ask for?
Ask only for the facts needed to continue the venue check: proposed date, guest count, layout, event type, and outside suppliers. The fictional example prepares an email but does not claim to check availability, reserve the room, take payment, or store a booking.
If the real process uses a booking platform, link to that verified destination and describe what happens next. If contact is by email or phone, say which details the organizer should include. A static information page should not imitate a confirmed reservation.
When not to do this
- Do not use a public venue page for door codes, private access instructions, contracts, identity documents, or payment details.
- Do not present a layout capacity until the real venue has approved it.
- Do not add a “Book now” control if the page cannot check a date or complete the actual booking process.
- Do not rely on the page alone when a confirmed hirer must receive a changed rule or schedule. Contact that person through the agreed channel as well.
Where NOS fits
NOS Workspace can hold a prepared HTML venue page, show it in View, and create a reader link from the Share panel. In this example, the shared address opened the same fictional page at phone width. The page itself handled explanation and contact preparation; it did not become a booking or payment service.
Related next steps
Once a venue is chosen, an event link can carry confirmed arrival information for attendees. An address link is useful when entrances, parking, or step-free access need more detail. If the next job is explaining the event before registration, use the event landing page guide.