In short
Put the warranty period, eligible owner, territory, coverage, exclusions, and required evidence on one page. Keep the explanation separate from the channel that receives a claim. We tested the structure with a fictional desk lamp and corrected its period from 24 months to 18 months on the same page. The public link then showed the corrected period.
A buyer with a failed product should not have to search a product pitch for post-purchase terms. A warranty information page gives that buyer a reading path: confirm the period and eligibility, compare the problem with the covered and excluded cases, gather evidence, then use the stated contact route.
NOS Team built a fictional Northstar Desk Lamp page to test that path. It is plainly labeled “Fictional example,” names no real company or customer, and does not accept a claim. The completed page explains what a reader must prepare before contacting the fictional maker.
What should a warranty information page include?
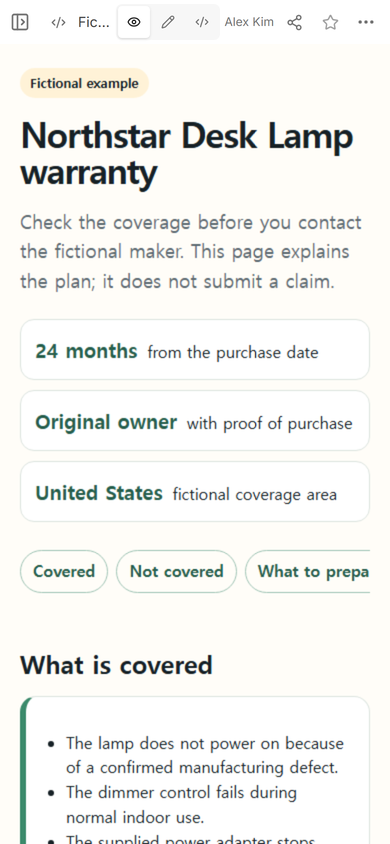
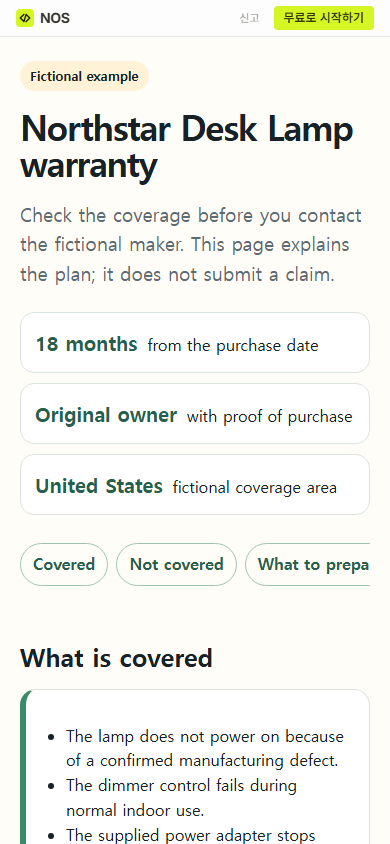
Start with the facts that can rule a request in or out. In our example, the top summary names the period, the eligible owner, the territory, and the need for proof of purchase. The next sections separate three covered cases from three exclusions. A preparation list asks for a receipt, a model code, two photos, and a short fault description.
Put the eligibility boundary before the contact route. The page then avoids implying that every problem will be accepted. The fictional policy also says not to ship the lamp until support confirms the next step.
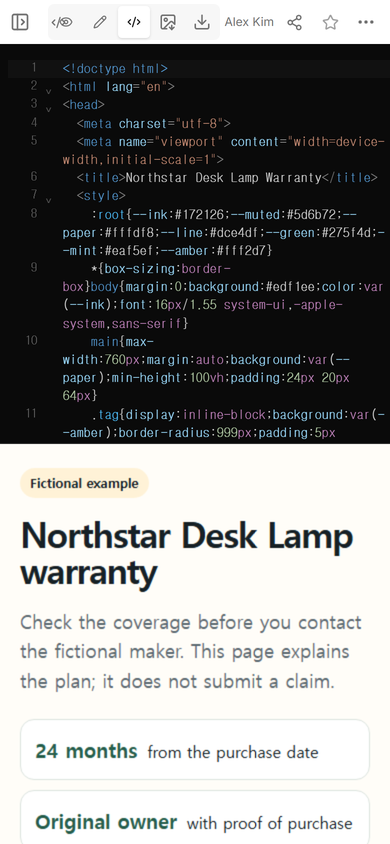
We kept the page self-contained: the policy text, layout, navigation links, and notice are in one file. If you need the same starting point for another product, first list the confirmed policy facts. Then use a product catalog structure to keep model names and product codes consistent.
How do you separate coverage from exclusions?
Use paired headings rather than one long paragraph. “What is covered” should name the failures that the policy actually addresses. “What is not covered” should name the main boundaries in equally direct language. Do not hide exclusions in a footnote or mix them into troubleshooting advice.
Our fictional example covers a confirmed manufacturing defect, dimmer failure during normal indoor use, and failure of the supplied adapter. It excludes damage from drops, liquid, outdoor use, or an altered power supply; cosmetic wear that does not affect operation; and requests missing the product or purchase record. These are invented demonstration terms, not a policy to copy into a real warranty.
How should a buyer contact you about a warranty?
State the preparation list before the route. A reader can then send one complete message instead of discovering missing items after contact. The route itself should be a real address, form, or support channel maintained by the business.
We did not invent a working mailbox for the demonstration. The page tells the reader to use the address printed on the fictional receipt. If a team offers several support routes, a service catalog can define which request belongs where without pretending that a static page submits it.
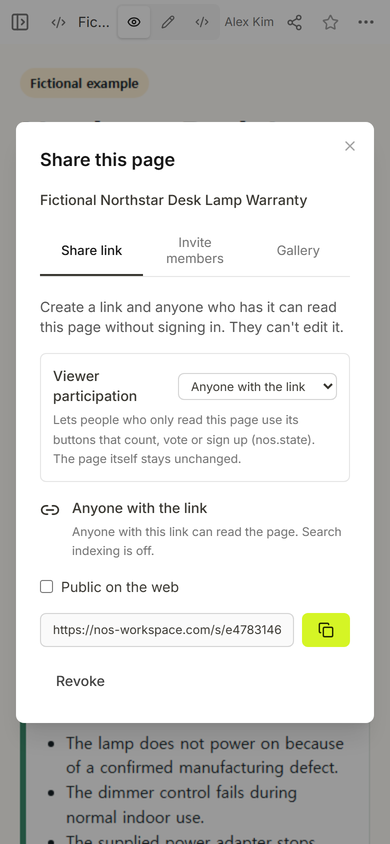
The Share panel also made the boundary visible: this is a reading page. It is not a claim intake system. Purchase records, photos, serial numbers, and contact details should go through the business’s confirmed support channel, not into a public page.
Can you correct a warranty page after sharing it?
We tested that on the same example. The first draft displayed 24 months. We opened Edit on the existing page, but the narrow layout made a word-level correction land in the wrong text. We stopped using the broken state as evidence, restored the complete source in Code, changed the period to 18 months, and saved the existing page.
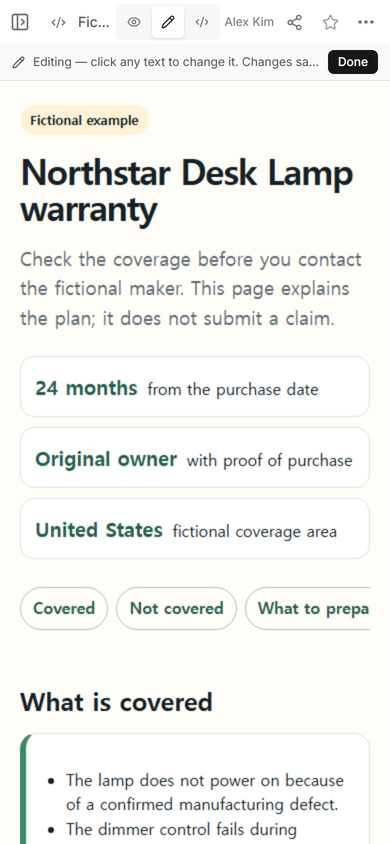
The useful lesson is simple: inspect the result immediately after a small visual edit. If text wraps or the wrong element changes, undo or restore the known-good page instead of stacking more corrections on a damaged version.
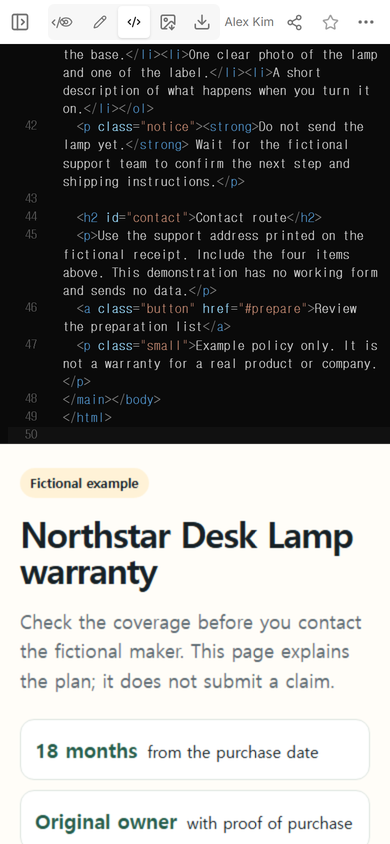
We then opened the original public address again. It showed 18 months, the intact explanation, and the same coverage navigation. We created no additional warranty page or share address.
How do you write exclusions without confusing the reader?
Use concrete events and conditions. “Damage from drops or liquid” is easier to compare with a real problem than “misuse.” Pair each broad term with examples your actual policy supports, and keep the wording consistent with the warranty document supplied with the product.
Do not turn a guide page into a legal interpretation. If coverage depends on product version, country, seller, registration, or purchase date, show those conditions near the period. When the policy differs by model, provide a visible model identifier and a route to the correct terms.
When not to do this
- Do not use a public information page to collect receipts, addresses, serial numbers, or private photos.
- Do not publish demonstration terms as a real warranty. Replace every fictional field with approved policy language.
- Do not combine several countries or product versions when their terms differ. Give the reader a clear way to reach the applicable policy.
- Do not imply that reading the page starts, approves, or resolves a claim.
Using NOS for the warranty guide
For this example, NOS provided Code for the complete page, View for the buyer-facing result, Edit for visible text, and Share for a public reading link. The person opening that link did not need to sign in and could not edit the page, as the captured Share panel stated. To prepare another self-contained page, see how to keep an HTML file complete; to turn the finished file into a browser link, use HTML to link.