In short
Put the move-in window, freight route, booth limits, approval steps, and on-site contacts on one page. Give exhibitors the reader link, then revise the existing page when an instruction changes.
Keep approval and registration in the systems that record them. The manual should explain what to do and where to go, not pretend that reading a page completes either action.
NOS Team made a fictional exhibitor manual for Harbor Makers Expo 2026. It separates the loading route from the visitor entrance, assigns two booth groups different move-in windows, lists booth limits, and tells exhibitors which details still need approval. We then changed the headline move-in window on the existing page and checked the original reader link.
What belongs in an online exhibitor manual?
An exhibitor opens the manual to make a decision: when to arrive, which road to use, what can fit in the booth, what needs approval, or whom to find on site. Put those answers before background about the event.
- Move-in and move-out: name the day, time window, booth group, and the point when setup must be complete.
- Vehicle and freight route: state the service-road entrance, gate, unloading bay, unloading rule, and where the vehicle goes next.
- Booth specifications: give the footprint, wall heights, included power, and restrictions that affect a build.
- Approval: list what the exhibitor must send, the destination, and the deadline. Do not label a plan approved until the organizer has actually approved it.
- On-site help: name a location or role for setup questions and a separate route for urgent safety issues.
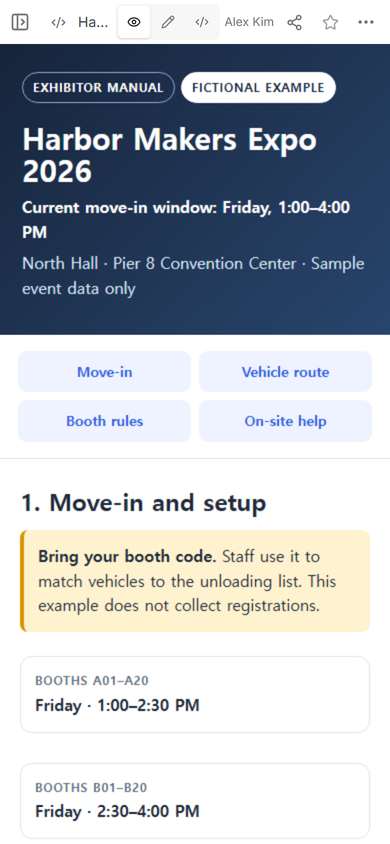
The opening screen in our example shows the current general move-in window and four section links. The detailed section then divides booths A01–A20 and B01–B20 into separate slots. That distinction matters: a headline can orient the reader, but the booth-specific instruction is what the exhibitor follows.
How do you organize exhibitor setup instructions?
Write the manual in the order the exhibitor encounters the venue. Start with the arrival window. Continue with the service road, gate, unloading bay, and parking step. Put booth dimensions and approval requirements after the route, then end with the contact points needed during setup.
We used short navigation links at the top because the same reader may return for a different answer later. The page does not require the exhibitor to read every paragraph again before finding the vehicle route.
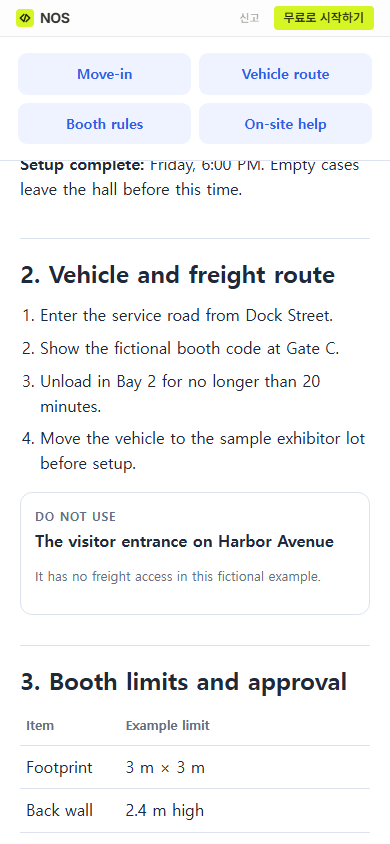
Do not hide a critical exception inside a long venue description. The fictional manual names the visitor entrance as the wrong route for freight. For a real event, confirm that instruction with the venue and replace every sample road, gate, bay, and time before sharing the page.
How do you make an exhibitor manual online?
- Collect confirmed operations facts. Ask the venue and event team for the approved time windows, freight route, booth limits, submission process, and staffed contact points.
- Mark every gap. Leave a visible placeholder or omit an item rather than filling it with a plausible instruction.
- Build one phone-readable page. Use clear headings, anchored section links, short route steps, and a compact specification table.
- Open Code in NOS. Add the complete HTML and check that the rendered opening screen belongs to the same manual.
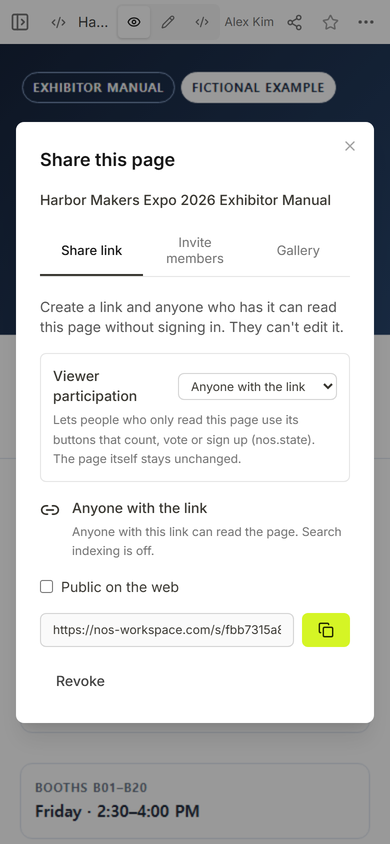
- Check View and Share. Read the page at phone width, then create the reader link from Share instead of sending the workspace address.
- Test one real revision. Change a visible instruction on the existing page and reopen the original reader link.
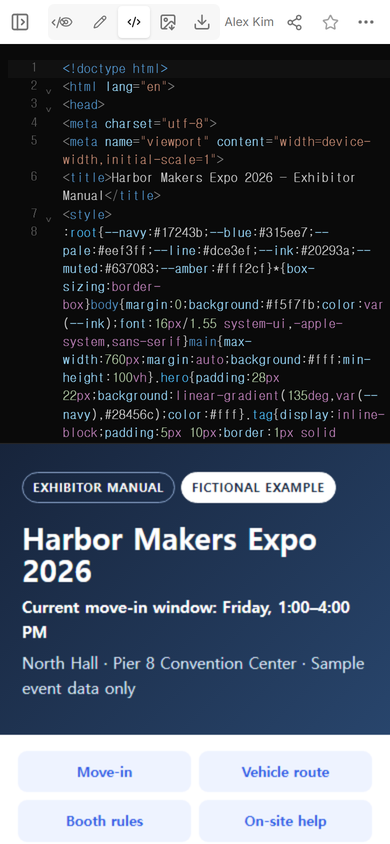
Download the complete fictional exhibitor manual example and replace every sample detail with confirmed event information. The download is prepared with this local article draft and is not yet a live site asset.
How do you keep exhibitor instructions current?
Assign one person to own the page and use a visible “current” or “revised” line for the instruction most likely to send someone to the wrong place. When a fact changes, edit the existing page, check the surrounding instructions for conflicts, and tell affected exhibitors what changed.
Our example originally said “Current move-in window: Friday, 1:00–4:00 PM.” We opened normal Edit mode, selected that line, changed it to “Revised move-in window: Friday, 1:30–4:00 PM,” and finished the edit on the existing page.
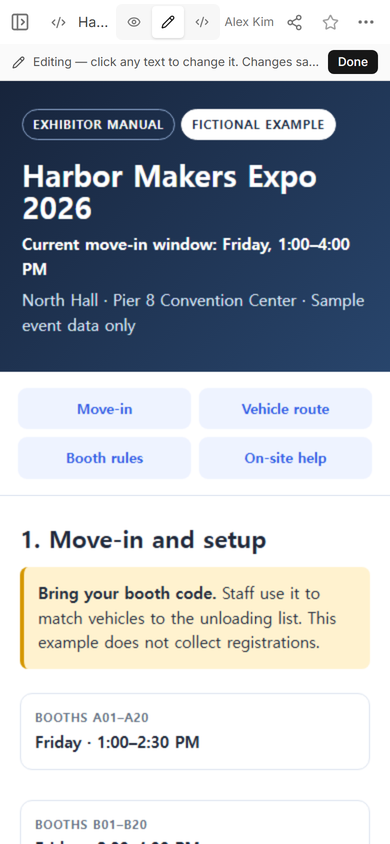
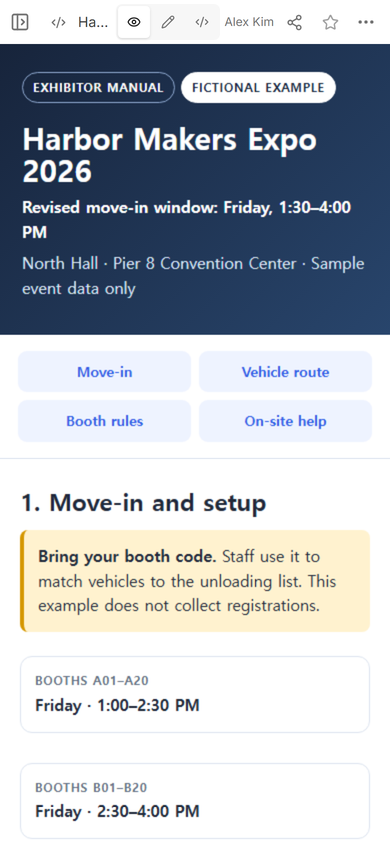
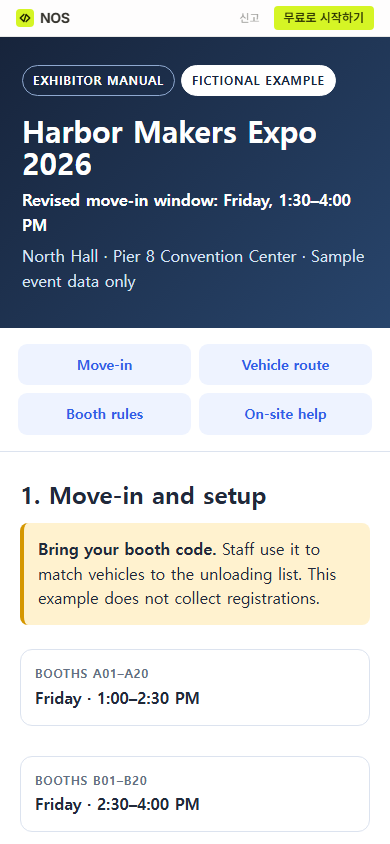
Changing one headline can expose another task. The two booth-group cards still begin at 1:00 PM and 2:30 PM in the fictional example. A real organizer would need to decide whether the headline, the booth slots, or both should change. Treat that disagreement as a review item instead of silently making the times look consistent.
What should exhibitors check before arrival?
- Their booth number matches the correct move-in group.
- The service-road entrance and unloading bay are different from any visitor entrance.
- The vehicle has somewhere to go immediately after unloading.
- The booth footprint, wall height, power allowance, and any hanging element match the approved plan.
- The setup deadline leaves time to clear empty cases and vehicles from the hall.
- The manual names where to ask a setup question on site.
The checklist is a reading aid, not proof that the organizer received a drawing or approved a build. Keep submitted plans, approval decisions, and exhibitor records in the organizer’s actual registration or operations system.
What can go wrong with an online exhibitor manual?
The easiest failure is a page that looks current while two instructions disagree. Check every repeated time, gate, dimension, and deadline after a revision. Another failure is sending the editing address. Copy the reader address from Share and open it separately at phone width before it goes into an exhibitor email.
A third problem is vague contact information. “Contact the event team” does not tell someone standing beside a loaded vehicle where to go. A role and a staffed location can be more useful than publishing a private phone number. Use the real event’s escalation plan for emergencies.
When not to do this
- Do not use a public manual for private exhibitor records, staff-only security instructions, access codes, or personal contact details.
- Do not use a page as the approval record when the event requires drawings, signatures, payments, insurance documents, or an audit trail.
- Do not rely on a link alone for a last-minute safety or access change. Use the organizer’s confirmed alert route as well.
- Do not publish venue limits or freight directions that the venue has not confirmed.
Using NOS for an exhibitor manual
NOS Workspace can hold the finished HTML, show the page in View, open visible text for an owner in Edit, and provide a reader link through Share. In this example, the reader link opened without a sign-in prompt and showed a saved change made to the existing page. Check the current pricing page for plan details rather than relying on a price copied into an event manual.
Related event guides
Use the event schedule template when staff cues and attendee times need separate views. The broader event link guide covers public event details, while the address link guide helps with entrances and arrival notes. If the manual HTML is finished and only needs a reader address, continue with the HTML-to-link tool.