To convert Word to HTML, use Save As and choose Web Page, Filtered. That option writes markup without the Office specific tags that the plain Web Page option includes, and it is the shortest route to something usable.
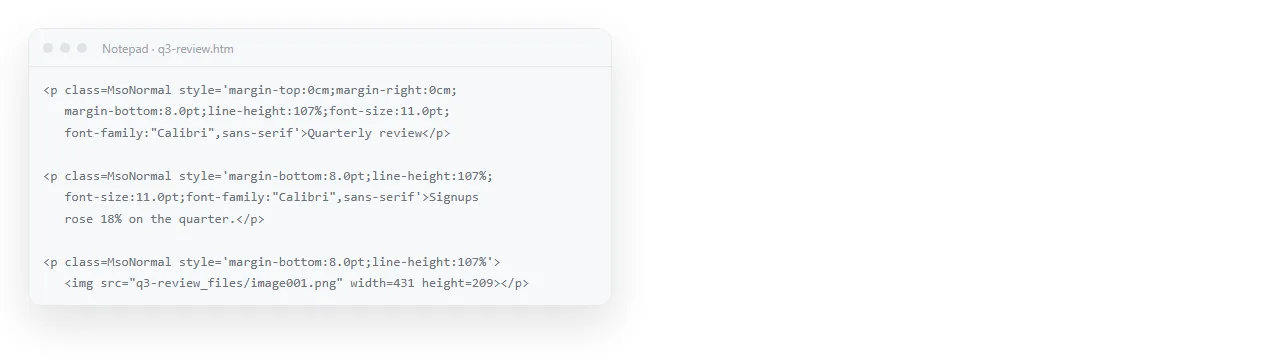
Two things follow immediately. The output still carries a lot of Word styling as inline attributes, and the images are written into a separate folder that the HTML points at.
Both are fixable. Which fix you need depends on where the HTML is going.
Ways to convert Word to HTML
| Route | Markup quality | Images | Keeps Word look | Needs installing |
|---|---|---|---|---|
| Save as Web Page | Very verbose | Separate folder | Yes | Nothing |
| Save as Web Page, Filtered | Verbose but workable | Separate folder | Mostly | Nothing |
| Pandoc | Clean and semantic | Extracted, or embedded | No | Pandoc |
| Google Docs, download as web page | Middling | Separate folder in a zip | Partly | Nothing |
Pick by destination. A page going into a site wants clean markup. A page that has to look exactly like the document wants the filtered output.
Prepare the document before converting
Every converter maps Word styles onto tags. A document that used real styles converts well, and a document that used bold text to mean "heading" converts into a wall of paragraphs.
- Apply Heading 1 to Heading 3 rather than bold and larger text.
- Use the list buttons rather than typed dashes.
- Use real tables, not tabs and spaces lined up by eye.
- Add alt text to images in Word, because the converters carry it through.
Ten minutes here saves an hour of repair afterwards, whichever route you take.
Route one: Save as Web Page, Filtered
File, then Save As, then Web Page, Filtered as the type. Word warns that Office specific tags will be removed. That is the point of the option.
You get an .htm file plus a folder named yourfile_files holding the images. The markup references that folder, so the two travel together or the images disappear.
Keep the pair together, or embed the images so the page stands alone. Self-contained HTML covers the embedding, and images not showing covers the failure when they get separated.
Route two: pandoc
The best output if you are going to style the page yourself.
pandoc report.docx -o report.html
pandoc report.docx --standalone --embed-resources -o report.html
pandoc report.docx --extract-media=./img -o report.html
The first writes a markup fragment. The second writes a complete file with the images embedded inside it, which is the version you can send anywhere on its own. The third pulls the images out into a folder if you prefer them as files.
Pandoc discards Word visual formatting deliberately. You get <h2>, <ul>, <table> and nothing else, then you attach a stylesheet. For a page going into an existing site, that is exactly right.
It is also the only route you can run without a person in the loop. If a document is republished on a schedule, pandoc can sit in the same script that publishes it.
Route three: Google Docs
Upload the .docx to Google Drive, open it in Docs, then download it as a web page. You receive a zip with the HTML and an images folder.
Useful when you have neither Word nor pandoc to hand. The markup sits between the other two in quality, and Docs makes its own decisions about fonts and spacing along the way.
One caveat worth knowing before you rely on it. Uploading a document to a third party service is a data question as much as a technical one, so check what the document contains first.
Cleaning up whatever you get

Five passes, in order:
- Remove the inline font declarations. Word writes a font name and size onto almost every run. Strip them and the page inherits your stylesheet.
- Fix the heading levels. Converters sometimes emit a styled paragraph where a heading belongs. Semantic HTML explains what this costs in search and screen readers.
- Check the tables. Word tables carry fixed pixel widths that break on a phone. Word tables to HTML tables is the detailed version of this step.
- Add the head lines. A
<title>and the viewport meta tag. Converters often omit one or both. - Delete the empty paragraphs. Word writes a paragraph for every blank line in the document, and they become empty tags that push the layout apart.
Do these in order. Stripping the font declarations first makes every later pass easier to read, because what remains is structure.
If the goal was sharing, not conversion
A lot of people converting Word to HTML want one thing: an address other people can open, that is not an attachment.
In that case the conversion is a means, and a short one. Paste the converted HTML into a NOS document. It renders as written, as a page of its own, with the text still clickable and correctable.

Then Share, then Share link, then Create link. Unlisted by default, so it opens for anyone with the address without being indexed.

From there, corrections happen in the document rather than in Word, and the address does not move.
If the document is going out as an email body instead, Word to HTML email covers the constraints that mail clients add on top.
Going the other direction is covered in converting HTML to Word.