To convert Markdown to HTML, run the text through a Markdown parser and then wrap what comes back in a page. The second half is the part people skip.
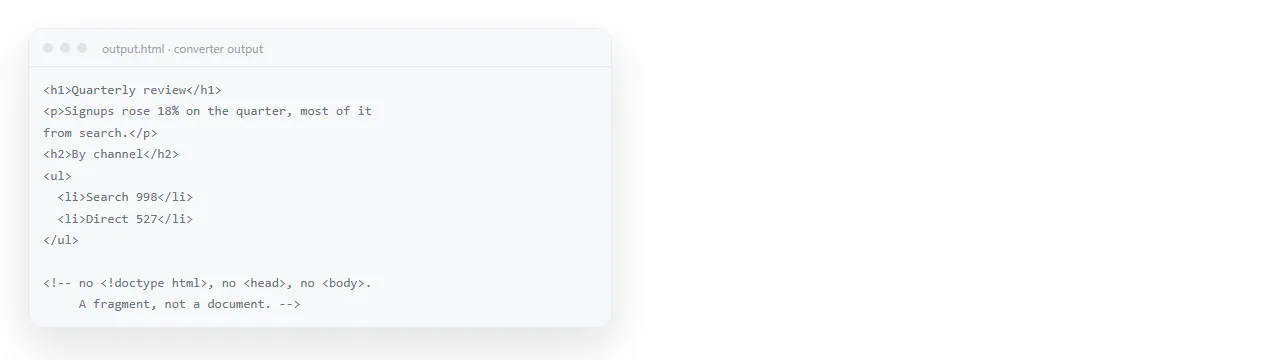
A converter returns a fragment: headings, paragraphs, lists, links. It does not return a <!doctype html>, a <head>, a title, or any CSS. That fragment is valid HTML and it is not yet a page.
This guide covers the four routes, what each one hands you, and the wrapper you add at the end so the result is readable on a phone as well as a laptop.
Four ways to convert Markdown to HTML
| Route | Good for | What it leaves you |
|---|---|---|
| Paste into a web converter | One file, one time | A body fragment with no styling |
| VS Code extension | Files you are already editing | A file next to the original, styling varies |
| Static site generator | A folder of documents, repeatedly | A build step to configure |
| A script with a parser library | Automation, many files | Code to write and maintain |
Pick by how often you will do it. A single README goes through a converter in ten seconds. Forty release notes on a schedule belong in a script.
Route 1: paste it into a converter
Open a converter, paste the Markdown, copy the HTML. This is the fastest route and it is enough for a one-off.
Two things to check before you trust the output. First, whether the converter speaks GitHub Flavored Markdown, which is what tables and fenced code blocks require. Second, whether it escapes raw HTML you had embedded in the Markdown.
If your pipe tables come out as literal lines of text with vertical bars, the converter is running strict CommonMark. Switch to one that advertises GFM support.
Route 2: convert inside your editor
If the Markdown already lives in a repository, converting it where you edit it saves a round trip. VS Code has extensions that turn the open file into an HTML file in the same folder.
The output quality depends on the extension, and most of them let you point at a stylesheet. Converting Markdown to HTML in VS Code covers the extensions and the settings that matter.
Route 3: a build step
A static site generator reads a folder of Markdown, applies a template, and writes a folder of HTML. You get navigation, a shared layout and consistent styling for free.
The cost is setup. You configure a theme, a directory layout and a build command before the first page exists. That is worth it for a documentation set and heavy for one page.
Publishing Markdown as HTML on GitHub Pages is the common version of this route, and it can skip the generator entirely.
Route 4: a script
For repeated conversions inside a pipeline, call a parser library directly. The pattern is the same in every language: read the file, parse, write the result into a template string.
import { marked } from 'marked';
import { readFileSync, writeFileSync } from 'node:fs';

const body = marked.parse(readFileSync('notes.md', 'utf8'));
const page = `<!doctype html>
<html lang="en">
<head>
<meta charset="utf-8">
<meta name="viewport" content="width=device-width,initial-scale=1">
<title>Release notes</title>
<style>body{max-width:44rem;margin:2rem auto;font:16px/1.6 system-ui;padding:0 1rem}</style>
</head>
<body>${body}</body>
</html>`;

writeFileSync('notes.html', page);
Note the template string is doing the job the converter did not: the doctype, the head, the viewport line and the CSS.
The wrapper you always need
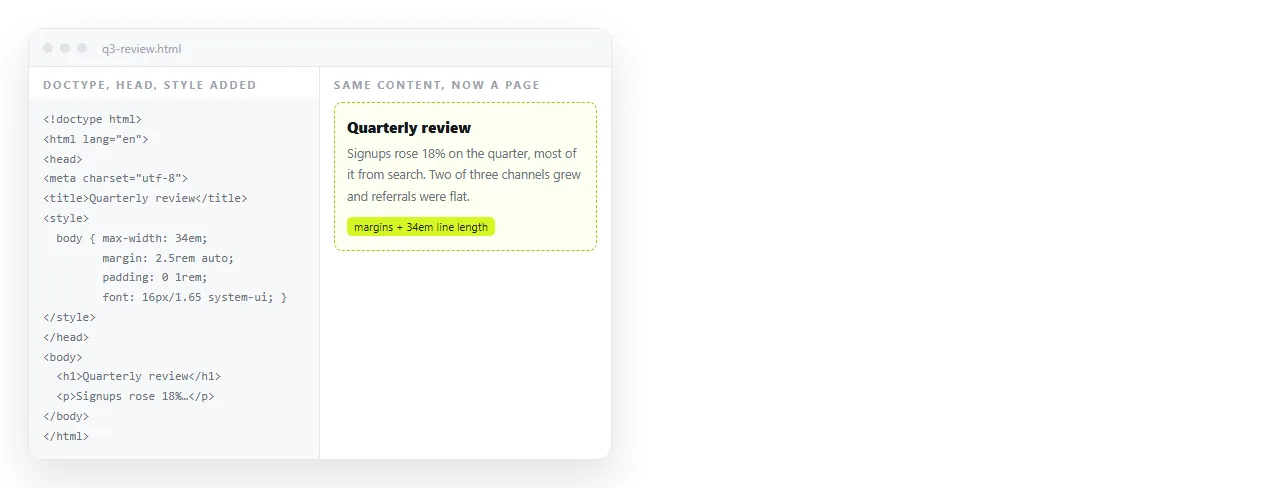
Whichever route you take, the fragment becomes a page when you add four things.
- A doctype.
<!doctype html>on the first line. Without it browsers fall into quirks mode and spacing shifts. - A title.
<title>is what the browser tab shows and what every link preview card reads. An untitled page looks like spam in a chat channel. - A viewport line.
<meta name="viewport" content="width=device-width,initial-scale=1">. Skip it and the page renders at desktop width on a phone, zoomed out to nothing. The viewport meta tag explains the behaviour. - A stylesheet. Markdown carries structure, not appearance. Put the CSS in a
<style>block so the page stays self-contained.
Styling the result without much work
A small stylesheet covers most of the gap. Constrain the line length, set a readable font size, and give code blocks a background.
- Set
max-widthon the body, around 40 to 50 characters wide per line, and centre it withmargin: 0 auto. - Set
line-heightnear 1.6. Converter output is dense. - Give
prea background colour andoverflow-x: autoso long code lines do not push the layout sideways. - Style
tablewithborder-collapse: collapseand cell padding, or converted tables run together.
If the page will be read in the dark, add a prefers-color-scheme block. Dark mode CSS has the pattern.
Checking the result before you send it
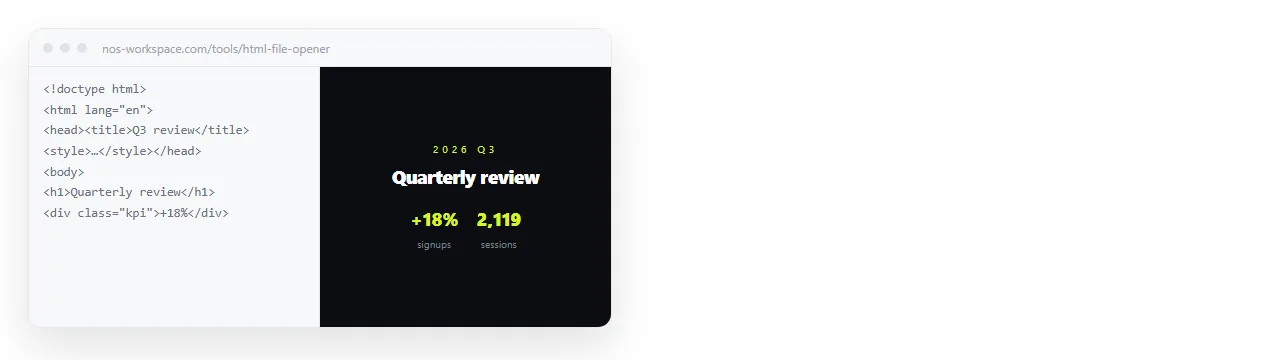
Open the file somewhere that has never seen your folder. The HTML file opener does this: drop the file in and you see what a reader sees.
Images are the usual casualty. Markdown image paths are relative to the Markdown file, and they survive the conversion unchanged, so they break as soon as the HTML moves. Images not showing in HTML covers the fix.
Turning the HTML into something you can send
A converted file has the same problem every HTML file has. Mail gateways strip it, phones download it without opening it, and drive viewers show the source.
Paste the HTML into a NOS document instead. It renders as written, the document has its own address, and you send that link. Turning HTML into a link is the one-paste version.
The text stays editable after that. When a release note changes, you click the words and fix them, and the link you already sent points at the corrected page.