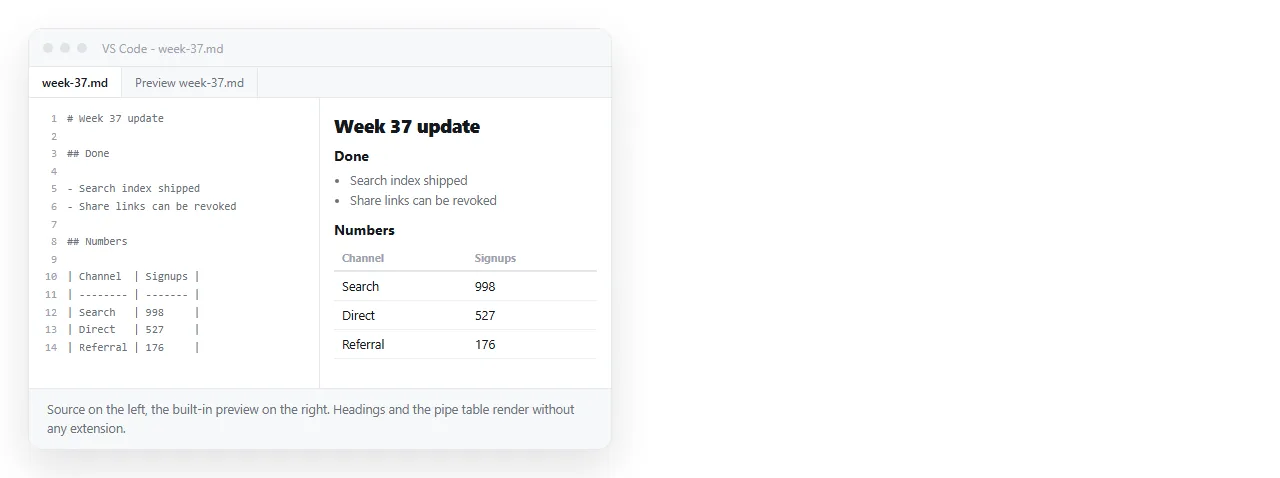
To convert Markdown to HTML in VSCode you need more than the preview. The preview renders the file in a panel and never writes anything to disk.
Three routes produce an actual file: an extension with a print command, a converter run from the terminal, or a build task that does the same thing on a keystroke.
Three ways to get Markdown to HTML in VSCode
| Route | Produces a file | Setup |
|---|---|---|
| Built-in preview | No | None |
| Print extension | Yes, next to the source | One install |
| Terminal or task | Yes, wherever you point it | A converter and a few lines of JSON |
The preview is still worth opening first. It uses the same Markdown parser as the export path, so anything that renders wrong there will render wrong in the file.
Route 1: the preview, for checking
Press Ctrl+Shift+V, or Cmd+Shift+V on a Mac, to open the preview for the current file. Ctrl+K then V opens it beside the source instead.
Two things to look at. Whether pipe tables render as tables, and whether fenced code blocks come out highlighted. Both depend on the Markdown flavour being handled correctly.
The preview scrolls in sync with the editor, which makes it easy to find the paragraph that is breaking a list.
Two flavour problems show up here and nowhere else. A pipe table rendering as literal text means the parser is running strict CommonMark rather than GitHub Flavored Markdown.
A list that collapses into one paragraph usually means an indentation of three spaces where four were needed, or a missing blank line above the list.
Fix both in the Markdown before exporting. Every route downstream uses the same parser, so a file that previews wrong will export wrong.
Route 2: an extension that prints HTML
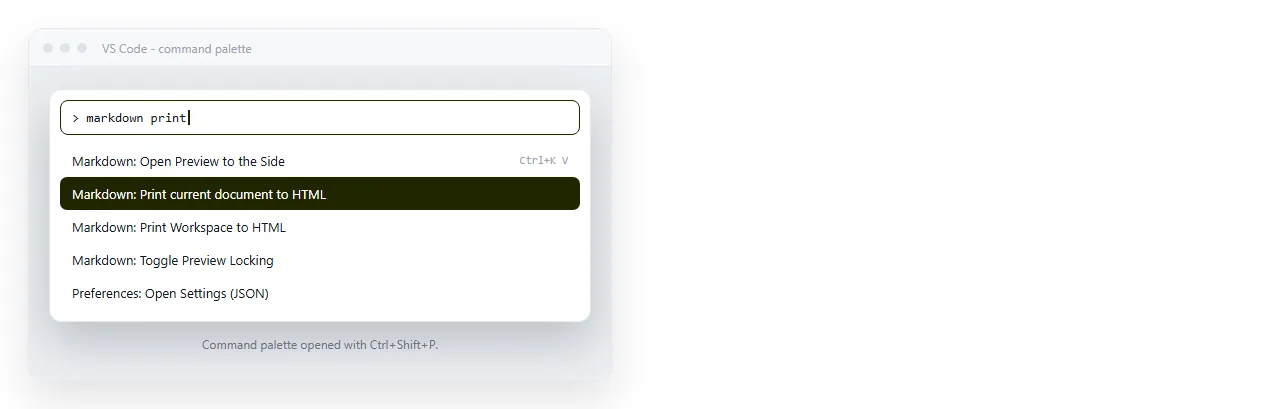
Markdown All in One adds the command Markdown: Print current document to HTML. Open the command palette with Ctrl+Shift+P, run it, and an .html file appears next to the source.
Markdown PDF exports to HTML as well as PDF, PNG and JPEG. Set markdown-pdf.type to html in settings, or pick the HTML export command directly.
Both write the file into the same folder as the Markdown. If your images use relative paths, they keep working there and break as soon as you move the file. Relative versus absolute paths explains why.
Which one to install depends on what else you need. Markdown All in One also handles table of contents generation and list continuation, so it earns its place even when you are not exporting.
Markdown PDF is worth it only if PDF is the real target and HTML is a side effect. It launches a headless browser under the hood, which makes the first export noticeably slower than the second.
Route 3: a task you can bind to a key
For a repeatable conversion, put a converter behind a VS Code task. Install a parser in the workspace, then add a task that runs it on the open file.
{
  "version": "2.0.0",
  "tasks": [
    {
      "label": "md to html",
      "type": "shell",
      "command": "npx marked -i ${file} -o ${fileDirname}/${fileBasenameNoExtension}.html"
    }
  ]
}
The variables in braces are filled in by VS Code from whichever file is focused. Run it from the Terminal menu, or bind it to a shortcut in keybindings.json.
This route gives you the most control, because the converter options are yours. It is also the route that produces a bare fragment, so add the wrapper described in converting Markdown to HTML.
Styling the export
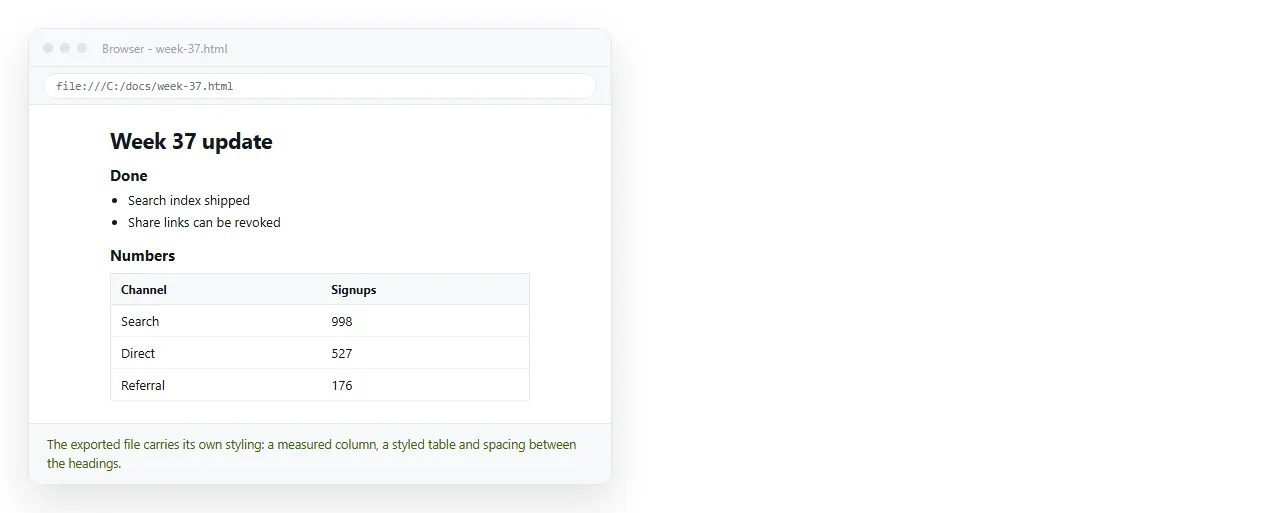
VS Code has a setting that both the preview and the export paths read. Add a CSS file to the workspace and point the setting at it.
{
  "markdown.styles": ["styles/page.css"]
}
Put that in .vscode/settings.json so it travels with the repository. The path is relative to the workspace root.
A small stylesheet is enough. Constrain the width, set the line height, and give code blocks a background and horizontal scroll.
body { max-width: 44rem; margin: 2rem auto; padding: 0 1rem;
       font: 16px/1.6 system-ui, sans-serif; }
pre  { background: #f4f4f5; padding: 1rem; overflow-x: auto; }
table { border-collapse: collapse; }
td, th { border: 1px solid #ddd; padding: .4rem .6rem; }
Whether the exported file carries that CSS inline or as a link depends on the extension. If it links to the file, the HTML stops looking right the moment it leaves the folder. Inline CSS covers folding it in.
Checking the file outside the editor
An export that looks right in VS Code can still fail for a reader. The editor resolves paths against the workspace; a browser on someone else's machine does not.
Drop the file into the HTML file opener and look at it there. That window has never seen your workspace, so anything that survives will survive for the reader.
Missing images and missing fonts are the two usual results. Images not showing in HTML and fonts not loading each cover one of them.
Getting the result to someone else
The exported file has the same delivery problem as any .html file. Mail gateways strip it, phones download it and stop, and drive previews show the source instead of the page.
Once the file renders correctly on its own, paste the HTML into a NOS document and send the link. The document renders the markup as written and has its own address.
That also removes the re-export loop. When a line changes, you click the text in the document and fix it, and the link you sent already points at the corrected page. Turning HTML into a link is that step on its own.
For notes that several people need to read after every edit, that is the difference between publishing once and publishing every time.